
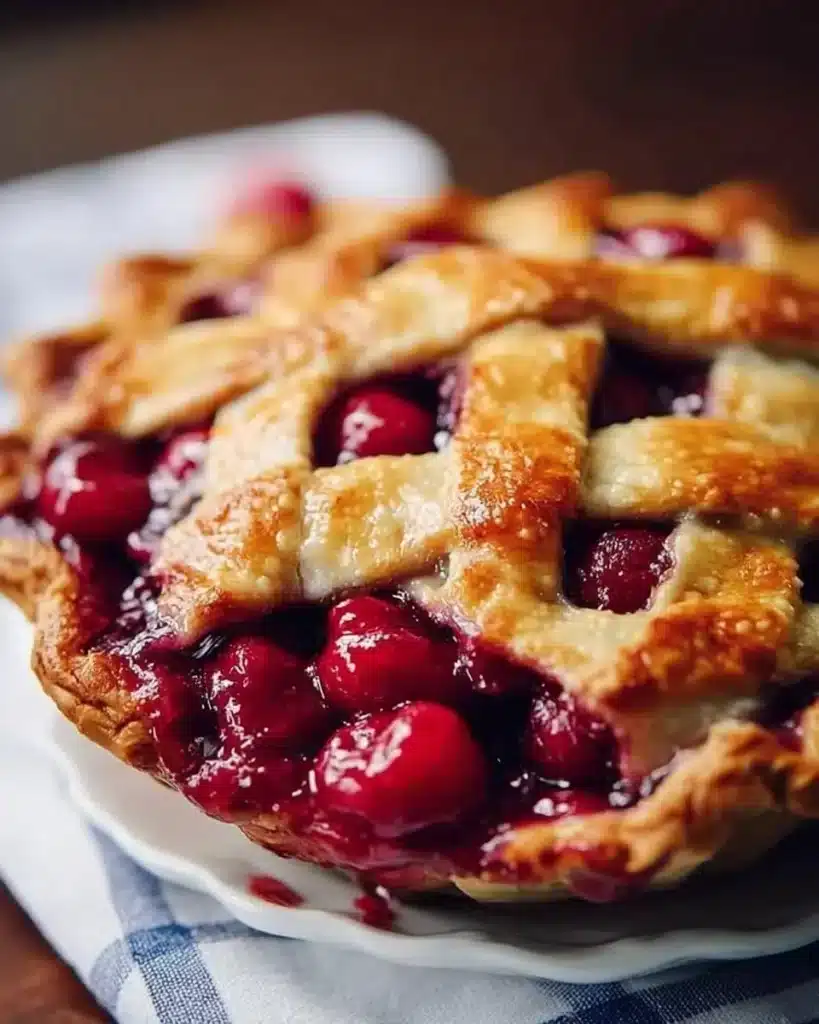
Classic Cherry Pie Recipe
If you’re dreaming of warm, juicy cherries wrapped in a flaky, golden crust, then let me introduce you to the ultimate comfort dessert: Classic Cherry Pie. This simple yet utterly delightful recipe brings together the sweet-tart flavors of fresh cherries with a buttery crust, making it a must-have for gatherings or a cozy night in. Plus, it’s so easy to whip up, you’ll find yourself making it again and again!
Why You’ll Love This Recipe
- Fresh and Fruity: The burst of cherry flavor is refreshing and satisfying, perfect for summer or any time of year.
- Simple Ingredients: Most of the ingredients are pantry staples, making it a great go-to option for unexpected guests or a last-minute dessert.
- Perfect for Sharing: Whether it’s a holiday gathering or a casual picnic, this pie is sure to impress everyone.
- Versatile Serving Options: Serve it warm with ice cream or chilled with whipped cream, the choice is yours!
- Homemade Goodness: There’s nothing quite like the smell of a freshly baked pie wafting through your home.
Ingredients
- Fresh cherries: Use ripe, sweet cherries for the best flavor. You can substitute with frozen cherries if needed, but make sure to thaw and drain excess juice.
- Sugar: This is essential to sweeten the filling. Adjust the amount based on the tartness of your cherries.
- Cornstarch: Helps to thicken the pie filling and holds everything together. If you’re out of cornstarch, you can use flour as a substitute.
- Lemon juice: Adds a lovely brightness to the filling. Freshly squeezed is best, but bottled works in a pinch.
- Pie crust: You can use homemade or store-bought pie crust. If you’re making your own, make it a day ahead to save time.
- Butter: A little dot of butter on top of the filling before baking adds richness and flavor.
- Egg wash (optional): A mixture of beaten egg and milk for a beautifully golden crust.
Full measurements are in the recipe card below.
How to Make the Recipe
- Prepare the Cherries: Wash, pit, and slice the cherries. If using frozen, make sure they’re drained and patted dry.
- Make the Filling: In a large mixing bowl, combine the cherries, sugar, cornstarch, and lemon juice. Mix gently until everything is well coated.
- Roll Out the Dough: If using homemade dough, roll it out on a floured surface to fit your pie dish. Transfer the first layer into the dish.
- Add the Filling: Pour the cherry mixture into the crust, spreading it out evenly. Dot the filling with small pieces of butter.
- Cover with Crust: Roll out the second pie crust and place it over the filling. Cut slits for ventilation or create a lattice top for that classic look.
- Egg Wash: If you’re using an egg wash, brush it over the top crust.
- Bake the Pie: Preheat your oven to 425°F (220°C) and bake for 20 minutes. Then, reduce the heat to 350°F (175°C) and bake for an additional 30-35 minutes, or until the crust is golden and the filling is bubbling.
- Cool and Serve: Let the pie cool for at least 2 hours before slicing. This helps the filling set up nicely.
Pro Tips for Making the Recipe
- Choose the Right Cherries: Sweet cherries are ideal, but tart cherries offer a unique flavor as well. Mix them for a complex taste!
- Don’t Overwork the Dough: Handle the pie crust as little as possible to ensure it stays tender.
- Prevent Soggy Bottom: Pre-bake the bottom crust for 5-10 minutes before adding the filling for extra crispness.
- Let it Rest: This will help the filling to thicken and make slicing easier.
- Spice it Up: Add a pinch of cinnamon or almond extract to the filling for an extra flavor boost.
How to Serve
Classic Cherry Pie is delicious on its own, but serve it warm with a scoop of vanilla ice cream or a dollop of whipped cream for extra indulgence. You can also pair it with fresh cherries or a drizzle of chocolate sauce for a fun twist.
Make Ahead and Storage
- Fridge Storage: Store leftover pie in the refrigerator, covered loosely with foil, for up to 3 days.
- Freezing: If you’ve made it in advance, freeze the unbaked pie, wrapped tightly, for up to 3 months. Bake it straight from the freezer—just add additional baking time.
- Reheating Tips: To reheat leftover pie, place it in a 350°F (175°C) oven for about 10-15 minutes until warmed through.
FAQs
Can I use frozen cherries for this recipe?
Yes, frozen cherries work, but make sure to thaw and drain them to avoid excess moisture.
How do I know when the pie is done baking?
Look for a golden-brown crust and bubbling filling to indicate that it’s perfectly baked.
Can I make the pie crust ahead of time?
Absolutely! You can prepare the pie crust a day in advance and refrigerate it until you’re ready to use it.
What’s the best way to pit cherries?
You can use a cherry pitter or a simple technique with a straw—insert the straw through the cherry until the pit pops out on the other side!
Now, gather your ingredients and get ready to impress with this Classic Cherry Pie that’s sure to steal hearts and satisfy sweet cravings! Enjoy baking! 🍒🥧
Classic Cherry Pie
Ingredients
Method
- Wash, pit, and slice the fresh cherries. If using frozen cherries, ensure they are drained and patted dry.
- In a large bowl, combine cherries, sugar, cornstarch, and lemon juice. Mix gently until coated.
- Roll out the homemade dough on a floured surface to fit your pie dish. Transfer the first layer into the dish.
- Pour the cherry filling into the crust, spreading it out evenly and dotting with pieces of butter.
- Roll out the second pie crust and place it over the filling. Cut slits for ventilation or create a lattice top.
- If using an egg wash, brush it over the top crust.
- Preheat your oven to 425°F (220°C) and bake for 20 minutes.
- Reduce the heat to 350°F (175°C) and bake for an additional 30-35 minutes, until the crust is golden and filling is bubbling.
- Let the pie cool for at least 2 hours before slicing to help the filling set up.
- Serve warm with vanilla ice cream or chilled with whipped cream.