
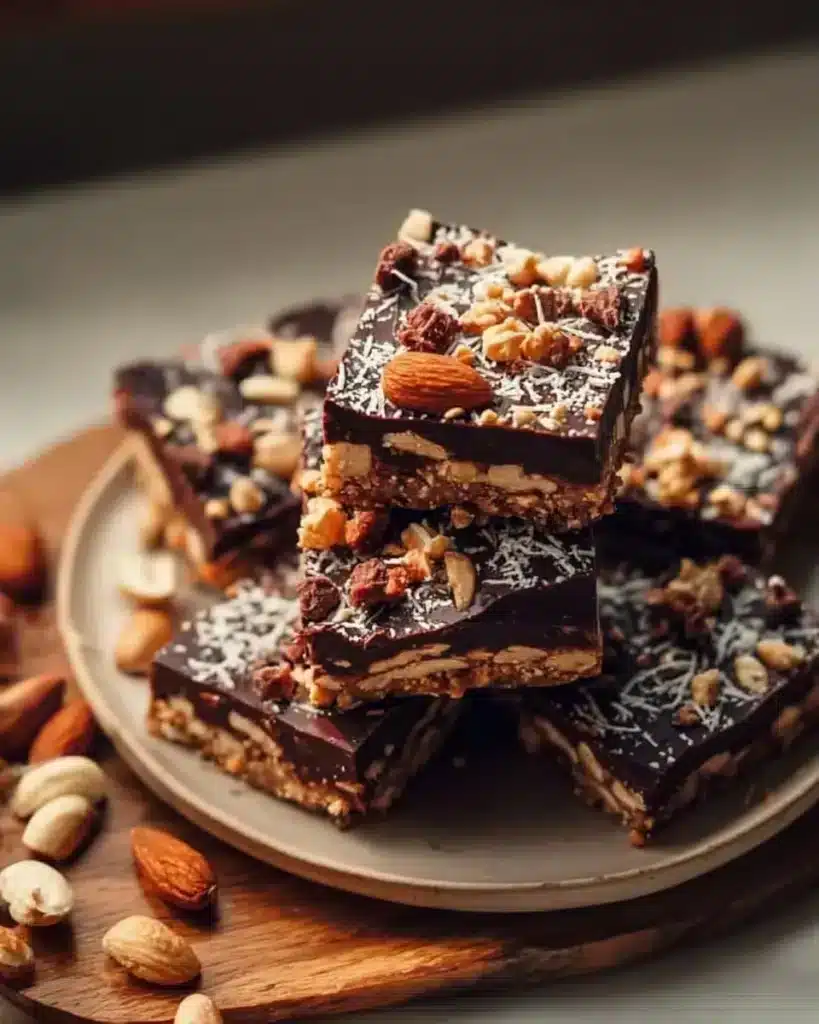
Chocolate Nut Dessert Bars Recipe
Indulge in the sweet, nutty goodness of these Chocolate Nut Dessert Bars! They combine the rich flavors of creamy chocolate and crunchy nuts into a delightful treat that’s perfect for any occasion. What I love most about these bars is how easy they are to whip up, making them an excellent choice for everyday cooking or a last-minute dessert craving.
Why You’ll Love This Recipe
- Quick and Easy: Perfect for busy days when you need a sweet fix in no time.
- No-Bake Option: If you prefer to keep things cool in the kitchen, you can skip the oven!
- Versatile: Use your favorite nuts or even throw in some dried fruit for a personal twist.
- Great for Sharing: These bars are easy to slice and serve, making them perfect for parties or potlucks.
- Perfectly Satisfying: The combination of chocolate and nuts creates a delightful texture that will satisfy your cravings.
Ingredients
- Chocolate: Dark, milk, or semi-sweet chocolate works wonderfully. Use your favorite to match your sweetness preference.
- Nuts: Almonds, walnuts, or pecans add crunch and flavor. Feel free to mix and match!
- Butter: Provides a rich, creamy base. You can substitute with coconut oil for a dairy-free option.
- Oats: Adds a hearty texture. Quick oats are best for a smoother bar, but rolled oats work too.
- Sweetener: Sugar, honey, or maple syrup can be used depending on your taste.
- Vanilla Extract: A touch of vanilla enhances the flavor beautifully. Homemade vanilla extract is lovely if you have it on hand.
- Salt: Just a pinch elevates all the flavors.
Full measurements are in the recipe card below.
How to Make the Recipe
- Prepare Your Pan: Line an 8-inch square baking dish with parchment paper, leaving some overhang for easy removal later.
- Melt the Chocolate: In a heatproof bowl, melt your chocolate and butter together. You can do this over a double boiler or in the microwave in 20-second intervals, stirring in between until smooth.
- Mix the Ingredients: In a separate bowl, combine oats, nuts, sweetener, vanilla extract, and salt. Pour the melted chocolate mixture over the dry ingredients and mix until everything is well coated.
- Transfer to the Pan: Pour the chocolate nut mixture into your prepared baking dish. Use a spatula to press it down firmly and evenly.
- Chill: Place the pan in the refrigerator for at least an hour or until firm.
- Slice and Serve: Once set, lift the bars out using the parchment paper and cut into squares or rectangles. Enjoy!
Pro Tips for Making the Recipe
- Make it Nut-Free: If you have nut allergies, simply leave out the nuts and add extra oats or crispy rice cereal for texture.
- Too Soft?: If the mixture seems too soft to hold together, add a bit more oats or a tablespoon of nut butter to bind it.
- Customize Toppings: Sprinkle some sea salt or drizzle more melted chocolate on top for added flair!
- Storage Tips: Keep the bars tightly sealed in the fridge to maintain freshness, or they’ll become too soft at room temperature.
- Perfect Texture: For a chewy texture, don’t overmix—just combine until everything is nicely coated!
How to Serve
These Chocolate Nut Dessert Bars are fantastic on their own but can also be served with a scoop of vanilla ice cream or drizzled with caramel sauce. Pair them with a hot cup of coffee or a glass of cold milk for the ultimate treat!
Make Ahead and Storage
- Fridge Storage: Store the bars in an airtight container in the fridge for up to one week. They might actually taste even better after a day or two!
- Freezing: You can freeze them for up to three months. Just make sure to wrap them in plastic wrap and store them in a freezer-safe container.
- Reheating Tips: If you’d like to warm them up, simply put them in the microwave for a few seconds. They get deliciously gooey!
FAQs
Can I use different nuts?
Absolutely! Feel free to use any nuts you like or even seeds for a nut-free option.
Can I substitute chocolate chips for bar chocolate?
Yes, chocolate chips will work just fine, but they may not melt as smoothly.
What should I do if my mixture is too crumbly?
You can add a drizzle of water, more melted chocolate, or a bit of a sweetener to help bind it together.
How long will these dessert bars last?
When stored properly, they should last up to a week in the fridge or three months in the freezer. Enjoy them fresh for the best taste!
Chocolate Nut Dessert Bars
Ingredients
Method
- Line an 8-inch square baking dish with parchment paper, leaving some overhang for easy removal later.
- In a heatproof bowl, melt chocolate and butter together over a double boiler or in the microwave in 20-second intervals, stirring until smooth.
- In a separate bowl, combine oats, nuts, sweetener, vanilla extract, and salt. Pour the melted chocolate mixture over the dry ingredients and mix until well coated.
- Pour the chocolate nut mixture into the prepared baking dish. Use a spatula to press it down firmly and evenly.
- Place the pan in the refrigerator for at least an hour or until firm.
- Lift the bars out using the parchment paper and cut into squares or rectangles.