Mermaid Birthday Cookies Recipe
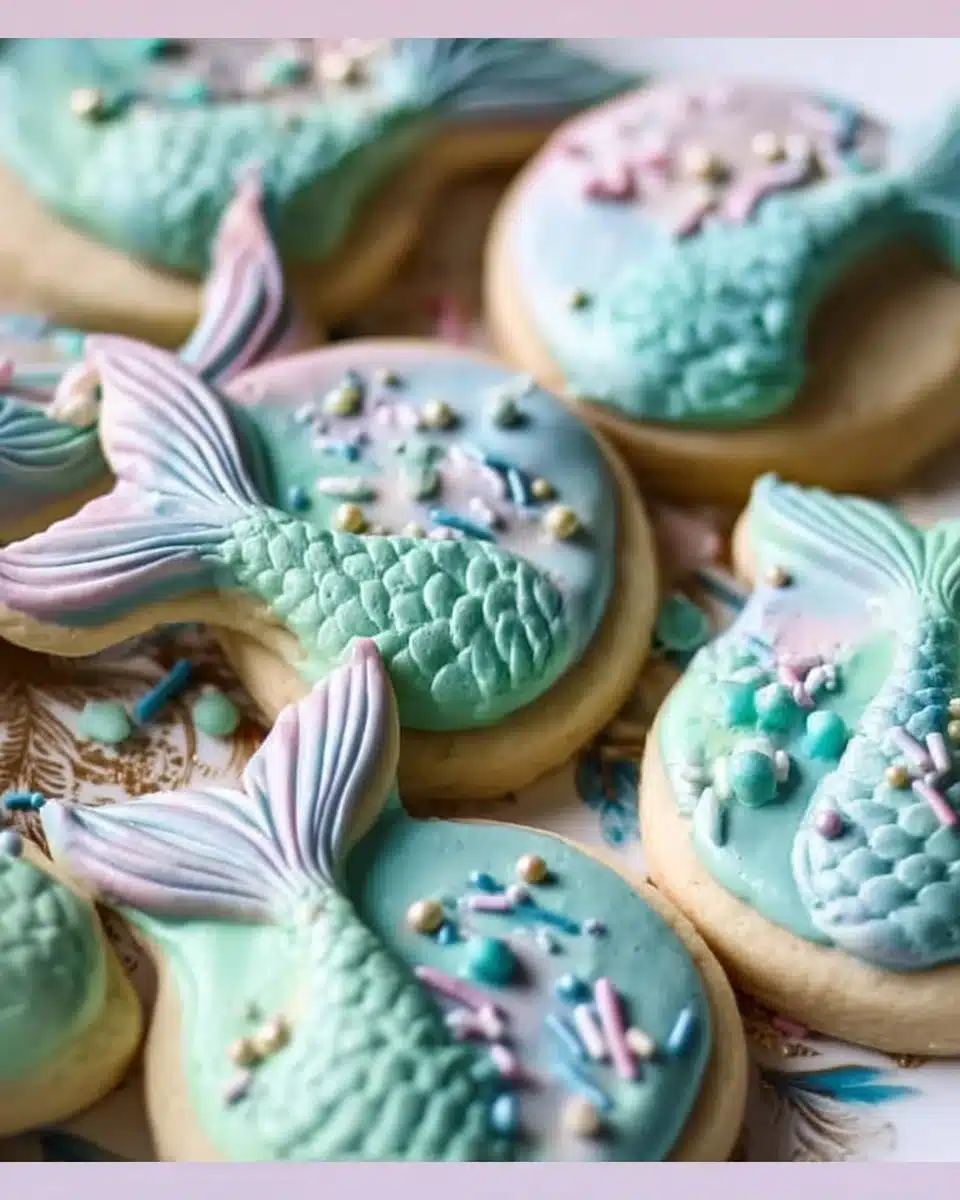
Get ready to dive into a world of flavor with these delightful Mermaid Birthday Cookies! With their whimsical shapes and vibrant colors, these cookies are not only a treat for the taste buds but also a feast for the eyes. They’re soft, chewy, and perfect for birthday celebrations or just a fun treat any day of the week. Plus, they’re easy enough to whip up with the kids, making them a great weekend baking project!
Why You’ll Love This Recipe
- Fun for celebrations: Perfect for birthday parties, especially for mermaid-themed events.
- Kid-friendly: Easy to make with children; they’ll love decorating!
- Customizable: Use different colors and shapes for any occasion.
- Deliciously simple: A straightforward recipe that doesn’t require fancy ingredients.
- Great for sharing: These cookies are perfect for gifting to friends and family.
Ingredients
- All-purpose flour: The base of our cookies. You can use gluten-free flour if needed.
- Baking soda: Helps the cookies rise and maintain that soft texture.
- Salt: Just a pinch enhances the flavors in the dough.
- Unsalted butter: Adds richness and a delightful buttery flavor. Make sure it’s softened for easy mixing.
- Granulated sugar: Sweetens the cookies and gives them a lovely crunch.
- Brown sugar: Adds moisture and a hint of caramel flavor.
- Egg: Binds the ingredients together and gives the cookies structure.
- Vanilla extract: A must-have for a warm, sweet aroma and flavor.
- Food coloring: Choose your favorite colors to create those magical mermaid designs!
- Edible glitter or sprinkles: For that extra special touch to make the cookies shine.
Full measurements are in the recipe card below.
How to Make the Recipe
-
Preheat the Oven: Start by preheating your oven to 350°F (175°C). Line a baking sheet with parchment paper.
-
Mix Dry Ingredients: In a bowl, whisk together the all-purpose flour, baking soda, and salt. Set aside.
-
Cream Butter and Sugars: In a large mixing bowl, beat the softened unsalted butter, granulated sugar, and brown sugar until creamy and fluffy.
-
Add Egg and Vanilla: Mix in the egg and vanilla extract until well combined.
-
Incorporate Dry Ingredients: Gradually add in the dry mixture and mix until just combined. Don’t overmix!
-
Add Food Coloring: Divide the dough into portions and add different colors of food coloring to each. Knead gently to incorporate color.
-
Shape the Cookies: Use cookie cutters to cut shapes. Place them on the prepared baking sheet, leaving some room between each cookie.
-
Bake: Bake for about 10-12 minutes, or until the edges are lightly golden. The centers will look slightly underbaked; that’s okay!
-
Cool: Let the cookies cool on the baking sheet for a few minutes before transferring them to a wire rack to cool completely.
-
Decorate: Once cooled, add edible glitter or sprinkles, and watch them sparkle!
Pro Tips for Making the Recipe
- Softening Butter: If you forget to take your butter out of the fridge, you can cut it into small cubes and let it sit at room temperature for 15 minutes.
- Dough Chilling: For firmer cookies, chill the dough for 30 minutes before cutting into shapes.
- Avoid Overbaking: Keep an eye on the cookies; they should be soft in the center when you take them out.
- Use Quality Food Coloring: Gel food coloring gives more vibrant colors compared to liquid versions.
- Mix in Flavors: Feel free to add mini chocolate chips or nuts for extra flavor!
How to Serve
These cookies shine on their own but can also be served on a beautiful platter at parties. Pair them with a glass of cold milk or a scoop of your favorite ice cream for a fun dessert.
Make Ahead and Storage
- Fridge Storage: Store your cookies in an airtight container at room temperature for up to a week.
- Freezing: You can freeze the cookie dough before baking. Just scoop it into balls, freeze them, and once solid, transfer to a freezer bag. They can be baked directly from frozen, just add an extra minute or two to the baking time.
- Reheating Tips: If you want to enjoy them warm, pop in the microwave for a few seconds or in a preheated oven at 350°F for about 5 minutes.
FAQs
Can I use other shapes besides mermaids?
Absolutely! Feel free to use any cookie cutter shapes you like—stars, seashells, or anything fun!
What’s the best way to store these cookies?
Keep them in an airtight container at room temperature to maintain their soft texture.
Can these cookies be made gluten-free?
Yes! Substitute all-purpose flour with a gluten-free blend, and you should be good to go.
How long do these cookies stay fresh?
They can last up to a week if stored properly in an airtight container!
Dive into this fun baking adventure and create some magical Mermaid Birthday Cookies that everyone will love! Happy baking!

Mermaid Birthday Cookies
Ingredients
Method
- Preheat your oven to 350°F (175°C) and line a baking sheet with parchment paper.
- In a bowl, whisk together the all-purpose flour, baking soda, and salt. Set aside.
- In a large mixing bowl, beat the softened unsalted butter, granulated sugar, and brown sugar until creamy and fluffy.
- Mix in the egg and vanilla extract until well combined.
- Gradually add in the dry mixture and mix until just combined. Don’t overmix!
- Divide the dough into portions and add different colors of food coloring to each. Knead gently to incorporate color.
- Use cookie cutters to cut shapes and place them on the prepared baking sheet, leaving space between each cookie.
- Bake for about 10-12 minutes, or until the edges are lightly golden.
- Let the cookies cool on the baking sheet for a few minutes before transferring to a wire rack to cool completely.
- Once cooled, add edible glitter or sprinkles, and enjoy!