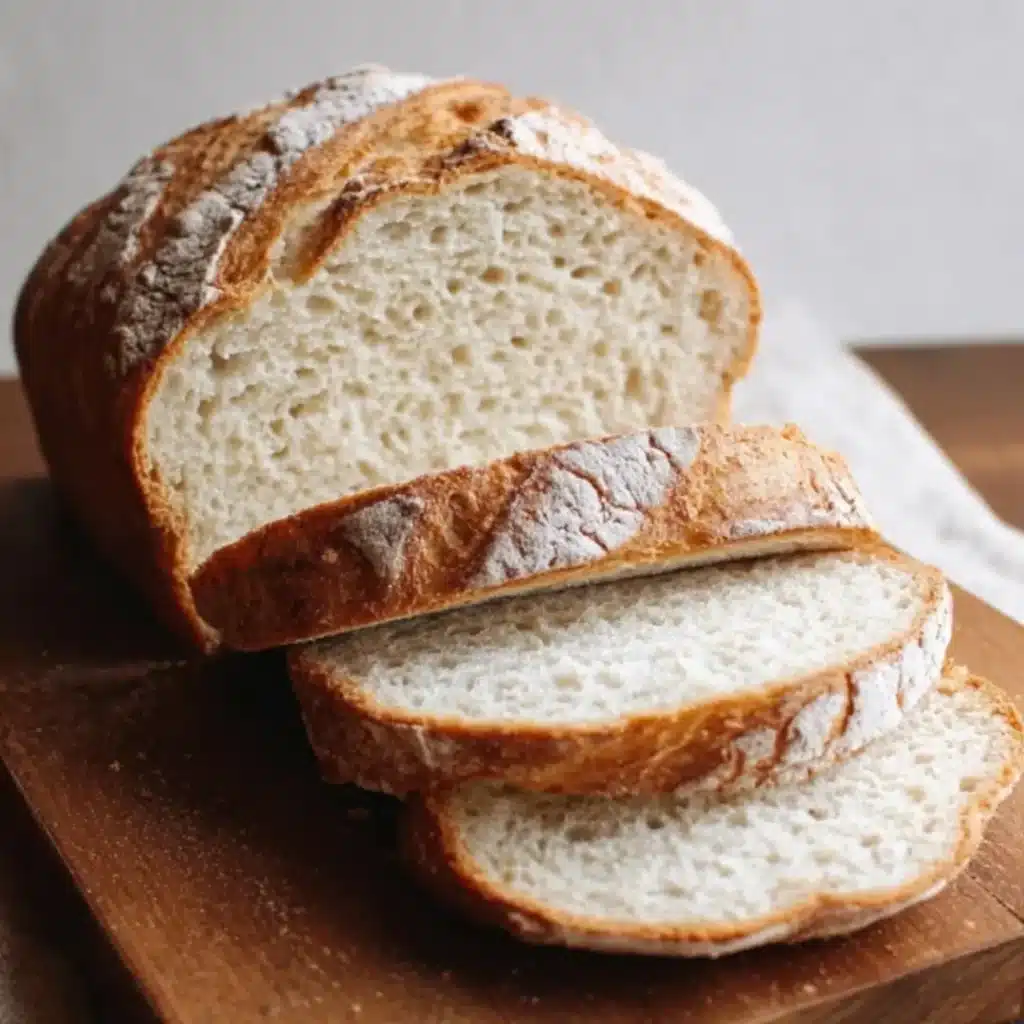
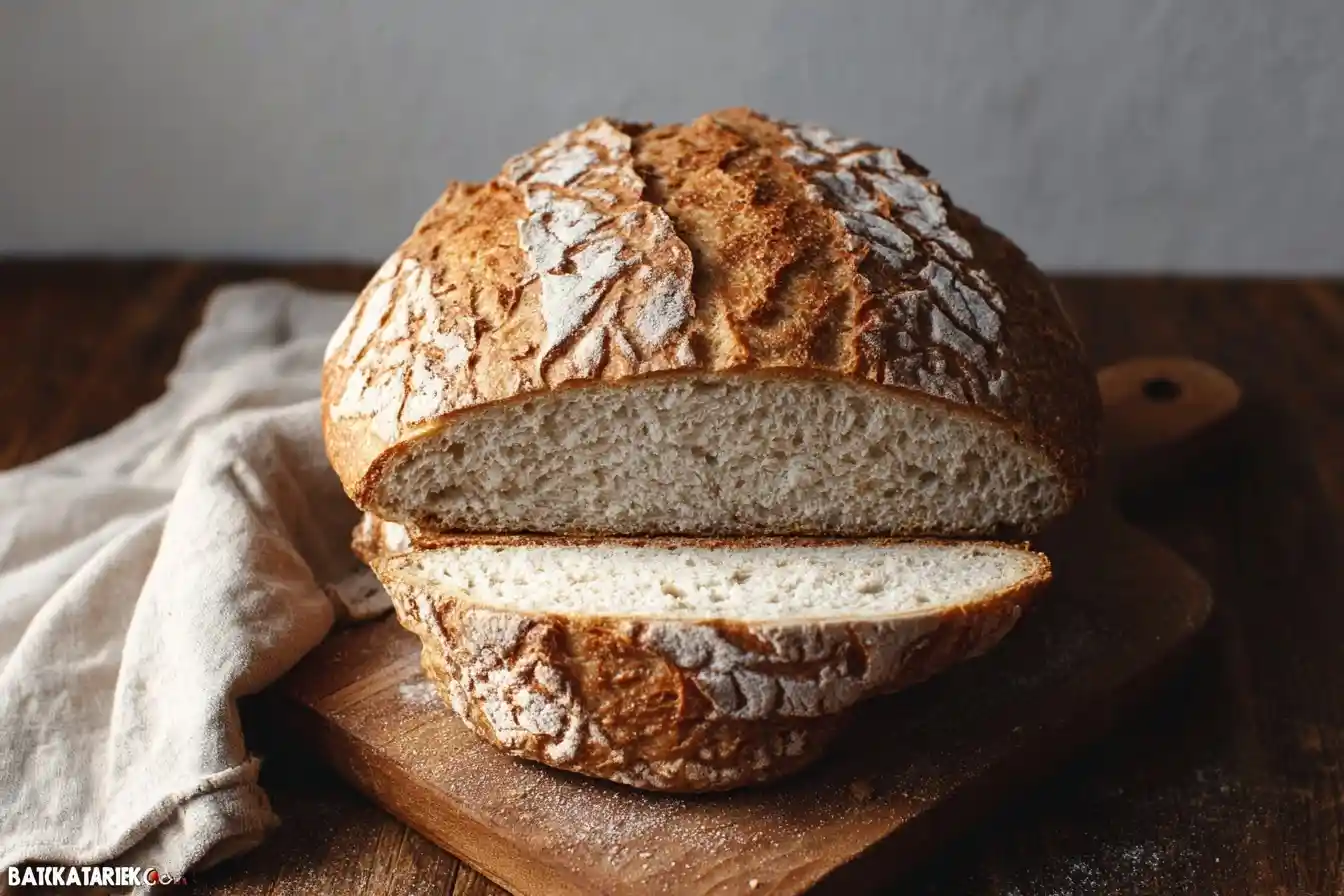
Oh, the aroma of freshly baked bread! There’s truly nothing quite like it, is there? And when that warmth fills your kitchen, carrying the wholesome scent of homemade Gluten Free Sourdough Bread, it’s pure magic. This hearty loaf, with its perfectly crisp crust and soft, chewy interior, is a testament to slow baking and simple, honest ingredients. It’s a treat that elevates any meal and nourishes the soul.
I remember countless afternoons in my grandmother’s kitchen, her hands dusted with flour as she kneaded dough. It was there I learned that baking isn’t just about following a recipe; it’s about patience, love, and a sprinkle of joy. This particular recipe for Gluten Free Sourdough Bread brings back those fond memories, reminding me of the simple pleasures found in creating something truly special from scratch.
This recipe is designed to be approachable, making the art of sourdough accessible to everyone, regardless of dietary needs. It’s a wonderfully rewarding experience, yielding a loaf that’s perfect for family breakfasts or a comforting dinner side. My biggest tip for any sourdough adventure? Trust the process, and let your starter guide the way!
What You Need to Make This Recipe
Crafting this beautiful loaf relies on a few star players, like a vibrant active gluten-free sourdough starter that brings its signature tang, and a thoughtful blend of brown rice flour, sorghum flour, tapioca starch, and psyllium husk powder to create that perfect texture we adore. I always say, a good starter is the heart of any great sourdough! You’ll find the full list of ingredients and precise measurements in the recipe card below.
How to Make Gluten Free Sourdough Bread
Embarking on the journey to bake Gluten Free Sourdough Bread might seem like a long one, but it’s truly a labor of love spread over two days, with most of the time being hands-off. You’ll begin by preparing your starter a day ahead, then mix your dough, allowing it to bulk ferment beautifully before preshaping, a final cold proof overnight, and finally, baking your glorious loaf to perfection on day two. It’s a rhythm that yields the most incredible results.
Hearty Gluten-Free Sourdough Bread
Ingredients
Equipment
Method
- Feed your gluten-free sourdough starter 8-12 hours before you plan to mix your dough. It should be very active, bubbly, and float when a small spoonful is dropped into water.
- In a large mixing bowl, combine the warm water and the active gluten-free sourdough starter. Mix with a whisk until the starter is mostly dissolved and well-incorporated into the water.
- In a separate bowl, whisk together the brown rice flour, sorghum flour, tapioca starch, psyllium husk powder, and fine sea salt until thoroughly combined.
- Add the dry ingredients to the wet ingredients. Using a sturdy spoon or your hands, mix until no dry streaks of flour remain and a shaggy dough forms. It will be thick and sticky. Cover the bowl with a damp cloth or plastic wrap and let it rest for 30 minutes (autolyse).
- Perform the first set of ‘stretch and folds’. Dampen your hands slightly, grab a portion of the dough from one side, stretch it upwards, and fold it over to the opposite side of the bowl. Rotate the bowl and repeat this 4-6 times until all sides have been stretched and folded. The dough will start to gain some elasticity. Cover and rest for 30-45 minutes.
- Repeat the stretch and fold process three more times, resting the dough for 30-45 minutes between each set. After 3-4 sets, the dough should feel smoother, more cohesive, and slightly more elastic. The total bulk fermentation time will be approximately 2.5-3 hours, depending on your kitchen temperature.
- Lightly dust your work surface with rice flour. Gently scrape the dough out of the bowl onto the floured surface. Gently shape it into a loose round using your dough scraper and hands. Be careful not to degas it too much. Cover with the bowl or a damp cloth and let it rest for 20 minutes.
- Generously dust your banneton with rice flour. Flour your hands and gently reshape the dough into a taut ball. Flour the top of the dough, then carefully flip it into the prepared banneton, seam-side up. Dust the top of the dough (which will be the bottom of the loaf) with more rice flour.
- Cover the banneton tightly with a plastic bag or plastic wrap and refrigerate for 12-18 hours. This slow cold proof develops flavor and makes the dough easier to handle and score.
- Preheat your oven to 450°F (230°C) with your Dutch oven inside for at least 45-60 minutes. The Dutch oven needs to be thoroughly heated.
- Carefully remove the hot Dutch oven from the oven. Gently invert the dough from the banneton onto a piece of parchment paper. Using a lame or sharp razor blade, score the top of the dough. A simple cross or a single ear score works well.
- Carefully lift the dough by the parchment paper and transfer it into the hot Dutch oven. Place the lid on the Dutch oven and bake for 30 minutes.
- After 30 minutes, carefully remove the lid from the Dutch oven. Reduce the oven temperature to 400°F (200°C) and continue to bake for another 35-40 minutes, or until the crust is deeply golden brown and sounds hollow when tapped on the bottom. If the crust is browning too quickly, you can tent it loosely with foil.
- Carefully remove the loaf from the Dutch oven and transfer it to a wire cooling rack. Allow the bread to cool completely for at least 2-3 hours before slicing. This is crucial for the internal structure and texture of gluten-free bread.
Notes
Pro Tips for Making This Gluten Free Sourdough Bread
Baking sourdough, especially a gluten-free version, is a dance of patience and observation, much like learning any new skill in the kitchen. Here are a few things I’ve learned that make all the difference when crafting this Gluten Free Sourdough Bread.
The hydration of your dough is key for the best texture. If your dough feels too sticky, don’t be afraid to lightly dust your hands with a little rice flour during shaping. This prevents sticking and makes handling much easier.
My Secret Trick: I always recommend performing a “float test” with a small spoonful of your active gluten-free sourdough starter in water. If it floats, it’s ready to bake! This simple step ensures your starter has enough vigor to give your bread that beautiful rise.
When it comes to bulk fermentation, watch the dough, not just the clock. The ideal environment for fermentation can vary depending on your kitchen’s temperature. Look for a visible increase in volume and signs of bubbling activity before moving on to the next step.
For that irresistible golden crust on your Gluten Free Sourdough Bread, ensure your oven is fully preheated, including your Dutch oven, before placing the dough inside. This initial blast of heat is crucial for oven spring and a crispy exterior.
Fun Variations for Gluten Free Sourdough Bread
One of the joys of home baking is making a recipe truly your own! While this classic Gluten Free Sourdough Bread is wonderful on its own, a few simple additions can add delightful twists.
Herb & Garlic Infusion
My friend Clara loves savory breads, so I often fold in a quarter cup of finely chopped fresh rosemary and two cloves of minced garlic during the final mixing stage. It adds an incredible aroma and flavor that’s perfect for dipping in olive oil.
Seeded Sourdough
For an extra texture and nutty flavor, consider adding a mix of seeds! I often incorporate a blend of sunflower, pumpkin, and flax seeds—about a quarter cup total—into the dough after the bulk fermentation. It gives the Gluten Free Sourdough Bread a lovely crunch and an extra boost of fiber.
Olive & Sundried Tomato Swirl
Feeling a little adventurous? After the bulk fermentation, gently press the dough into a rectangle and scatter a quarter cup of chopped kalamata olives and two tablespoons of chopped sun-dried tomatoes (oil-packed, drained) over the surface before shaping. The Mediterranean flavors are a wonderful complement to the sourdough tang.
What to Serve With Gluten Free Sourdough Bread
There’s something so comforting about a fresh slice of Gluten Free Sourdough Bread, and it truly shines with a variety of accompaniments. It’s not just a side; it’s an experience!
For a simple yet satisfying treat, I love toasting a thick slice and spreading it with creamy avocado, a sprinkle of flaky sea salt, and a dash of chili flakes for a delightful breakfast or snack. It’s quick, nourishing, and highlights the bread’s incredible texture.
This hearty loaf is also a fantastic companion to a warm bowl of soup or a vibrant garden salad. The crusty exterior and soft interior are perfect for soaking up every last bit of flavor. My mom always said a good piece of bread makes any meal feel special, and she was right!
Don’t forget the classics! A smear of good quality butter or a drizzle of your favorite olive oil and balsamic vinegar creates a simple, elegant starter. For a more indulgent moment, a slice of this Gluten Free Sourdough Bread with a dollop of homemade jam or a slice of artisanal cheese is pure bliss.
How to Store Gluten Free Sourdough Bread
Ensuring your beautiful Gluten Free Sourdough Bread stays fresh and delicious for as long as possible is just as important as the baking process itself! A little care goes a long way in preserving its wonderful texture and flavor.
Countertop Storage
Once completely cooled, your homemade Gluten Free Sourdough Bread is best stored at room temperature for the first 2-3 days. I find wrapping it tightly in a clean kitchen towel, then placing it in a bread box or a large, airtight container, works wonders. This helps maintain its crust while keeping the interior moist.
Freezing for Freshness
For longer storage, freezing is your best friend! Slice the bread first, or wrap the entire cooled loaf tightly in plastic wrap, followed by a layer of aluminum foil. This dual protection helps prevent freezer burn. It will keep beautifully for up to 2-3 months. When you’re ready for a slice, simply remove it from the freezer and let it thaw on the counter, or pop individual slices directly into the toaster.
Reheating Tips
To revive a whole loaf that’s been on the counter for a day or two, I like to lightly spritz it with water and warm it in a preheated 350°F (175°C) oven for about 10-15 minutes. This brings back that wonderful crisp crust and warm, soft interior, making your Gluten Free Sourdough Bread taste freshly baked again.
Nutritional Benefits
This Gluten Free Sourdough Bread offers a delightful combination of wholesome goodness. Made with a blend of brown rice flour and sorghum flour, it provides dietary fiber and essential nutrients, contributing to a satisfying and nourishing experience. It’s a testament to how simple, quality ingredients can create a treat that’s both indulgent and beneficial.
FAQs
Faq 1
Can I use a different gluten-free flour blend?
While this recipe is optimized for the specific blend of brown rice, sorghum, and tapioca, you may experiment with other gluten-free bread flour blends. Be aware that results can vary, and you might need to adjust the water slightly for the perfect dough consistency of your Gluten Free Sourdough Bread.
Faq 2
How do I know my sourdough starter is active enough?
An active gluten-free sourdough starter will have doubled in size and be bubbly, light, and airy. The “float test” is a reliable indicator: a small spoonful dropped into water should float readily, confirming it’s potent enough for baking this Gluten Free Sourdough Bread.
Faq 3
Why is psyllium husk powder important in this recipe?
Psyllium husk powder acts as a crucial binder and provides elasticity to gluten-free dough, mimicking the role of gluten. It gives this Gluten Free Sourdough Bread its structure, chewiness, and helps it hold shape, which is vital for a successful loaf.
Faq 4
Can I skip the overnight cold proof?
The overnight cold proof is highly recommended for developing deep flavor and improving the texture of your Gluten Free Sourdough Bread. While you could shorten it, you’ll miss out on the full benefits, including the signature sourdough tang and easier handling.
Conclusion
Baking your own Gluten Free Sourdough Bread is more than just making a meal; it’s about connecting with a timeless tradition and creating something truly special with your own hands. This recipe is a journey, a delightful experience that fills your home with incredible aromas and your table with a hearty, wholesome loaf. I truly hope you find as much joy in baking and sharing this bread as I do. Remember, every homemade dessert, every piece of bread, is a chance to sprinkle a little love and create sweet memories that last a lifetime. Happy baking, my friends!