Ingredients
Equipment
Method
- In a large mixing bowl, combine the warm water and honey. Sprinkle the active dry yeast over the mixture. Let sit for 5-10 minutes, until foamy. This indicates the yeast is active.
- Stir in the vegetable oil (or melted butter). In a separate bowl, whisk together the whole wheat flour, all-purpose flour, and salt. Gradually add the flour mixture to the wet ingredients, mixing with a wooden spoon or a stand mixer with a dough hook until a shaggy dough forms.
- Turn the dough out onto a lightly floured surface (if kneading by hand) or continue with the stand mixer. Knead for 8-10 minutes, or until the dough is smooth, elastic, and passes the windowpane test (a small piece of dough can be stretched thin enough to see light through it without tearing). Add small amounts of flour if the dough is too sticky, but avoid adding too much.
- Lightly grease the mixing bowl with a little oil. Place the dough in the bowl, turning once to coat. Cover the bowl with plastic wrap or a clean kitchen towel. Let the dough rise in a warm place until doubled in size, approximately 60-90 minutes at high altitude. Be observant, as dough can rise faster.
- Gently punch down the risen dough to release air. Turn it out onto a lightly floured surface. Flatten the dough into a rectangle (about 9x12 inches). Starting from one of the longer sides, tightly roll the dough into a log. Pinch the seam closed and tuck in the ends.
- Grease a 9x5 inch loaf pan. Place the shaped dough seam-side down into the prepared pan. Cover loosely with plastic wrap or a kitchen towel. Let rise again in a warm place for 30-45 minutes, or until the dough has risen about 1 inch above the rim of the pan. Again, observe carefully for faster rising.
- While the dough is on its second rise, preheat your oven to 375°F (190°C). This higher temperature is often beneficial for high altitude baking. Once preheated, bake the bread for 30-35 minutes, or until the crust is golden brown and the internal temperature reaches 200-210°F (93-99°C) when measured with an instant-read thermometer.
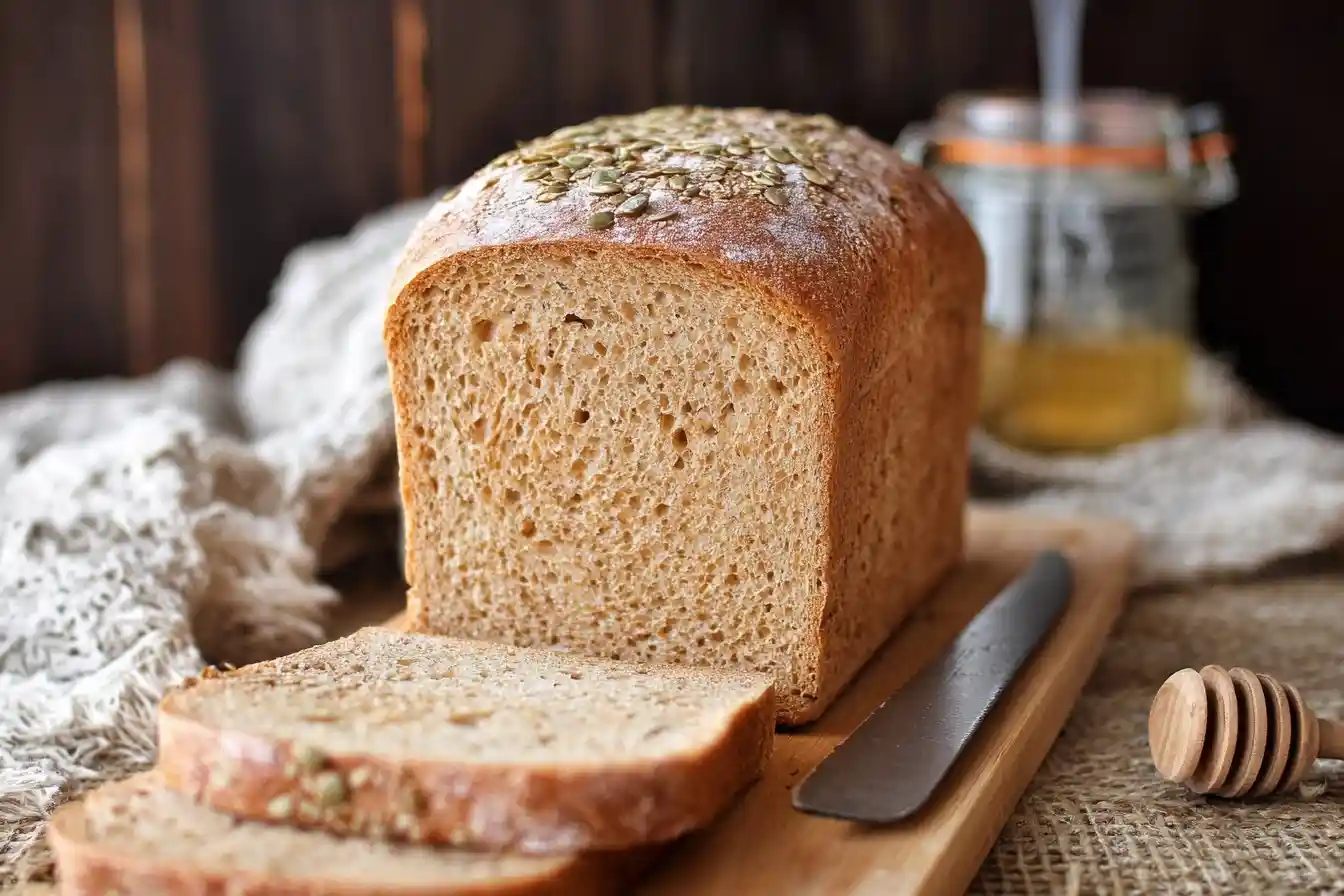
- Immediately remove the bread from the loaf pan and transfer it to a wire rack to cool completely before slicing. Slicing warm bread can result in a gummy texture.
Notes
High Altitude Tips: Dough rises faster, so watch it closely during both proofing stages. The slightly increased yeast and oven temperature help achieve a good rise and crumb. Store leftover bread tightly wrapped at room temperature for up to 3-4 days, or freeze for longer storage.