Ingredients
Equipment
Method
- In a small bowl, combine the warm water, granulated sugar, and instant yeast. Stir gently and let sit for 5-10 minutes until foamy. This step ensures your yeast is active. If using fresh instant yeast, you may add it directly to the dry ingredients in the next step.
- In the bowl of a stand mixer fitted with the paddle attachment (or a large mixing bowl if mixing by hand), whisk together the gluten-free flour blend and salt until well combined.
- Add the foamy yeast mixture (or warm water, yeast, and sugar if skipping proofing), 2 tablespoons of olive oil, and apple cider vinegar to the dry ingredients.
- Mix on low speed for 2 minutes, then increase to medium speed and mix for another 3-4 minutes, scraping down the sides of the bowl as needed. The dough will be soft and sticky, more like a thick batter than traditional wheat dough.
- Lightly oil a clean large bowl with a little extra olive oil. Transfer the sticky dough to the oiled bowl, turning once to coat. Cover the bowl tightly with plastic wrap or a clean kitchen towel. Let the dough rise in a warm place for 45-60 minutes, or until it has visibly doubled in size.
- While the dough is rising (or towards the end of the rise time), preheat your oven to 425°F (220°C). If using a pizza stone or baking steel, place it in the oven during preheating to allow it to get thoroughly hot. Line two baking sheets with parchment paper.
- Gently divide the risen dough in half. On one of the prepared parchment-lined baking sheets, lightly oil your hands to prevent sticking. Gently press and spread one half of the dough into a 10-inch round, aiming for about 1/4-inch thickness. If the dough springs back, let it rest for a few minutes then continue pressing. Repeat with the second half of the dough on the other baking sheet.
- Carefully transfer one parchment-lined dough round (on its baking sheet or directly onto the hot pizza stone/steel if using) to the preheated oven. Bake for 8-10 minutes, or until the edges are lightly golden and the crust is set but still pale in the center. Remove from the oven and repeat with the second crust.
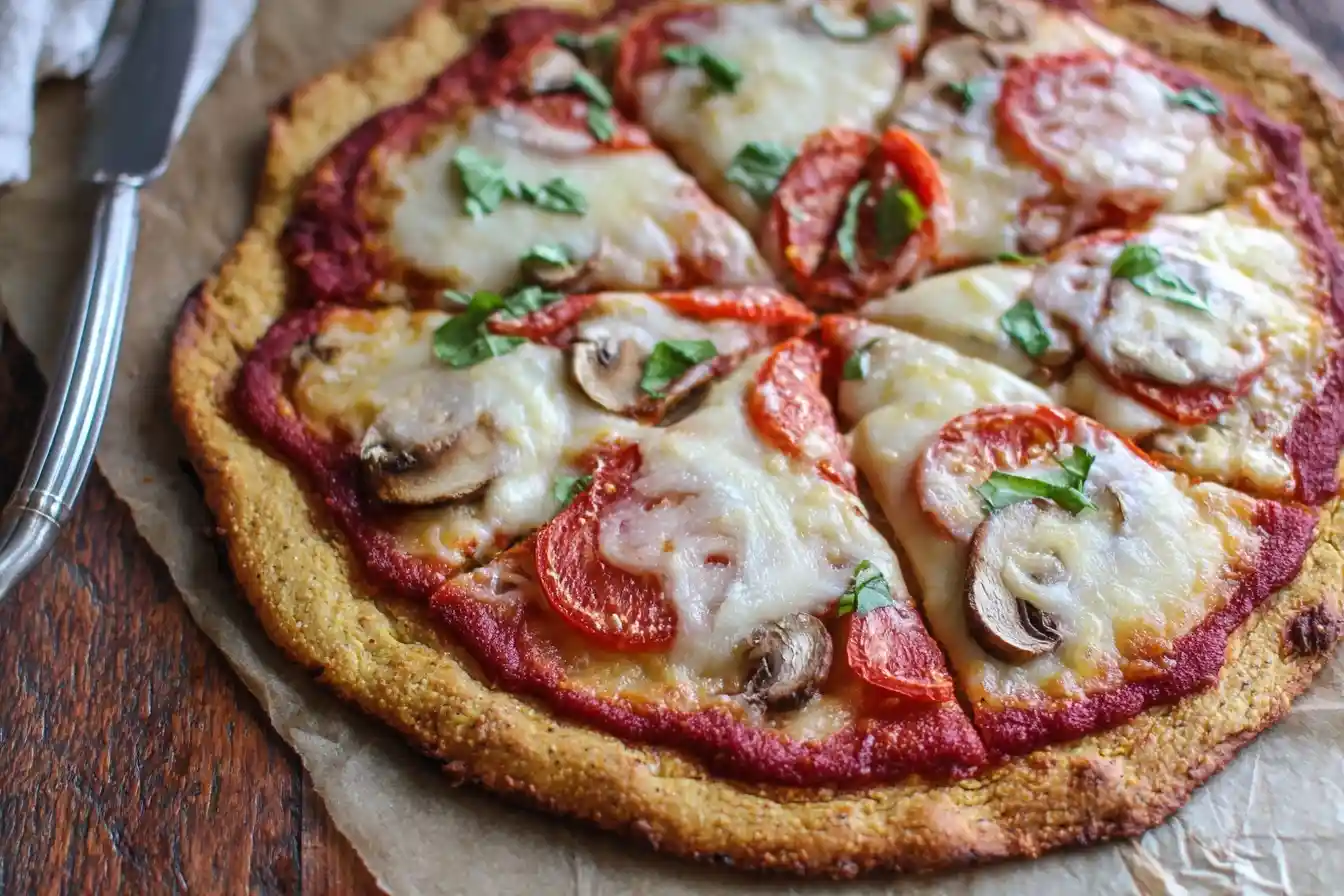
- Remove the pre-baked crusts from the oven. Add your desired sauce, cheese, and toppings. Return the topped pizzas to the oven and bake for another 10-15 minutes, or until the cheese is melted and bubbly, and the crust edges are golden brown and crispy.
- Let the pizzas cool for a few minutes before slicing and serving to allow the cheese to set and the crust to firm up slightly.
Notes
A high-quality gluten-free all-purpose flour blend (one that contains xanthan gum) is crucial for the best results and texture. Brands can vary significantly, so stick to one you trust for gluten-free baking. Do not overwork the dough when shaping; gluten-free dough is delicate and doesn't develop gluten like traditional dough. Pre-baking the crust is a key step to prevent a soggy bottom and achieve that coveted crispy texture. Leftover pre-baked crusts (without toppings) can be cooled completely, wrapped tightly in plastic wrap and then foil, and frozen for up to 1 month. Thaw at room temperature before adding toppings and baking.