Ingredients
Equipment
Method
Mixing the Dough
- In a large mixing bowl, combine the active sourdough starter with the warm water. Stir gently with a spoon or whisk until the starter is mostly dissolved.
- Add the bread flour, all-purpose flour, granulated sugar, and fine sea salt to the bowl. Mix with a Danish dough whisk or a sturdy spoon until a shaggy dough forms and no dry flour remains. Ensure all ingredients are well combined.
- Cover the bowl with plastic wrap or a damp towel and let the dough rest for 30 minutes. This period, known as autolyse, allows the flour to fully hydrate.
- After the rest, add the softened unsalted butter to the dough. Using your hands, work the butter into the dough until it is fully incorporated. This may take a few minutes and the dough might seem messy at first, but keep kneading gently in the bowl until smooth.
Bulk Fermentation (First Rise)
- Perform the first set of 'stretch and folds'. With wet hands, grab a portion of the dough from one side, gently stretch it upwards, and fold it over to the opposite side of the bowl. Rotate the bowl and repeat this action 3-4 times until you've gone all around. Cover the bowl.
- Repeat the stretch and fold process every 30 minutes for the first 2 hours of bulk fermentation (a total of 4 sets).
- After the initial stretch and folds, cover the bowl and let the dough continue to rise at room temperature (ideally 72-76°F / 22-24°C) for another 2-4 hours, or until it has visibly increased in volume by about 50-75% and looks bubbly and active. The exact time will depend on your starter's activity and ambient temperature.
Shaping and Proofing (Second Rise)
- Lightly flour your work surface. Gently turn the dough out onto the surface. Carefully pat it into a rough rectangle. Fold the top third of the rectangle down, then fold the bottom third up, like folding a business letter. Turn the dough over, seam side down, and let it rest for 20-30 minutes, covered with plastic wrap or a clean towel, to allow the gluten to relax.
- Lightly grease a 9x5 inch loaf pan. After the rest, gently flatten the dough into a rectangle again. Starting from one long edge, roll the dough tightly into a log, pinching the seam closed as you go. Pinch the ends closed as well to create tension. Place the shaped dough, seam-side down, into the prepared loaf pan.
- Cover the loaf pan loosely with plastic wrap or a proofing bag. For best flavor development and easier scheduling, refrigerate the dough for 8-12 hours (or up to 24 hours). Alternatively, proof at room temperature for 2-4 hours, until the dough is visibly puffy and springs back slowly when gently poked with a floured finger.
Baking
- About 30-45 minutes before baking, preheat your oven to 400°F (200°C) with a rack positioned in the middle.
- Once the oven is preheated and the dough is proofed, place the loaf pan in the oven. Bake for 35-45 minutes, or until the crust is deeply golden brown and the internal temperature reaches 200-210°F (93-99°C). If the top browns too quickly, you can loosely tent it with aluminum foil for the remaining bake time.
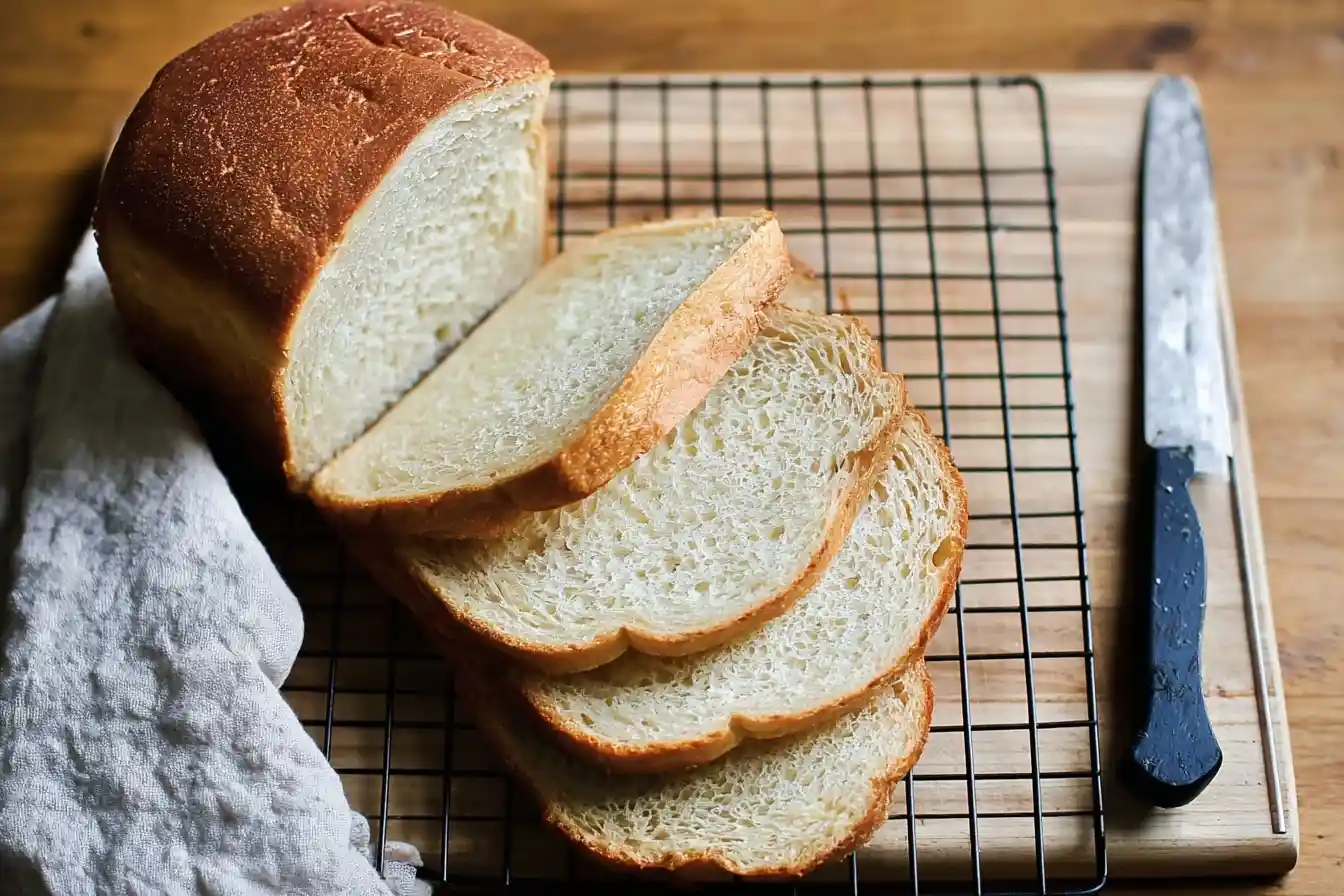
- Carefully remove the bread from the loaf pan immediately after baking and transfer it to a wire rack to cool completely. It is crucial to let the bread cool for at least 2-3 hours before slicing; slicing warm sourdough can result in a gummy texture.
Notes
For a slightly richer flavor and softer crumb, you can substitute 50-100g of warm milk for an equal amount of water in the recipe. If your kitchen is particularly cool, the bulk fermentation and proofing times may be longer. Monitor the dough's activity rather than strictly adhering to timings. Store leftover bread at room temperature in an airtight container or bread bag for up to 3-4 days. For longer storage, slice the cooled bread and freeze in an airtight bag for up to 2-3 months.