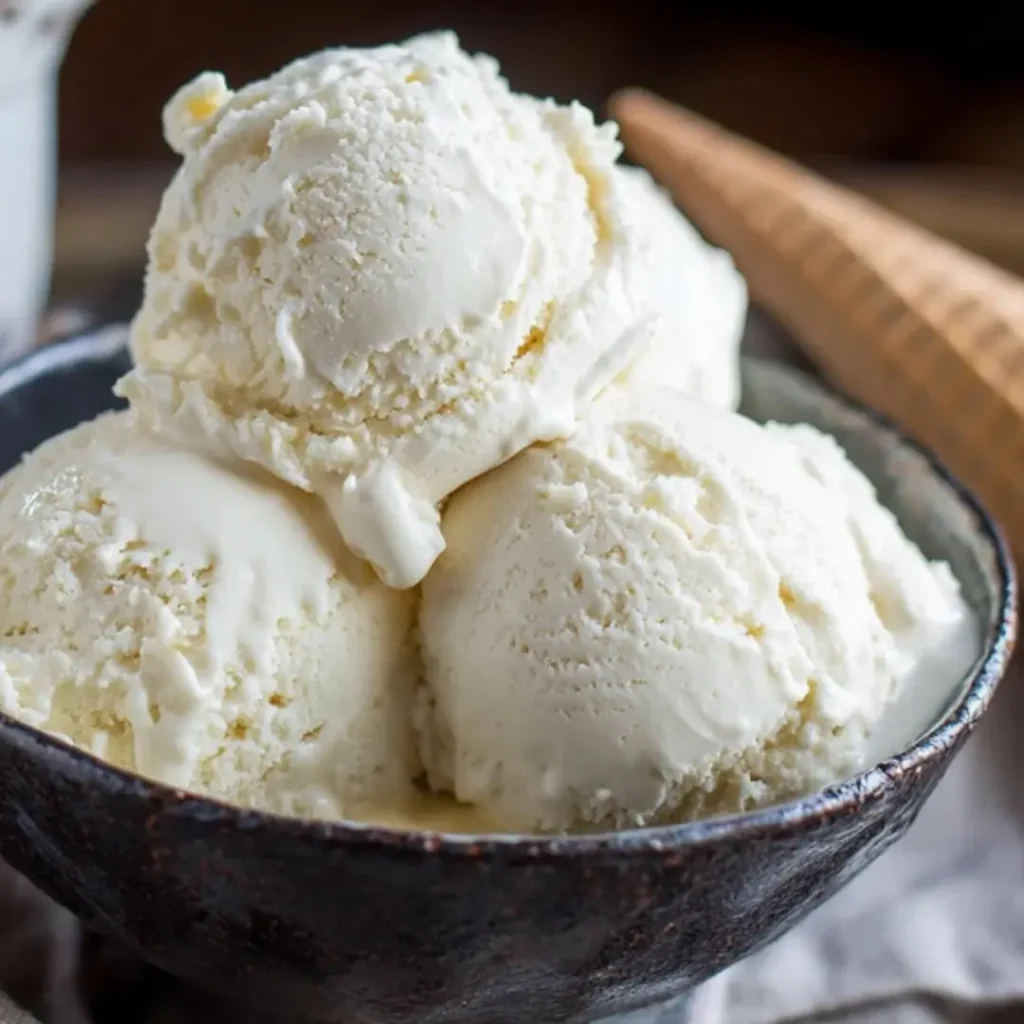
Oh, sweet friends, there’s nothing quite like the silken embrace of homemade ice cream, is there? And when it comes to classic comfort, a truly velvety No Churn Vanilla Bean Ice Cream holds a special place in my heart. Imagine that rich, creamy texture, infused with specks of real vanilla, melting ever so slowly on your tongue – it’s a simple pleasure that transports you straight back to the best kind of childhood summer days.
I remember countless afternoons spent with my grandmother, her kitchen filled with the scent of vanilla, whisking and stirring, though back then, an ice cream machine was a luxury we didn’t have. It taught me the magic of creating something truly special with just a few humble ingredients and a lot of love, much like this delightful recipe.
This recipe is a true marvel because it’s wonderfully easy to make, even for the busiest home baker, and it always brings smiles to everyone around the table. My top tip? Don’t rush the chilling process – patience is truly a virtue when you’re waiting for this kind of magic to happen!
What You Need to Make This Recipe
Crafting this creamy delight requires just a few stars: rich heavy whipping cream for that luxurious texture, sweet condensed milk for perfect sweetness and body, and pure vanilla bean paste for an unparalleled depth of flavor. These simple ingredients come together to form the most wonderful No Churn Vanilla Bean Ice Cream. You’ll find the full list of measurements in the recipe card below.
How to Make No Churn Vanilla Bean Ice Cream
Creating this dreamy ice cream is surprisingly straightforward. You’ll simply whip the heavy cream until it forms soft peaks, then gently fold in the sweetened condensed milk and vanilla bean paste. Once combined, pour the mixture into a freezer-safe container and let time work its magic. Before you know it, you’ll have a scoopable, delightful No Churn Vanilla Bean Ice Cream ready to enjoy.
Velvety No Churn Vanilla Bean Ice Cream
Ingredients
Equipment
Method
- Chill a large mixing bowl and the whisk attachment of your electric mixer in the freezer for 10-15 minutes. This helps the cream whip faster and achieve better volume.
- Pour the cold heavy whipping cream into the chilled bowl. Using an electric mixer on medium-high speed, whip the cream until stiff peaks form. This should take about 3-5 minutes. Be careful not to over-whip, or it will turn grainy.
- In a separate medium bowl, combine the sweetened condensed milk, vanilla bean paste (or scraped vanilla bean/vanilla extract), and salt. Stir well until thoroughly combined.
- Gently fold about one-third of the whipped cream into the sweetened condensed milk mixture using a rubber spatula. This lightens the condensed milk base.
- Add the remaining whipped cream and continue to gently fold until no streaks of white cream remain, and the mixture is uniformly combined. Be careful not to deflate the whipped cream.
- Pour the ice cream mixture into a 9×5 inch loaf pan or another freezer-safe container. Smooth the top with the spatula.
- Cover the surface of the ice cream directly with plastic wrap or parchment paper to prevent ice crystals from forming. Then, cover the pan tightly with aluminum foil or a lid. Freeze for at least 6-8 hours, or preferably overnight, until firm.
- Scoop and serve your delicious No Churn Vanilla Bean Ice Cream!
Notes
Pro Tips for Making This No Churn Vanilla Bean Ice Cream
To ensure your No Churn Vanilla Bean Ice Cream turns out perfectly creamy every single time, I’ve gathered a few tried-and-true tips from my own kitchen adventures.
Always make sure your heavy whipping cream is very cold before you start. This makes all the difference in achieving those beautiful, fluffy peaks. It’s a small detail that yields big results!
My Secret Trick: I always chill my mixing bowl and whisk attachment in the freezer for about 15 minutes before whipping the cream. This extra cold environment helps the cream whip up faster and hold its volume beautifully, leading to an even airier ice cream base.
When folding the sweetened condensed milk and vanilla into the whipped cream, be gentle. You want to incorporate them fully without deflating all that wonderful air you’ve just worked so hard to create. This delicate touch ensures your finished ice cream remains light and airy, not dense.
For the very best flavor, don’t skimp on quality vanilla bean paste. It truly makes all the difference, giving you those beautiful vanilla specks and a deep, authentic vanilla flavor that sets this No Churn Vanilla Bean Ice Cream apart.
Fun Variations for No Churn Vanilla Bean Ice Cream
One of the joys of baking is making a recipe your own, and this No Churn Vanilla Bean Ice Cream is a wonderful canvas for creativity!
Flavor Swirls
My sister always asks me to swirl in raspberry jam right before freezing – the tartness is a delightful counterpoint to the sweet vanilla. You could also try a luscious caramel swirl, a rich chocolate fudge ribbon, or even a tangy lemon curd for a burst of sunshine.
Mix-Ins
For a textural delight, consider adding crunchy mix-ins after combining the base. Crushed cookies like Oreos or graham crackers are always a hit. A friend loves when I fold in mini chocolate chips or toasted pecans for an added layer of flavor and crunch.
Fruit Infusion
For a fresh, summery twist, you could gently fold in fresh berries, finely diced peaches, or even a homemade fruit compote. Just be sure not to add too much liquid, or it might affect the freezing consistency of your delightful No Churn Vanilla Bean Ice Cream.
What to Serve With No Churn Vanilla Bean Ice Cream
This glorious No Churn Vanilla Bean Ice Cream is absolutely delicious on its own, but it also makes a magnificent partner for so many other desserts.
I love serving a generous scoop alongside a warm slice of apple pie or a fudgy brownie – the contrast of warm and cold, soft and rich, is simply divine. It’s truly the perfect accompaniment.
For a simple yet elegant presentation, try it with a handful of fresh berries – strawberries, raspberries, or blueberries add a beautiful burst of color and a fresh, light counterpoint to the creamy ice cream. My mom always pairs it with a delicate almond biscotti for a delightful crunch.
A drizzle of homemade chocolate sauce, a dollop of whipped cream, and a sprinkle of colorful sprinkles instantly transform this humble No Churn Vanilla Bean Ice Cream into a festive treat that everyone will adore.
How to Store No Churn Vanilla Bean Ice Cream
Proper storage is key to keeping your homemade No Churn Vanilla Bean Ice Cream tasting as delightful as the day you made it.
Freezer Storage
Once your ice cream is fully frozen, transfer it to an airtight, freezer-safe container. This helps prevent ice crystals from forming and maintains that lovely, smooth texture. I like storing it in a shallow, rectangular container for easier scooping later. Properly stored, your No Churn Vanilla Bean Ice Cream will stay fresh and delicious for up to two weeks in the freezer.
Serving Tips
When you’re ready to enjoy, let the container sit out at room temperature for 5-10 minutes before scooping. This allows the ice cream to soften just enough to become perfectly scoopable without melting completely. A personal tip from my kitchen: if it’s extra hard, running your scooper under hot water for a few seconds makes all the difference for effortless serving!
Nutritional Benefits
While it’s certainly a treat, this delicious No Churn Vanilla Bean Ice Cream offers a wonderful indulgence, made with simple, recognizable ingredients. It brings pure joy and satisfaction, reminding us that homemade desserts, crafted with a little love, can be both satisfying and nourishing for the soul.
FAQs
Faq 1
Can I use vanilla extract instead of vanilla bean paste?
Yes, you certainly can! While vanilla bean paste offers a richer flavor and those lovely specks, an equal amount of good quality pure vanilla extract can be substituted. Your No Churn Vanilla Bean Ice Cream will still be wonderfully flavorful.
Faq 2
How long does it take for the ice cream to freeze?
Typically, your No Churn Vanilla Bean Ice Cream will need at least 6 hours to fully set in the freezer. For the best, firmest results, I always recommend freezing it overnight. Patience truly makes for the perfect scoop!
Faq 3
Can I make this recipe dairy-free?
Unfortunately, this particular recipe relies heavily on dairy for its creamy texture and no-churn method. Substituting dairy-free alternatives might alter the consistency significantly. It’s best to look for a dedicated dairy-free No Churn Vanilla Bean Ice Cream recipe.
Faq 4
Why is my no-churn ice cream icy?
Icy texture usually means too much air was incorporated, or it wasn’t frozen in an airtight container. Be gentle when folding the ingredients, and ensure your container is sealed well to keep air out and prevent ice crystals in your No Churn Vanilla Bean Ice Cream.
Conclusion
Making your own No Churn Vanilla Bean Ice Cream without a machine is truly a delightful journey, proving that the most magical desserts don’t need fancy equipment, just a dash of passion and a sprinkle of patience. I hope this recipe inspires you to create your own sweet memories, just as it does for me. So go on, whip up a batch, gather your loved ones, and savor every creamy, dreamy scoop. Happy baking, sweet friends!