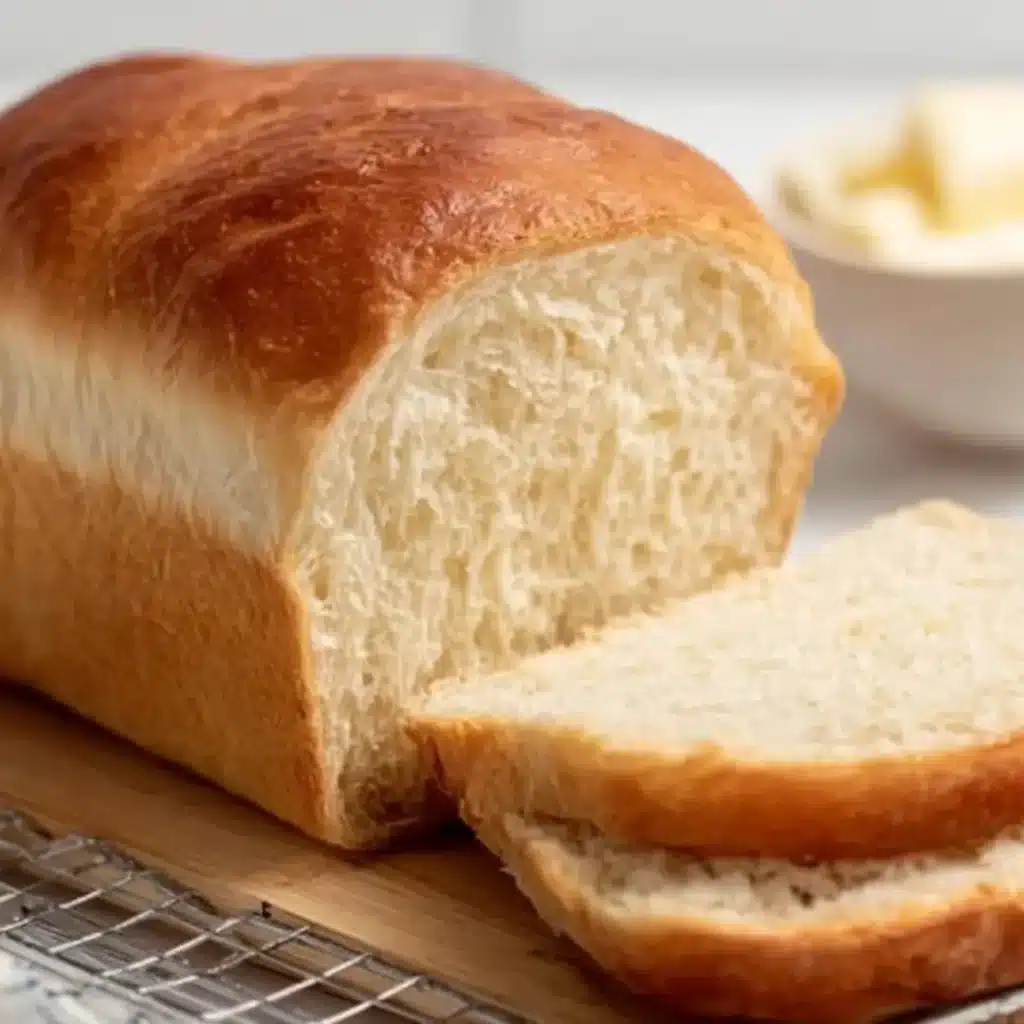
There is absolutely nothing that compares to the heavenly scent of fresh bread wafting through your kitchen, and this Amish White Bread is the gold standard of comfort. It’s remarkably soft, slightly sweet, and has that perfect golden crust that makes every slice feel like a warm hug. Whether you’re a seasoned baker or this is your very first loaf, trust me, you’re going to love this—it’s a total game-changer for your morning toast or afternoon sandwiches!
Why You’ll Love This Recipe
- Pantry Staples: You likely already have everything you need in your kitchen right now to whip up these beautiful loaves.
- Perfectly Sweet & Soft: The hint of sugar gives it that classic Amish bakery flavor and creates an incredibly tender crumb.
- Beginner-Friendly: This is a very forgiving dough that is a joy to knead and work with, making it the perfect “confidence booster” recipe.
Ingredients
Before we get started, let’s gather up our ingredients. This simple list creates magic!
- Warm Water: This acts as the “wake-up call” for your yeast; make sure it’s warm to the touch but not hot.
- White Sugar: Not only does this sweeten the bread, but it also feeds the yeast to help those loaves rise nice and high.
- Active Dry Yeast: The secret to that airy, light texture we all crave in a homemade loaf.
- Salt: Essential for balancing the sweetness and tightening the gluten structure.
- Vegetable Oil: This is the key to a moist bread that stays soft for days.
- Bread Flour or All-Purpose Flour: Provides the structure; bread flour will give you a slightly chewier bite, while all-purpose keeps it very tender.
- Melted Butter: Our finishing touch! Brushing this on at the end creates a silky-smooth, flavorful crust.
Note: The specific measurements for each ingredient are located just below this article in the recipe card.
How to Make the Recipe
Step 1: Proof the Yeast
In your large mixing bowl, stir the warm water and sugar together until dissolved. Sprinkle the yeast over the top and let it sit for about 5–10 minutes. You’re looking for it to become foamy and bubbly—that’s how you know it’s alive and ready to work!
Step 2: Mix the Liquid Base
Once your yeast is happy and foamy, gently stir in the salt and vegetable oil.
Step 3: Build the Dough
Gradually add your flour, one cup at a time. Keep stirring until a soft dough forms and starts pulling away from the sides of the bowl. It might look a little shaggy at first, but don’t worry, it’s coming together!
Step 4: Knead Until Smooth
Turn the dough onto a lightly floured surface. Now for the fun part! Knead the dough for 5–8 minutes. You’re looking for it to become smooth, elastic, and slightly tacky but not sticky.
Step 5: The First Rise
Place the dough in a lightly greased bowl and turn it once to coat. Cover it with a clean kitchen towel and let it nap in a warm, draft-free spot for about an hour, or until it has doubled in size.
Step 6: Shape the Loaves
Gently punch the dough down to release the air. Divide it into two equal portions. To get that perfect bakery shape, flatten each piece into a rectangle and roll it up tightly like a jelly roll, pinching the seams shut.
Step 7: The Second Rise
Place your shaped loaves into greased 9×5 inch pans. Cover them again and let them rise for another 30–40 minutes until they’ve peeked just above the rim of the pan.
Step 8: Bake and Butter
Bake at 350°F for 25–30 minutes until the tops are a beautiful golden brown. As soon as they come out of the oven, brush those tops generously with melted butter. Let them cool for about 10 minutes before slicing into that pillowy goodness.

Amish White Bread
Ingredients
Equipment
Method
- In a large bowl, dissolve the sugar in warm water and stir in the yeast. Let it sit for 5–10 minutes until foamy.
- Add salt and vegetable oil to the yeast mixture and mix well.
- Gradually add flour one cup at a time, mixing until a soft dough forms.
- Knead the dough on a floured surface for about 8–10 minutes until smooth and elastic.
- Place the dough in a greased bowl, cover, and let rise for about 1 hour or until doubled in size.
- Punch down the dough and divide it into two equal portions. Shape each into a loaf.
- Place the loaves into greased loaf pans, cover, and let rise again for 30 minutes.
- Bake in a preheated oven at 350°F (175°C) for 28–30 minutes until golden brown.
- Remove from pans and cool on a wire rack before slicing.
Notes
Pro Tips for Making the Recipe
- Temperature Matters: Use a thermometer for your water if you can! If the water is too hot, it will kill the yeast; too cold, and it won’t activate. 110°F is the “sweet spot.”
- Don’t Over-Flour: Add the flour gradually. You want the dough to be soft; adding too much flour can lead to a dense, heavy loaf.
- The Windowpane Test: To see if you’ve kneaded enough, stretch a small piece of dough. If it stretches thin enough to see light through it without tearing, you’re good to go!
How to Serve
This versatile bread is perfect for just about anything:
- Warm with Jam: Slice it thick while it’s still slightly warm and slather with salted butter and strawberry jam.
- The Ultimate Sandwich: Use it for a classic grilled cheese or a stacked turkey club—the structure holds up beautifully!
- French Toast: If you have a few slices left over the next day, they make the most decadent, fluffy French toast.
Make Ahead and Storage
Storing Leftovers
Keep your bread in an airtight bag or container at room temperature for up to 4–5 days. Since there are no preservatives, it’s best enjoyed fresh!
Freezing
This bread freezes like a dream. Wrap the cooled loaves tightly in plastic wrap and then foil. It will stay fresh in the freezer for up to 3 months.
Reheating
To get that “just-baked” feel, wrap a slice in a damp paper towel and microwave for 10 seconds, or toast it until golden.
FAQs
- Can I use a stand mixer for this recipe? Absolutely! Use the dough hook attachment on low-medium speed to mix and knead the dough. It usually takes about 5–7 minutes in the mixer to reach that smooth, elastic stage.
- Why didn’t my bread rise? The most common culprits are expired yeast or water that was too hot. Always check the “best by” date on your yeast and ensure your rising spot is warm and away from cold drafts.
- Can I use whole wheat flour instead? You can sub in some whole wheat flour, but I recommend starting with a 50/50 split with white flour. Whole wheat is heavier and may require a little extra liquid to keep that signature Amish softness.
- How do I know when the bread is fully cooked? Besides the golden color, you can give the top of the loaf a gentle tap. If it sounds hollow, it’s done! If you use a thermometer, the internal temperature should be around 190°F.
This Amish White Bread Recipe is about to become a staple in your home! It’s simple, soulful, and honestly better than anything you can buy at the store. I can’t wait for you to take that first buttery bite—enjoy every second of it!