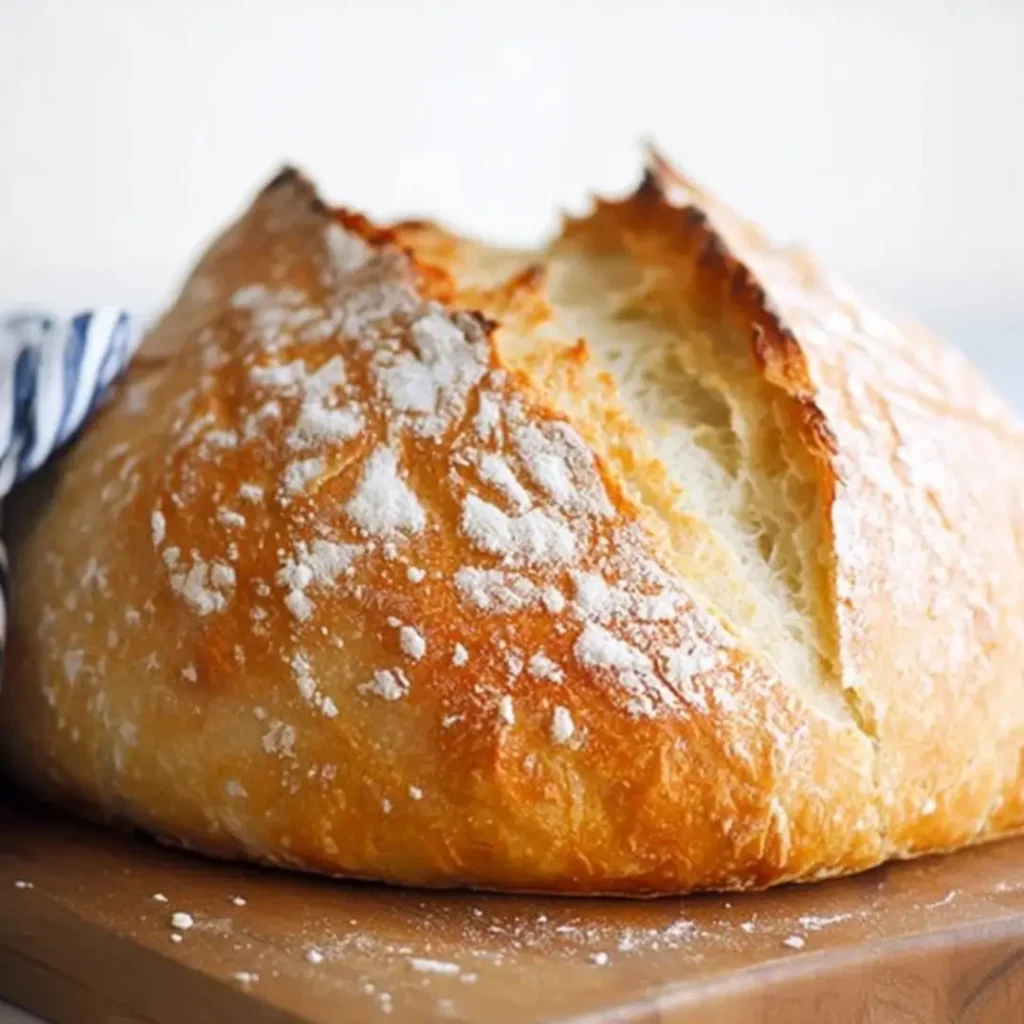
Oh, the aroma of freshly baked bread! There’s truly nothing quite like it, is there? And when it comes to the comforting, wholesome goodness of Gluten-Free Sourdough Bread, it holds a truly special place in my heart. This isn’t just any bread; it’s a rustic masterpiece with a wonderfully chewy crumb and that signature tangy crust that sings of slow fermentation and homemade love. It transforms a simple meal into something extraordinary, making every bite feel like a warm hug.
I remember my grandmother, bless her heart, always said the best ingredients were time and a little bit of patience. She’d spend hours kneading her traditional loaves, and while my journey with gluten-free baking has had its own delightful twists and turns, that fundamental truth remains. From those early days by her side, to countless experiments in my own kitchen, I’ve learned that the most rewarding bakes are those crafted with care, even when life is bustling around us.
That’s why I adore this simple no-knead recipe for Gluten-Free Sourdough Bread. It’s incredibly approachable, yielding a beautiful, hearty loaf perfect for family breakfasts, elegant dinner parties, or just a quiet afternoon with your favorite soup. My top tip for any aspiring baker is this: don’t rush the process, and let the magic of your active, bubbly starter do most of the hard work for you.
What You Need to Make This Recipe
Crafting this hearty loaf requires just a few simple, wholesome ingredients. We rely on a vibrant active, bubbly Gluten-Free Sourdough Starter for that quintessential tangy flavor, while psyllium husk powder and a blend of brown rice, sorghum, tapioca, and potato flours create the perfect structure for this delicious Gluten-Free Sourdough Bread. The full list of measurements and ingredients can be found in the recipe card below.
How to Make Gluten-Free Sourdough Bread
Baking your own Gluten-Free Sourdough Bread is a truly rewarding journey that begins with activating your starter and a gentle autolyse. We’ll then mix our gluten-free dough, allowing it to bulk ferment with several gentle stretch and folds to build strength. A final shaping and cold proofing in the fridge develop its deep flavors before it’s baked to a golden, crusty perfection. It’s an artful dance of time and temperature, but one that is wonderfully forgiving.

Hearty Gluten-Free Sourdough Loaf
Ingredients
Equipment
Method
- Ensure your gluten-free sourdough starter is active and ripe. Feed it 4-12 hours before you plan to mix your dough, ensuring it’s at its peak — bubbly, doubled in size, and passes the float test (a small spoonful floats in water).
- In a large mixing bowl, combine the warm water and psyllium husk powder. Whisk well and let it sit for 5-10 minutes until it forms a thick gel. This is crucial for gluten-free dough structure.
- Add the active gluten-free sourdough starter to the psyllium gel mixture and mix until well combined.
- In a separate bowl, whisk together the brown rice flour, sorghum flour, tapioca starch, potato starch, and fine sea salt until thoroughly combined.
- Add the dry flour mixture to the wet starter-psyllium mixture. Use a sturdy spoon or your hands to mix until all the flour is hydrated and a shaggy dough forms. It will be thick and sticky.
- Cover the bowl with a damp cloth or plastic wrap and let it rest for 30 minutes. This allows the flours to fully hydrate.
- Perform the first set of stretch and folds: Wet your hands slightly or lightly coat them with olive oil. Gently grab a portion of the dough from the side, stretch it upwards, and fold it over to the center. Rotate the bowl and repeat this 3-4 times until you’ve gone all around the dough. The dough will feel sticky but should start to gain some elasticity.
- Cover the bowl and let the dough rest for 30-45 minutes.
- Repeat the stretch and fold process three more times, with 30-45 minute rests in between each set. By the final set, the dough should feel smoother, more cohesive, and slightly more resilient.
- After the last set of stretch and folds, cover the bowl and let the dough bulk ferment at room temperature (around 70-75°F / 21-24°C) for 3-6 hours. The exact time will depend on your starter’s activity and room temperature. Look for the dough to increase in volume by about 20-30% and show some small bubbles on the surface.
- Lightly flour your work surface with gluten-free flour. Gently scrape the dough out of the bowl onto the floured surface. The dough will still be soft and somewhat sticky.
- Pre-shape: Gently pat the dough into a loose circle or rectangle. Then, gently fold the top third down to the center, the bottom third up over that, and then fold in the sides to form a somewhat tight ball or log. Let it rest, seam-side down, for 20 minutes, uncovered, to relax the gluten-free structure.
- Final shape: Lightly flour your hands and the dough. Gently flip the dough seam-side up. Shape it into a taut boule (round) or batard (oval) by using your hands or a dough scraper to create tension on the surface. You want to create a smooth, tight skin on the outside.
- Generously flour your banneton basket (or a bowl lined with a floured tea towel). Carefully transfer the shaped dough, seam-side up, into the banneton.
- Cover the banneton with plastic wrap or a shower cap and refrigerate for 8-16 hours (or up to 24 hours). Cold proofing develops flavor and makes the dough easier to handle and score.
- Preheat your oven to 450°F (232°C) with your Dutch oven inside for at least 30-45 minutes. This ensures the Dutch oven is scorching hot.
- Carefully remove the hot Dutch oven from the oven. Gently invert the cold dough onto a piece of parchment paper. Score the top of the dough with a lame or sharp knife (e.g., a single deep slash or a decorative pattern).
- Using the parchment paper as a sling, carefully lower the dough into the hot Dutch oven. Cover with the lid.
- Bake covered for 30 minutes.
- Remove the lid and continue baking for another 20-25 minutes, or until the crust is a deep golden brown and sounds hollow when tapped on the bottom. An internal temperature of 200-210°F (93-99°C) is ideal.
- Carefully remove the loaf from the Dutch oven and transfer it to a wire rack to cool completely for at least 2-3 hours before slicing. Slicing too early will result in a gummy texture.
Notes
Pro Tips for Making This Gluten-Free Sourdough Bread
Achieving that perfect loaf of Gluten-Free Sourdough Bread comes down to a few cherished techniques I’ve picked up over the years. These little nuggets of wisdom can truly transform your baking experience.
Perfecting Your Starter
Ensure your gluten-free sourdough starter is truly active and bubbly before you begin. I always feed my starter about 4-6 hours before I plan to use it, looking for those tell-tale tiny bubbles and a noticeable rise, usually doubling in volume. A strong starter is the backbone of a successful loaf!
Handling the Dough Gently
Unlike traditional wheat doughs, gluten-free dough benefits from a very light touch. When you’re doing your stretch and folds during bulk fermentation, think of it more as gently coaxing the dough than aggressively working it. This helps build structure without tearing the delicate gluten-free bonds.
My Secret Trick: I always make sure to lightly oil my hands when handling the dough, especially during the shaping phase. This prevents sticking and allows for a much smoother, less frustrating experience, helping you achieve a beautifully taut surface on your Gluten-Free Sourdough Bread before it goes into the proofing basket.
The Power of Cold Proofing
Don’t skip the cold proof! This step, where your dough rests in the refrigerator, is absolutely crucial for developing that deep, complex sourdough flavor and improving the crumb structure. It also makes the dough much easier to score and handle when it’s time to bake.

Fun Variations for Gluten-Free Sourdough Bread
One of the joys of home baking is making a recipe truly your own! While this classic Gluten-Free Sourdough Bread is wonderful on its own, there are so many delightful ways to add a personal touch. My sister, for instance, adores a savory twist, while I often lean towards nutty additions.
- Herby Goodness: Before the final shaping, try folding in a few tablespoons of finely chopped fresh rosemary and a sprinkle of dried thyme. It adds an incredible aroma and flavor that pairs beautifully with savory meals.
- Seedy Delight: For an extra nutritional boost and delightful crunch, incorporate a mix of sunflower seeds, pumpkin seeds, and flax seeds into the dough during the initial mixing stage. This makes for a wonderfully textured slice, perfect for toasting.
- Garlic & Onion Infusion: For a truly robust flavor, my friend Sarah always asks me to add a teaspoon of garlic powder and a half teaspoon of onion powder to the dry ingredients. It transforms your perfect Gluten-Free Sourdough Bread into an amazing accompaniment for Italian dishes or a fantastic base for bruschetta.
What to Serve With Gluten-Free Sourdough Bread
A hearty loaf of Gluten-Free Sourdough Bread is incredibly versatile and can elevate almost any meal. It’s about creating those comforting moments around the table, isn’t it?
- Classic Soup Pairing: There’s nothing quite as soul-satisfying as a thick slice of this bread dipped into a warm bowl of [[Hearty Winter Minestrone]] or a creamy tomato soup. It’s a match made in heaven, especially on a chilly evening.
- Avocado Toast elevated: My morning ritual often includes a perfectly toasted slice topped with creamy avocado, a sprinkle of flaky sea salt, and a dash of red pepper flakes. It’s a quick, nourishing breakfast that sings of simplicity.
- Cheese Board Companion: For entertaining, this rustic bread is the ideal partner for a beautiful cheese board, alongside some fig jam, olives, and a selection of cured meats. The tangy notes of the sourdough perfectly cut through rich cheeses.
- Simple Butter & Jam: Honestly, sometimes the best way to enjoy a slice of this incredible Gluten-Free Sourdough Bread is simply toasted with a generous spread of your favorite homemade berry jam and a dollop of good quality butter. It’s pure, unadulterated joy!
Storing Your Sourdough Loaf
After all that love and effort, you want your delicious loaf to stay fresh for as long as possible! Proper storage ensures that every slice remains as delightful as the first.
For short-term storage (1-2 days), I recommend keeping your fresh loaf at room temperature in a bread bag or a linen bread sack. This helps the crust remain crisp while keeping the interior soft. For longer periods, or if your home is particularly humid, you can wrap your Gluten-Free Sourdough Bread tightly in plastic wrap, then aluminum foil, and store it in the freezer for up to 3 months.
Reheating Frozen Slices
When you’re ready to enjoy a frozen slice, simply pop it directly into a toaster or bake it in a preheated oven at 350°F (175°C) for about 5-10 minutes, or until warmed through and crusty again. My personal tip for revitalizing a whole loaf is to lightly mist it with water before reheating in the oven; it helps bring back that lovely crispy crust!
Nutritional Benefits
Our hearty Gluten-Free Sourdough Bread isn’t just a treat for your taste buds; it also offers some lovely nutritional benefits. Sourdough fermentation can make grains easier to digest, and with a blend of brown rice, sorghum, tapioca, and potato starches, it provides a good source of complex carbohydrates. It’s a satisfying and nourishing way to enjoy a homemade staple.
FAQs
Faq 1
Why is psyllium husk powder used in this gluten-free sourdough bread recipe?
Psyllium husk powder acts as a crucial binder in gluten-free baking, mimicking the elasticity and structure that gluten provides in traditional bread. It helps the dough hold together, improves its texture, and gives the final loaf a pleasing chewiness.
Faq 2
Can I use a different gluten-free flour blend for this recipe?
While this recipe uses a specific blend for optimal results, you might experiment with pre-made gluten-free bread flour blends. However, be aware that varying blends can significantly affect the hydration and final texture of your gluten-free sourdough bread. Adjust water as needed.
Faq 3
How do I know if my gluten-free sourdough starter is active enough?
An active gluten-free sourdough starter will have visible bubbles on the surface and sides, it will have nearly doubled in volume since its last feeding, and it will float if you drop a small piece into a glass of water. This ensures proper leavening for your Gluten-Free Sourdough Bread.
Faq 4
Is it necessary to cold proof the dough overnight?
The cold proof is highly recommended as it significantly develops the flavor and improves the texture of your beautiful Gluten-Free Sourdough Bread. It also makes the dough much easier to handle and score before baking. While not strictly mandatory, it yields a superior loaf.
Conclusion
Baking your own Gluten-Free Sourdough Bread is a truly magical experience, bringing together simple ingredients and a dash of patience to create something incredibly delicious and deeply satisfying. This no-knead recipe makes the process approachable and rewarding, proving that with a little love, you can bring the joy of homemade bread to your kitchen. I hope this recipe inspires you to embrace the warmth and nostalgia of baking, creating not just a wonderful loaf, but cherished memories with every slice. Happy baking, sweet friends!