Oh, friends, there’s truly nothing quite like the comforting aroma of a warm Apple Crisp baking in the oven. It’s a dessert that speaks of cozy autumn evenings, family gatherings, and the simple joy of wholesome ingredients coming together to create something truly magical. With its tender, spiced apple filling bubbling beneath a golden, crunchy cinnamon oat topping, this classic treat embodies everything I adore about homemade sweets – pure comfort in every spoonful.
I remember countless childhood afternoons in my grandmother’s kitchen, where the scent of baking apples was as familiar as her warm hugs. She’d gather us around the counter, a bowl of sliced apples ready for their cozy spice bath, and her hands, flour-dusted and loving, would mix the oat topping. It felt like a ritual, a sweet secret passed down through generations, and every bite tasted like pure, unadulterated happiness.
This recipe for a delightful apple crisp is not only wonderfully easy to bake, making it perfect for any home baker, but it’s also a guaranteed family-pleaser, perfect for cozy weeknights or special celebrations. My little secret for that extra burst of flavor? A generous squeeze of fresh lemon juice in the apple filling brightens everything beautifully!
What You Need to Make This Recipe
Crafting this delightful dessert calls for a harmony of simple, wholesome ingredients. We’re talking crisp apples, warming ground cinnamon and nutmeg, and the delightful texture of old-fashioned rolled oats and light brown sugar for that irresistible crisp topping. I always find that using good quality unsalted butter truly elevates the flavor of a classic Apple Crisp, bringing a richness that makes all the difference. You’ll find the complete list of ingredients and precise measurements in the recipe card below.
How to Make Apple Crisp
Creating this glorious Apple Crisp is a journey of a few easy steps. First, you’ll prepare your oven and baking dish, setting the stage for sweet success. Next, we’ll dive into creating that luscious apple filling, a medley of tender apples, sugar, and warming spices. After that, it’s time to whip up the crisp oat topping that gives this dessert its signature crunch. Finally, everything comes together in the baking dish for a delightful bake, filling your home with the most inviting aromas.
Classic Homestyle Apple Crisp
Ingredients
Equipment
Method
- Preheat your oven to 375°F (190°C). Lightly grease a 9×13 inch (or 2.5-3 quart) baking dish with butter or non-stick spray.
- In a large mixing bowl, combine the peeled, cored, and sliced apples. Add the granulated sugar, 2 tablespoons of all-purpose flour, 1 teaspoon of ground cinnamon, 1/4 teaspoon of ground nutmeg, lemon juice, and a pinch of salt. Toss gently until the apples are evenly coated.
- Pour the apple mixture into the prepared baking dish, spreading it out into an even layer.
- In a medium mixing bowl, whisk together the 1 cup of all-purpose flour, old-fashioned rolled oats, light brown sugar, granulated sugar, 1 teaspoon of ground cinnamon, and 1/4 teaspoon of salt.
- Add the cold, cubed unsalted butter to the dry topping ingredients. Using your fingertips, a pastry blender, or two forks, cut the butter into the mixture until it resembles coarse crumbs with some pea-sized pieces of butter remaining. Do not overmix.
- Evenly sprinkle the crisp topping over the apple filling in the baking dish.
- Bake for 40-45 minutes, or until the topping is golden brown and the apple filling is bubbly and tender when pierced with a knife. If the topping starts to brown too quickly, you can loosely tent the dish with foil for the last 10-15 minutes of baking.
- Remove from the oven and let cool for at least 10-15 minutes before serving. This allows the juices to thicken slightly.
Notes
Pro Tips for Making This Apple Crisp
Getting that perfect, bubbling Apple Crisp isn’t hard, but a few little tricks I’ve learned over the years can make all the difference, turning a good crisp into an unforgettable one.
One of the best pieces of advice I can offer is to choose your apples wisely. A mix of sweet and tart varieties, like Granny Smith and Honeycrisp, creates the most balanced and interesting flavor profile for your apple crisp.
My Secret Trick: I always lightly toss my apple slices with a tablespoon of all-purpose flour before adding the spices. This little step helps to thicken the juices released during baking, ensuring your apple filling isn’t too watery and holds its shape beautifully.
When it comes to the topping, make sure your unsalted butter is very cold and cut into small cubes. This allows you to work it into the flour and oats quickly, creating those lovely crumbly bits that get wonderfully crisp in the oven, rather than melting away too fast.
And don’t rush the baking process! While the cook time is around 45 minutes, keep an eye out for that deep golden-brown topping and the visibly bubbling apple filling. That bubbling means the apples are tender and the flavors have truly melded together perfectly.
Fun Variations for Apple Crisp
One of the joys of home baking is the freedom to play and personalize! This classic Apple Crisp is a beautiful canvas for creativity, and I love encouraging you to make it your own.
- Seasonal Fruit Swaps: While apples are the star here, don’t be afraid to mix things up! For a summer twist, try adding some fresh peaches or berries to the apple filling. In the fall, a handful of cranberries or pears would be absolutely delightful. My sister always asks me to swirl in a bit of raspberry jam when I make a berry-apple crisp!
- Nutty Crunch: For an extra layer of texture and flavor, try adding half a cup of chopped pecans or walnuts to your oat topping. It adds a wonderful crunch and a hint of nutty richness that complements the apples beautifully.
- Spice It Up: While cinnamon and nutmeg are classics, feel free to experiment with other warming spices like a pinch of allspice or ground ginger in your apple filling for a slightly different aromatic profile. A friend of mine loves when I add a tiny bit of cardamom – it’s a game-changer!
What to Serve With Apple Crisp
Ah, the finishing touches! A warm, fragrant Apple Crisp is wonderful all on its own, but pairing it with a little something extra can elevate it to a truly magnificent dessert experience. Think of it as putting on your favorite cozy sweater – lovely on its own, but even better with a warm cup of tea!
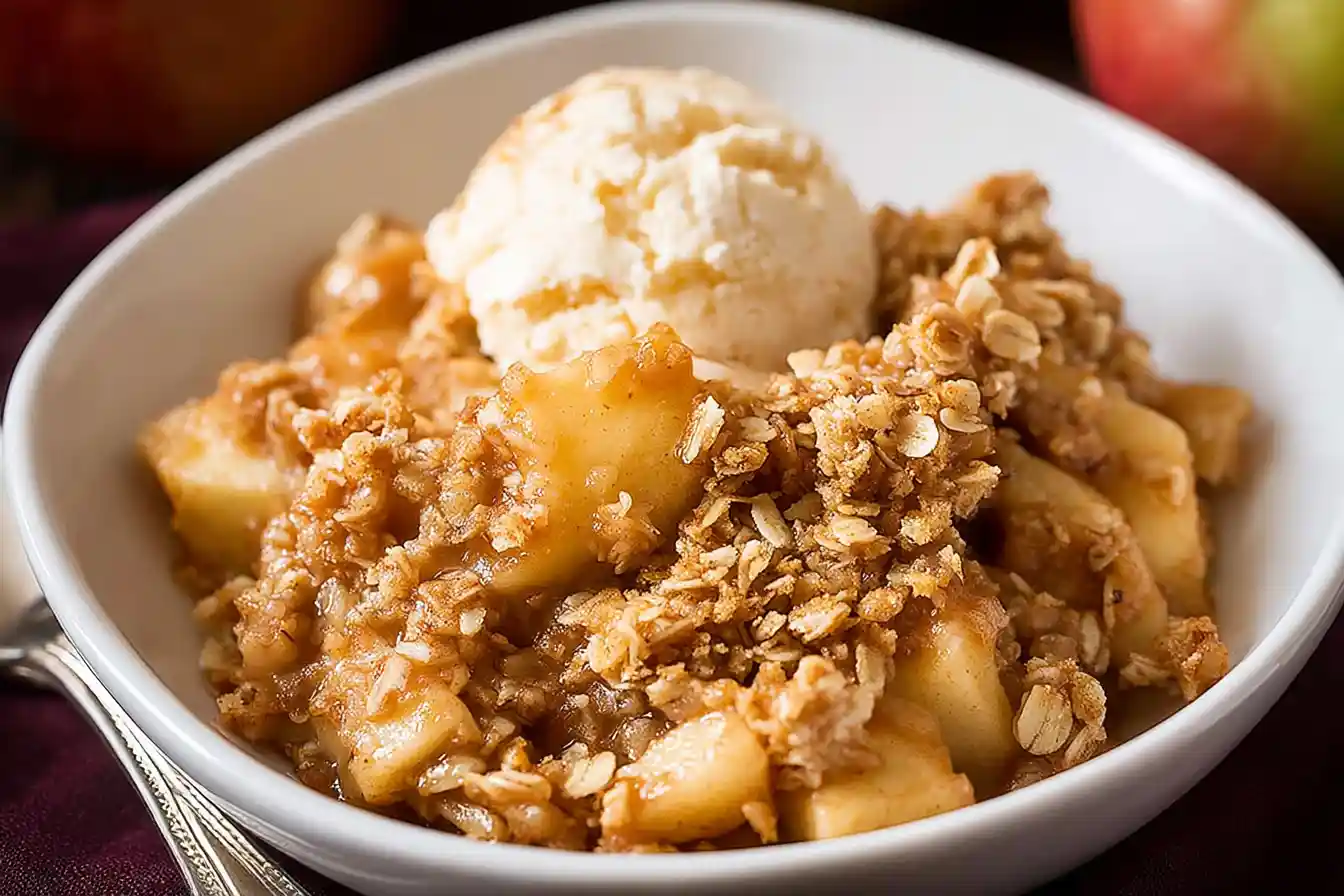
My absolute favorite way to serve this dessert is with a generous scoop of good quality vanilla bean ice cream. The cold, creamy ice cream melting into the warm, spiced apples is a match made in dessert heaven.
Another lovely option is a dollop of freshly whipped cream. You can even sweeten it lightly with a touch of maple syrup for an extra layer of flavor. My mom always pairs it with a hot cup of black coffee after Sunday dinner; she says the bitterness balances the sweetness perfectly!
For a simpler, yet equally delicious, pairing, consider a drizzle of warm caramel sauce over the top just before serving. It adds a touch of decadence without much effort, making your Apple Crisp feel even more special.
How to Store Apple Crisp
After all the love that goes into making a homemade dessert, we certainly want to keep it tasting fresh and delicious! Storing your leftover apple crisp properly means you can enjoy those comforting flavors for a few days more.
Fridge Storage
Once your apple crisp has cooled completely to room temperature, cover it tightly with plastic wrap or transfer it to an airtight container. It will keep beautifully in the refrigerator for up to 3-4 days.
Reheating Tips
To reheat, you can gently warm individual portions in the microwave until just warm through. However, I find the best way to bring back that lovely crisp topping is to reheat the crisp in a preheated oven at 300°F (150°C) for about 15-20 minutes, or until warmed through and the topping has re-crisped slightly. A light dusting of powdered sugar after reheating brings it back to life and adds a pretty touch!
Nutritional Benefits
While we bake for joy and flavor, it’s lovely to know our treats can offer a little something extra! This Apple Crisp, with its abundant apples, provides a good source of dietary fiber, which is wonderful for digestion. The oats in the topping also contribute fiber, making this a satisfying and comforting dessert that feels both indulgent and nourishing.
FAQs
Faq 1
Can I use different types of apples for this recipe?
Absolutely! I always recommend using a mix of sweet and tart apples, like Granny Smith and Honeycrisp, to achieve a balanced flavor profile in your Apple Crisp. Feel free to experiment with your favorites!
Faq 2
Can I make the crisp topping ahead of time?
Yes, you can! Prepare the oat topping as directed, then store it in an airtight container in the refrigerator for up to 3 days, or freeze it for up to a month. This makes assembling your Apple Crisp a breeze.
Faq 3
How do I know when the apple crisp is fully baked?
Your Apple Crisp is ready when the topping is a beautiful golden brown and the apple filling is visibly bubbling around the edges. You can also gently pierce an apple slice with a knife to ensure it’s tender.
Faq 4
Can I make this apple crisp gluten-free?
You certainly can! To make a gluten-free Apple Crisp, simply substitute the all-purpose flour in both the filling and topping with a gluten-free all-purpose flour blend, and ensure your rolled oats are certified gluten-free.
Conclusion
Baking this Old-Fashioned Apple Crisp with a Cinnamon Oat Topping isn’t just about creating a dessert; it’s about crafting memories, filling your home with warmth, and sharing a piece of your heart with loved ones. I hope this recipe inspires you to embrace the simple pleasure of baking, just as my grandmother inspired me. Remember, every whisk, every stir, and every sprinkle of cinnamon is a step towards a joyful, home-baked treat that brings people together. Happy baking, sweet friends!