Oh, friends, there’s truly nothing quite like the aroma of freshly baked bread wafting through your home. It’s a scent that instantly wraps you in warmth and nostalgia, promising a taste of comfort. This simple Homemade Bread Recipe will guide you to a soft, fluffy loaf with a perfectly crisp crust that feels straight out of a European bakery, yet it’s incredibly easy to achieve right in your own kitchen. It’s truly a magical transformation from just a few humble ingredients into something spectacular.
I still remember my grandmother, apron dusted with flour, teaching me the joy of baking. While her specialty was often sweet treats, the fundamental lessons of patience and simple ingredients creating wonders stuck with me. This bread reminds me of those cherished afternoons, a testament to how the simplest things, made with love, can be the most rewarding.
This no-knead artisan bread is a true kitchen hero – it’s incredibly forgiving, making it perfect for even the most hesitant bakers, and it brings pure joy to any meal. My biggest tip? Don’t be afraid to trust the process; the dough knows what it’s doing!
What You Need to Make This Recipe
Crafting this delightful loaf relies on just a handful of pantry staples. With good quality all-purpose flour, active dry yeast, a touch of salt, and water, you’re well on your way to a glorious Homemade Bread Recipe that’s both satisfying and surprisingly simple. I always recommend using a good quality active dry yeast, as it makes all the difference in your dough’s rise and texture. You’ll find the full list of ingredients and precise measurements in the recipe card just below.
How to Make Homemade Bread Recipe
Embarking on this Homemade Bread Recipe journey is a wonderfully straightforward process that requires minimal effort and maximum reward. You’ll start by preparing the simple, shaggy dough, allowing time for the yeast to work its magic. Next, it’s all about gently shaping your loaf, letting it rest once more, and then baking it to golden-brown perfection. It truly feels like magic how such a simple method yields such an incredible artisan loaf!
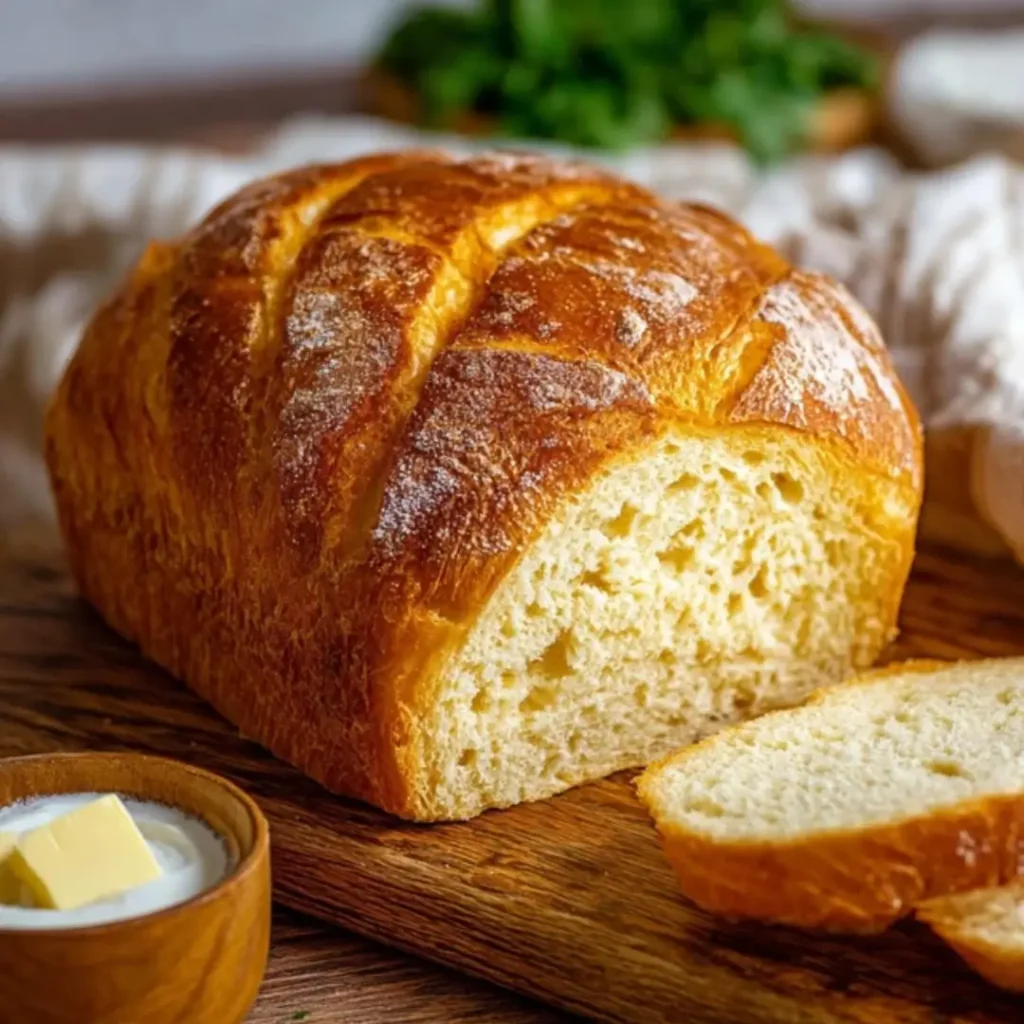
![A freshly sliced loaf of {{ $('Fetch Recipe Data').first().json["Main Keyword"] }} on a wooden cutting board, served with butter.](https://recipesdessert.net/wp-content/uploads/2026/03/homemade-bread-recipe.webp)
Classic No-Knead Artisan Bread
Ingredients
Equipment
Method
- In a large mixing bowl, combine the all-purpose flour, active dry yeast, and salt. Whisk briefly to distribute ingredients evenly.
- Add the room temperature water to the dry ingredients. Using a sturdy spatula or wooden spoon, mix until a shaggy, sticky dough forms and all the flour is incorporated. Do not overmix; a few lumps are fine.
- Cover the bowl tightly with plastic wrap or a clean kitchen towel. Let the dough rise at room temperature (ideally 68-72°F / 20-22°C) for a minimum of 12 hours, and up to 18 hours. The dough should be bubbly, significantly increased in volume, and have a strong, yeasty aroma.
- Once the dough has risen, lightly flour a clean work surface. Gently scrape the dough out of the bowl onto the floured surface. Fold the dough over on itself a few times to create a somewhat round shape, dusting with a little more flour if too sticky. Avoid deflating it too much.
- Place the shaped dough onto a large piece of parchment paper (about 12×12 inches). Cover loosely with plastic wrap or a kitchen towel and let it rest for 30 minutes while you preheat the oven.
- Place your Dutch oven (with the lid on) in the cold oven. Preheat the oven to 450°F (232°C). Allow the Dutch oven to preheat for at least 30 minutes after the oven reaches temperature to ensure it’s piping hot.
- Carefully remove the hot Dutch oven from the oven. Using the parchment paper as a sling, gently lower the dough into the hot Dutch oven. Replace the lid.
- Bake covered for 30 minutes. After 30 minutes, remove the lid and continue baking for another 15-20 minutes, or until the crust is deeply golden brown and sounds hollow when tapped.
- Carefully remove the bread from the Dutch oven using the parchment paper handles. Transfer the loaf to a wire cooling rack and let it cool completely for at least 1-2 hours before slicing. This is crucial for the internal structure and flavor.
Notes
Pro Tips for Making This Homemade Bread Recipe
Over the years, I’ve learned a few little tricks that transform a good loaf into a truly magnificent one. This Homemade Bread Recipe is already fantastic, but these tips will make it even better.
My Secret Trick: I always make sure to use warm, not hot, water for activating the yeast. Water that’s too hot can kill the yeast, and water that’s too cold won’t activate it properly, both leading to a dense loaf. Aim for around 105-115°F (40-46°C) – it’s the perfect cozy temperature for yeast to thrive!
When you’re mixing your dough, resist the urge to over-mix. This is a no-knead bread for a reason! Just combine the ingredients until no dry flour remains, and let time and the yeast do the rest of the work.
Don’t skip the rest time! Those periods of resting are crucial for developing the gluten structure and those wonderful air pockets that give artisan bread its characteristic texture. Patience is your best friend here.
For that perfect crispy crust, preheating your Dutch oven is key. A piping hot pot creates an oven-within-an-oven effect, generating steam that results in a beautifully golden and crunchy exterior.
Fun Variations for Homemade Bread Recipe
One of the things I adore most about baking is the endless possibility for creativity! This Homemade Bread Recipe is a beautiful canvas, and here are a few ways my friends and family love to see it adapted:
Herb & Garlic Infusion
My friend, Emily, always asks me to swirl in some fresh rosemary and roasted garlic. Before the second rise, gently fold in a quarter cup of finely chopped fresh rosemary and two cloves of minced roasted garlic. The aroma alone is heavenly, and it makes for an incredible savory loaf perfect for dipping.
Cheese Delight
For a cheesy twist, incorporate about half a cup of shredded sharp cheddar or Parmesan cheese when you’re doing the final shape. It bakes into gooey pockets of savory goodness that are irresistible. This is always a crowd-pleaser at family gatherings!
Seeded Sensation
For an extra layer of texture and a nutty flavor, sprinkle a mix of sesame seeds, poppy seeds, and even some sunflower seeds over the dough before baking. My uncle loves the satisfying crunch this adds to his morning toast, especially with this wholesome Homemade Bread Recipe.
What to Serve With Homemade Bread Recipe
This gorgeous Homemade Bread Recipe is incredibly versatile and shines in so many settings! Whether it’s the star of the show or a comforting accompaniment, here are a few ways I love to serve it.
For a simple yet utterly satisfying treat, I often serve thick slices with a generous pat of good quality butter, maybe even a sprinkle of flaky sea salt. It allows the pure, comforting flavor of the bread to truly sing. My mom always pairs a freshly baked loaf with a steaming bowl of her homemade minestrone soup, especially on a chilly evening. The soft interior is perfect for soaking up every last drop!
This artisan bread is also wonderful alongside a fresh green salad with a light vinaigrette, making a simple lunch feel incredibly special. And for something truly decadent, try tearing off a chunk and dipping it into a good olive oil infused with balsamic vinegar. It’s a quick, elegant appetizer that never disappoints.
How to Store Homemade Bread Recipe
To ensure your delicious Homemade Bread Recipe stays fresh and flavorful for as long as possible, a little care in storage goes a long way. There’s nothing sadder than a stale loaf!
Room Temperature Storage
Once completely cooled, store your bread at room temperature. For optimal freshness, place it in a paper bag to allow some air circulation, then place that bag inside a larger plastic bag or an airtight container. This helps keep the crust crisp while preventing the interior from drying out too quickly. It usually stays fresh for 2-3 days this way. My personal tip: Never store fresh bread in the refrigerator, as it tends to make it go stale faster!
Freezing for Later
If you want to enjoy your artisan loaf over a longer period, freezing is a fantastic option. Once cooled, slice the bread and place the slices in a freezer-safe bag, pressing out as much air as possible. You can then grab a slice or two as needed and toast them directly from frozen. This method preserves the bread’s texture and taste beautifully for up to 2-3 months.
Nutritional Benefits
While we often think of bread as a simple staple, this Homemade Bread Recipe, made with basic, wholesome ingredients, offers a satisfying foundation. It provides complex carbohydrates for sustained energy and, depending on your choice of flour, can contribute a modest amount of dietary fiber. It’s a comforting treat that’s both satisfying and nourishing, proving that indulgence can indeed have a place in a balanced approach to food.
FAQs
Faq 1
Can I use whole wheat flour for this no-knead bread?
Yes, you certainly can! Using whole wheat flour will result in a denser loaf with a nuttier flavor for your Homemade Bread Recipe. You might need to add a touch more water as whole wheat flour absorbs more liquid.
Faq 2
Do I really need a Dutch oven to bake this bread?
While a Dutch oven is highly recommended for that perfect crust and rise, it’s not strictly essential for this Homemade Bread Recipe. You can bake it on a baking stone or sheet, but consider placing a pan of hot water on the bottom rack for steam.
Faq 3
My dough isn’t rising much. What went wrong?
A common culprit for a lack of rise in your Homemade Bread Recipe is inactive or expired yeast, or water that was too hot or too cold. Always check your yeast’s expiration date and ensure your water temperature is just right.
Faq 4
How can I tell if my bread is fully baked?
Your Homemade Bread Recipe is fully baked when it has a deep golden-brown crust and sounds hollow when tapped on the bottom. An internal temperature of 200-210°F (93-99°C) is also a reliable indicator.
Conclusion
There’s a special kind of magic in pulling a warm, crusty loaf of Homemade Bread Recipe from your oven. It’s a simple pleasure that fills your kitchen with an irresistible aroma and your heart with a sense of accomplishment. This recipe proves that you don’t need fancy equipment or expert skills to create something truly extraordinary. I hope this classic no-knead artisan bread brings as much joy to your table as it does to mine, creating sweet memories one delicious slice at a time. Happy baking, my dears!