If there is one dish that defines summer gatherings, it’s a vibrant, zesty pasta salad. It’s the ultimate versatile side—perfect for a backyard BBQ, a quick weekday lunch, or a meal-prep staple that actually tastes better the next day. Honestly, the beauty of pasta salad is that there are no strict rules, just a simple formula for success. Trust me, once you master the balance of textures and flavors, you’ll never go back to the store-bought version again!
Why You’ll Love This Recipe
- Make-Ahead Friendly: It holds up beautifully in the fridge, making it the perfect “grab-and-go” meal.
- Totally Customizable: You can swap the veggies, proteins, and dressings based on whatever you have in your pantry.
- The Perfect Texture: By following a few simple steps, you’ll get pasta that stays tender and flavorful without getting mushy or dry.

Ingredients
To create a balanced pasta salad, you’ll want a mix of fresh, crunchy, and savory elements. Here is what you’ll need:
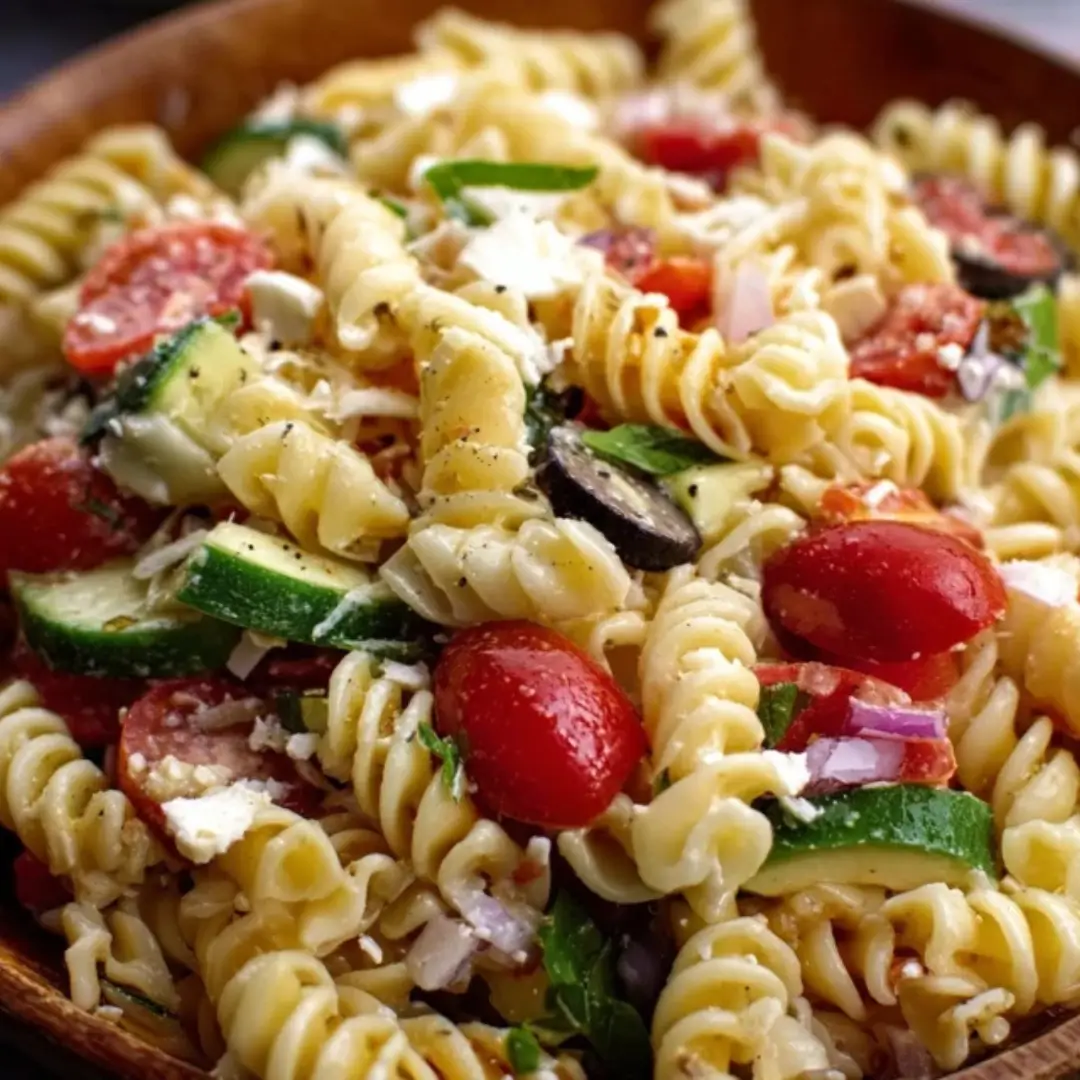
- Pasta: Short shapes like Rotini, Fusilli, or Farfalle (Bow Tie) are best for catching all that delicious dressing.
- Fresh Vegetables: Bell peppers, cherry tomatoes, cucumbers, and red onions add essential crunch and brightness.
- The “Salty” Factor: Kalamata olives, feta cheese, or pearls of fresh mozzarella provide that savory punch.
- Protein (Optional): Salami, grilled chicken, or chickpeas turn this side dish into a full meal.
- Fresh Herbs: Parsley, basil, or dill bring an aromatic finish that makes the flavors pop.
- The Dressing: A bright vinaigrette (like Italian or Greek) is classic, but a creamy dressing works wonders too!
Note: The ingredients with measurements will be right under the article in the recipe card.
How to Make the Recipe
Step 1: Boil the Pasta
Cook your pasta in heavily salted water. Pro Tip: Cook it for exactly 1 minute longer than “al dente.” Cold pasta firms up, so that extra minute ensures it stays soft after chilling!
Step 2: Rinse and Cool
Drain the pasta and immediately rinse it under cold water. This stops the cooking process and washes away excess starch so the noodles don’t stick together.
Step 3: Chop Your Mix-Ins
While the pasta cools, chop your vegetables and herbs into bite-sized pieces. Aim for uniformity so you get a bit of everything in every forkful.
Step 4: The First Dressing
Toss the cooled pasta with about half of your dressing while it’s still slightly damp. This allows the pasta to absorb the flavor deep into the noodles.
Step 5: Combine Everything
Add your chopped veggies, cheese, and protein to the bowl. Toss gently to combine.
Step 6: The Final Chill
Let the salad sit in the fridge for at least 30 minutes. This “marinating” time is where the magic happens and the flavors meld together.
Step 7: Refresh and Serve
Just before serving, toss in the remaining dressing and fresh herbs. This gives it that “freshly made” look and a bright, zingy taste!
How To Make Pasta Salad
Ingredients
Equipment
Method
- Bring a large pot of salted water to a boil. Cook pasta according to package instructions until al dente.
- Drain the pasta and rinse with cold water to stop the cooking process. Let it cool completely.
- In a large mixing bowl, combine the cooled pasta, cherry tomatoes, cucumber, red onion, olives, and cheese.
- Pour Italian dressing over the salad and toss until everything is well coated.
- Season with salt and black pepper to taste.
- Cover and refrigerate for at least 30 minutes before serving for the best flavor.
Notes
Pro Tips for Making the Recipe
- Don’t Skimp on Salt: Since we rinse the pasta, salting the boiling water is your only chance to season the actual noodles.
- Vary the Textures: Mix soft elements (cheese/beans) with crunchy ones (peppers/onions) for a more interesting bite.
- The “Dressing Soak”: If you find your pasta salad gets dry the next day, it’s because the pasta soaked up the liquid. Always keep a little extra dressing on the side to refresh it!
How to Serve
Pasta salad is the natural partner for grilled proteins like steak or chicken. It’s also a fantastic base for a “bowl-style” lunch—just add a scoop of hummus or a hard-boiled egg on the side.
Make Ahead and Storage
Storing Leftovers
Store in an airtight container in the fridge for up to 4-5 days. It’s one of the few dishes that genuinely improves after 24 hours!
Freezing
We don’t recommend freezing pasta salad, as the fresh vegetables will lose their crunch and the dressing can separate.
FAQs
- What is the best pasta shape? Anything with nooks and crannies! Rotini and Radiatori are elite because they trap the dressing and small bits of herbs inside.
- Can I make this gluten-free? Absolutely. Just use a high-quality chickpea or brown rice pasta. Just be sure not to overcook them, as they can be more fragile than wheat pasta.
- How do I keep the pasta from sticking? Rinsing with cold water immediately after draining is the most effective way to prevent sticking without using excess oil.
- Can I use a creamy dressing? Yes! A mayo or Greek yogurt-based dressing makes for a delicious “Macaroni Salad” style dish.
This guide on How to Make Pasta Salad is your ticket to being the hero of the next potluck. It’s fresh, filling, and undeniably delicious. Happy tossing!