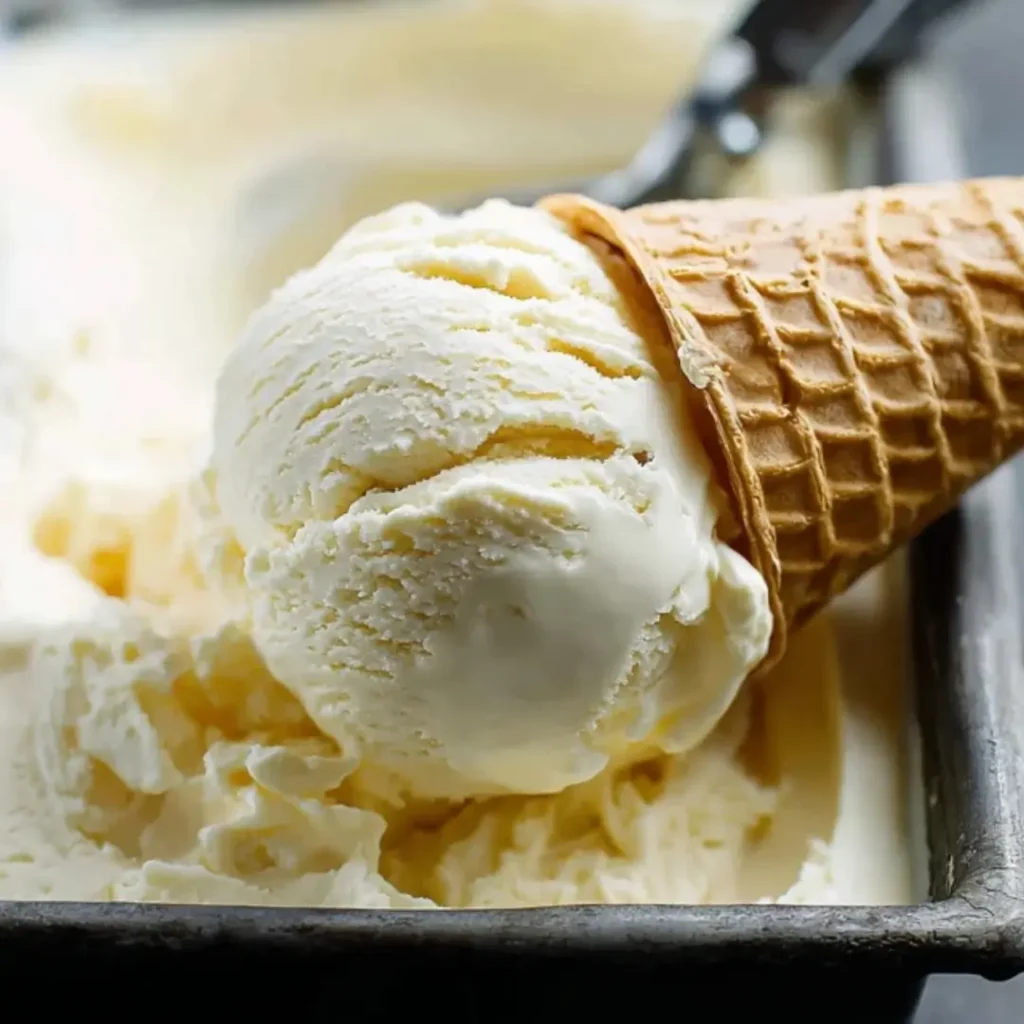
Oh, sweet friends, do you remember those childhood summers, when a simple scoop of ice cream felt like pure magic? Nothing quite compares to the rich, velvety texture and fragrant sweetness of homemade vanilla ice cream. It’s more than just a dessert; it’s a spoonful of comfort, a taste of simpler times, and a beautiful canvas for countless joyful toppings.
I carry so many cherished memories from my grandmother’s kitchen, especially the afternoons spent by her old ice cream maker, its gentle hum a symphony of anticipation. Learning from her, with sticky fingers and a heart full of curiosity, taught me that the very best treats are always made with love and a dash of patience.
This recipe isn’t just easy; it’s a delightful journey that promises smiles on every face at your table. It’s perfect for summer gatherings, cozy family nights, or simply a quiet moment of indulgence. My top tip? Always seek out the best vanilla bean you can find – it truly infuses your homemade vanilla ice cream with an unparalleled aroma and flavor that’s simply irresistible!
What You Need to Make This Recipe
Creating this sublime dessert starts with a few humble, yet powerful, ingredients straight from our kitchens. Heavy cream and whole milk form our wonderfully rich base, while those precious vanilla bean flecks infuse every spoonful with an intoxicating aroma. This simple, quality combination ensures your homemade vanilla ice cream achieves that perfect, creamy consistency we all adore. You’ll find the full list of ingredients and measurements conveniently located in the recipe card below.
How to Make Homemade Vanilla Ice Cream
Making this delightful treat is a true joy, blending classic techniques with a touch of patience. We’ll gently heat our dairy and vanilla, allowing those wonderful flavors to meld. Then, we carefully temper our egg yolks to create a smooth, rich custard – a crucial step for that creamy texture. After a good, long chill in the refrigerator, the mixture churns into that magical, luscious consistency before freezing to perfection. It’s a process that truly rewards your efforts with the most delicious homemade vanilla ice cream you’ll ever taste.
Homemade Classic Vanilla Bean Ice Cream
Ingredients
Equipment
Method
- If using a vanilla bean, split it lengthwise and scrape out the seeds. Add both the pod and seeds to a heavy-bottomed saucepan. In the same saucepan, combine the heavy cream, whole milk, 1/2 cup of the granulated sugar, and salt. Heat over medium heat, stirring occasionally, until the mixture is hot and steamy, just barely simmering around the edges (do not boil). Remove from heat. If using a vanilla bean, let it steep for 10-15 minutes, then remove and discard the pod before proceeding.
- In a separate medium bowl, whisk the egg yolks with the remaining 1/4 cup of granulated sugar until light yellow and creamy.
- Slowly ladle about 1 cup of the hot cream mixture into the egg yolk mixture, whisking constantly to temper the yolks. This gradually raises the temperature of the eggs, preventing them from scrambling.
- Pour the tempered egg yolk mixture back into the saucepan with the remaining hot cream mixture. Return the saucepan to medium-low heat. Cook, stirring constantly with a wooden spoon or spatula, until the custard thickens enough to coat the back of the spoon (it should reach about 175-180°F or 80-82°C on an instant-read thermometer). Do not boil, as this can curdle the eggs.
- Immediately remove the saucepan from the heat. Pour the custard through a fine-mesh sieve into a clean bowl. This removes any small bits of cooked egg and ensures a silky-smooth texture. If using vanilla extract, stir it into the warm strained custard now.
- Place the bowl of custard into a larger bowl filled with ice and water (an ice bath) to cool it down quickly. Stir occasionally. Once cooled to room temperature, cover the bowl tightly with plastic wrap and refrigerate for at least 4 hours, or preferably overnight, until completely chilled. This is crucial for optimal ice cream texture.
- Once the custard is thoroughly chilled, pour it into your ice cream maker’s pre-frozen freezer bowl and churn according to the manufacturer’s instructions, usually 20-25 minutes, until it reaches the consistency of soft-serve ice cream.
- Transfer the soft ice cream to a freezer-safe airtight container. Press a piece of plastic wrap directly onto the surface of the ice cream to prevent ice crystals from forming. Freeze for another 2-4 hours, or until firm, before serving. Enjoy!
Notes
Pro Tips for Making This Homemade Vanilla Ice Cream
Crafting the perfect scoop of homemade vanilla ice cream is a labor of love, and I’ve picked up a few tricks over the years to ensure every batch is a triumph. These little secrets will help you achieve that dream-like texture and incredible flavor every single time.
My Secret Trick: I always infuse my vanilla bean in the warm milk and cream for at least an hour (or even better, overnight in the fridge after heating) before straining and continuing with the recipe. This extra steeping time deepens that wonderful vanilla flavor immensely, making your ice cream truly shine.
- Always temper your egg yolks slowly! Whisking a small amount of the warm cream mixture into the yolks first, before adding them back to the pot, prevents them from scrambling. Trust me, this careful step is absolutely key for a silky-smooth custard base.
- Don’t rush the chilling process for your custard. A thoroughly chilled base (at least 4 hours, and ideally overnight) will churn much more efficiently and result in a wonderfully creamier ice cream. Patience is truly a virtue here, my friends!
- For the best churning results, ensure your ice cream machine’s bowl is completely frozen solid, typically 12-24 hours prior to use. This allows the mixture to churn quickly and helps prevent those unwelcome large ice crystals from forming.
Fun Variations for Homemade Vanilla Ice Cream
While the classic homemade vanilla ice cream is absolutely perfect as is, it’s also a fantastic canvas for your creativity! I love exploring new flavors, often inspired by my friends’ favorite combinations. Here are a few ways I love to switch things up, encouraging you to make this recipe truly your own.
Berry Swirl Delight
My sister always asks me to swirl in a ribbon of homemade raspberry or strawberry jam during the last few minutes of churning. It adds a lovely tartness, a beautiful vibrant color, and a fresh burst of fruit that contrasts wonderfully with the creamy vanilla.
Chocolate Chip Dream
For all the chocolate lovers out there, try folding in a cup of mini chocolate chips, or even some finely chopped dark chocolate, after the ice cream has finished churning. Those delightful little pockets of chocolate are simply irresistible in every spoonful!
Spiced Autumn Treat
During the cooler months, a dear friend loves when I add just a tiny pinch of cinnamon or a delicate grating of fresh nutmeg to the cream mixture while it’s warming. It gives the vanilla ice cream a wonderfully cozy, spiced note that’s perfect for a chilly evening.
What to Serve With Homemade Vanilla Ice Cream
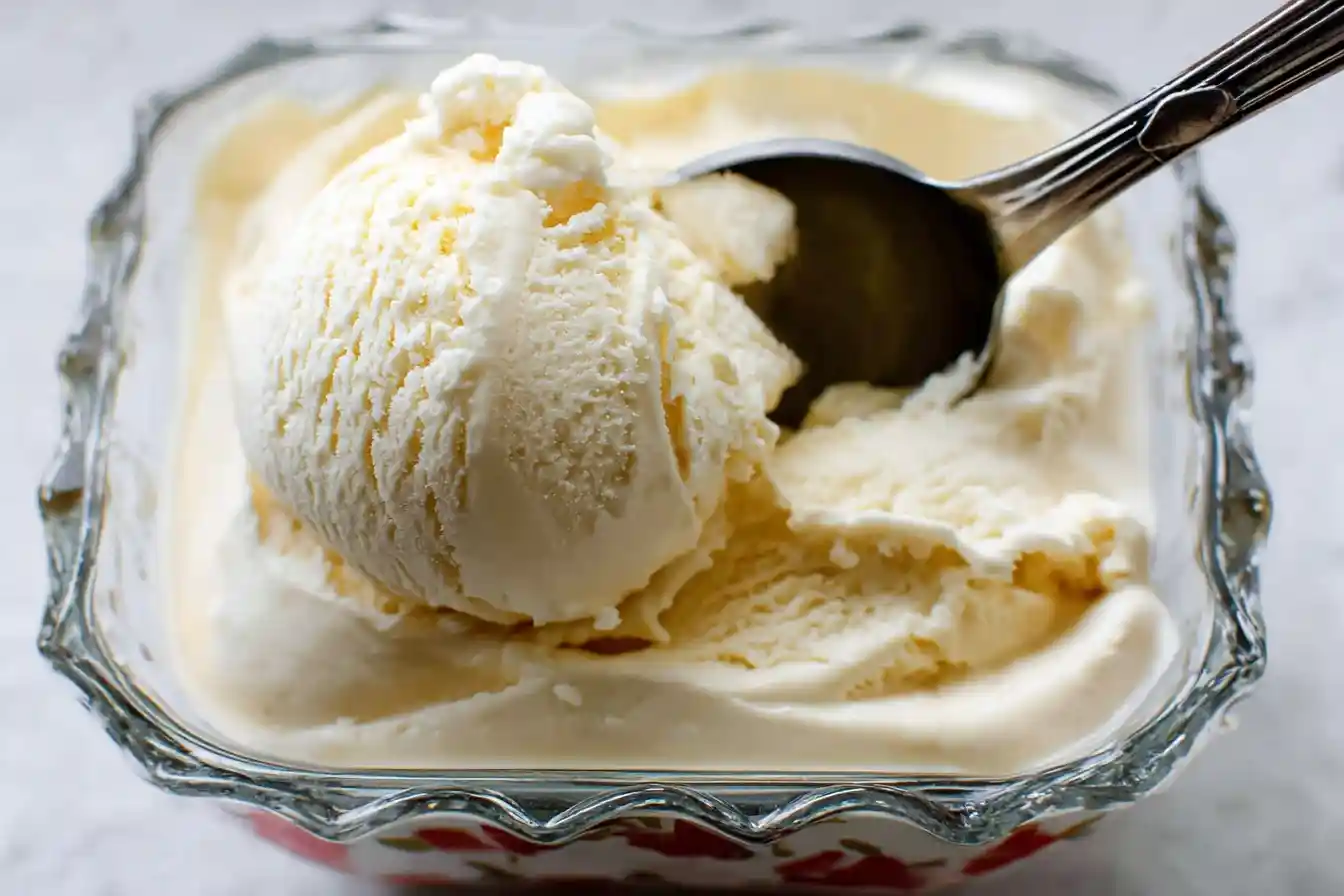
Ah, the sheer joy of a perfect scoop! While homemade vanilla ice cream shines brightly on its own, I find that pairing it with other delightful treats makes the experience even more special. It’s like putting on a cozy sweater – already lovely, but even better with a warm cup of tea!
- Warm Berry Compote: A simple homemade berry compote, gently cooked until the berries burst, is a fantastic partner. The warm, slightly tart fruit contrasts beautifully with the cold, sweet ice cream, creating a delightful dance of flavors.
- Decadent Brownies: My mom always insisted that a warm, fudgy brownie with a melting scoop of our vanilla ice cream was pure heaven. It’s a classic combination for a reason, offering that perfect blend of warm and cold, soft and creamy.
- Caramel Drizzle & Toasted Nuts: For an elevated touch, a generous drizzle of homemade caramel sauce and a sprinkle of lightly toasted pecans or walnuts adds wonderful texture and a sophisticated sweetness that truly elevates the experience.
How to Store Homemade Vanilla Ice Cream
After all that love and effort goes into making your creamy homemade vanilla ice cream, you’ll want to make sure it stays perfectly delicious for as long as possible! Proper storage is absolutely key to maintaining that wonderful texture and preserving its incredible flavor.
Freezing for Freshness
Once your ice cream has finished churning, transfer it immediately to an airtight, freezer-safe container. I like using a shallow, rectangular container as it helps the ice cream freeze more evenly. To prevent those unwelcome ice crystals from forming, press a piece of parchment paper or plastic wrap directly onto the surface of the ice cream before sealing the lid. It will keep beautifully in the freezer for up to two weeks.
Serving Leftovers
When you’re ready to enjoy another delightful scoop, simply let the container sit at room temperature for about 5-10 minutes before scooping. This softens the homemade vanilla ice cream just enough to achieve that perfect, creamy consistency without becoming too melty.
Nutritional Benefits of This Sweet Treat
While we certainly indulge for the sheer joy of it, this homemade vanilla ice cream also offers some simple goodness to enjoy. Made with real dairy, it naturally provides calcium and a touch of protein, making it a treat that’s both satisfying and nourishing in moderation. It’s a delightful reminder that simple, wholesome ingredients can truly shine and bring both pleasure and a little goodness to our tables.
FAQs
How long does it take to churn homemade ice cream?
Churning time can vary, but generally, your homemade vanilla ice cream will take about 15-25 minutes in most home ice cream makers. Look for a soft-serve consistency before transferring it to the freezer to firm up completely.
Can I make this recipe without an ice cream maker?
Yes, you absolutely can! While an ice cream maker is ideal, you can still achieve creamy homemade vanilla ice cream by freezing the mixture in a shallow pan and stirring it vigorously every 30-45 minutes until firm.
What’s the best way to get a strong vanilla flavor?
For the most robust vanilla flavor in your homemade vanilla ice cream, use a high-quality vanilla bean. Splitting and scraping the bean, then infusing it in the warm dairy, allows its delicate oils to truly blossom.
Why is my homemade ice cream icy?
Icy ice cream can be due to not enough fat in the recipe, too much water, or a slow freezing process. Ensure your custard is rich, and your ice cream maker bowl is very cold for quick churning to prevent large ice crystals from forming.
Conclusion
There’s nothing quite like the feeling of serving a beautiful bowl of creamy, dreamy homemade vanilla ice cream to your loved ones. It’s a simple act of love, a delicious memory in the making, and a sweet testament to the magic we can create right in our own kitchens. Embrace the joy of baking from scratch, my friends, and let this classic, comforting treat bring warmth, smiles, and plenty of sweetness to your home.