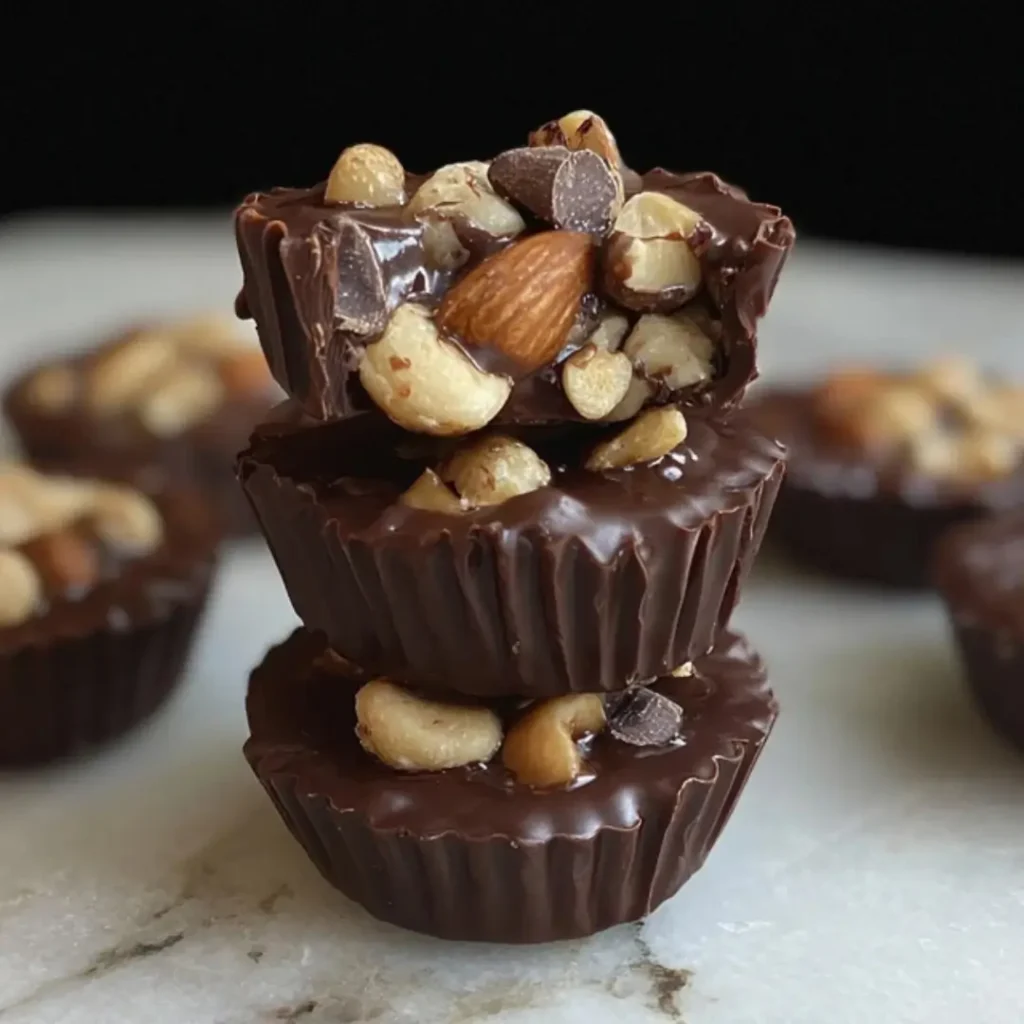
Oh, sweet friends, let me tell you, there’s a special kind of magic that happens when chocolate and nuts come together in a symphony of crunch! These delightful Crunchy Signature Chocolate Mixed Nut Cups combine the rich indulgence of cocoa with the wholesome goodness of mixed nuts, all wrapped up in a simple, no-bake package. It’s a treat that feels both comforting and utterly special, a little slice of homemade happiness that whispers of simpler times.
I remember countless afternoons in my grandmother’s kitchen, the air thick with the scent of vanilla and melted butter. She always said the best desserts were made with love and a sprinkle of imagination. This recipe, much like those cherished memories, began with a desire to create something easy yet extraordinary, a treat that brings smiles to every face.
This recipe for no-bake Crunchy Chocolate Mixed Nut Cups is a true gem, offering a quick prep time of just 30 minutes and a minimal cook time of 10 minutes, making it perfect for busy days or impromptu gatherings. My top tip? Always use the best quality chocolate you can find – it truly makes all the difference!
What You Need to Make This Recipe
Crafting these delightful no-bake treats requires just a handful of simple ingredients, proving that extraordinary flavor often comes from humble beginnings. The buttery graham cracker base, combined with rich dark and milk chocolates and a generous medley of mixed nuts, creates a symphony of textures and tastes that truly makes these Crunchy Signature Chocolate Mixed Nut Cups combine indulgence with wholesome goodness. You’ll find the full list of ingredients and precise measurements in the recipe card below.
How to Make Crunchy Signature Chocolate Mixed Nut Cups combine
Making these delightful cups is a journey of joyful simplicity! We start by creating a buttery graham cracker crust, pressing it gently into muffin liners. Next, a glorious blend of melted chocolates, crispy rice cereal, and those wonderful mixed nuts gets folded together before being spooned over the crust. A quick chill, and voilà – your delectable Crunchy Signature Chocolate Mixed Nut Cups combine crunch, chocolate, and nutty goodness, ready to be enjoyed!
Crunchy Signature Chocolate Mixed Nut Cups
Ingredients
Equipment
Method
- Line a 24-cup mini muffin tin with mini paper liners, or lightly grease each cup with cooking spray. Set aside.
- In a medium mixing bowl, combine the crushed graham crackers, melted butter, granulated sugar, and a pinch of salt. Mix until thoroughly combined and crumbly.
- Spoon about 1 teaspoon of the cookie mixture into the bottom of each prepared mini muffin cup. Use the back of a spoon or your finger to firmly press the mixture into an even layer. Place the muffin tin in the freezer to chill while you prepare the filling.
- Place the chopped mixed nuts in your air fryer basket in a single layer. Air fry at 300°F (150°C) for 5-7 minutes, shaking the basket halfway through, until lightly golden and fragrant. Be careful not to burn them. Allow the nuts to cool completely.
- In a large microwave-safe bowl, combine the chopped dark chocolate and milk chocolate. Microwave in 30-second intervals, stirring well after each, until the chocolate is smooth and fully melted. Alternatively, use a double boiler method.
- To the melted chocolate, add the cooled toasted mixed nuts, crispy rice cereal, melted coconut oil, vanilla extract, and fine sea salt. Stir gently until all ingredients are evenly coated in the chocolate.
- Remove the muffin tin from the freezer. Spoon about 1 tablespoon of the chocolate nut mixture over the cookie crust in each cup, spreading it gently to fill. You can slightly mound it for a rustic look.
- Return the mini muffin tin to the refrigerator and chill for at least 1 hour, or until the chocolate cups are firm to the touch. For faster setting, you can place them in the freezer for 20-30 minutes.
- Once firm, carefully remove the chocolate cups from the muffin tin. If desired, sprinkle with flaky sea salt and extra chopped nuts before serving.
Notes
Pro Tips for Making This Crunchy Signature Chocolate Mixed Nut Cups combine
Over the years, I’ve picked up a few little tricks in my kitchen that I love to share to ensure your no-bake treats turn out perfectly every time. These Crunchy Signature Chocolate Mixed Nut Cups combine simple steps with a touch of thoughtfulness for the best results.
- Perfectly Chopped Nuts: For that ideal crunch without overwhelming the chocolate, I always recommend finely chopping your mixed nuts. This ensures an even distribution of nutty flavor in every bite and a lovely texture throughout the chocolate.
- Melting Chocolate Magic: When melting your chocolates, whether in a microwave or a double boiler, go low and slow. Overheating can make chocolate seize. I always stir frequently until just smooth and glossy for a perfect melt.
- My Secret Trick: My secret trick for ensuring the base sets beautifully and doesn’t stick is to lightly grease your muffin liners, even if they’re non-stick. It makes for effortless removal and a picture-perfect presentation of your treats.
- Chill Time is Key: I know it’s hard to wait, but allowing these Crunchy Signature Chocolate Mixed Nut Cups combine to chill completely is crucial for them to firm up properly. Patience here means perfectly set, easy-to-handle cups!
Fun Variations for Crunchy Signature Chocolate Mixed Nut Cups combine
One of the things I adore most about home baking is the freedom to play and personalize! These Crunchy Signature Chocolate Mixed Nut Cups combine so many wonderful textures and flavors, making them a perfect canvas for your own creative touches.
A Nutty Twist
My sister always asks me to swap out half of the mixed nuts for roasted pecans or cashews when I make these. It adds a slightly different flavor profile and an even richer texture. Feel free to use your favorite single nut for a more focused nutty taste.
Sweet & Salty Delight
For those who adore a sweet and salty combination, try sprinkling a little extra flaky sea salt directly onto the melted chocolate layer before chilling. The contrast with the dark and milk chocolate in these Crunchy Signature Chocolate Mixed Nut Cups combine is absolutely divine and brings out a wonderful depth of flavor.
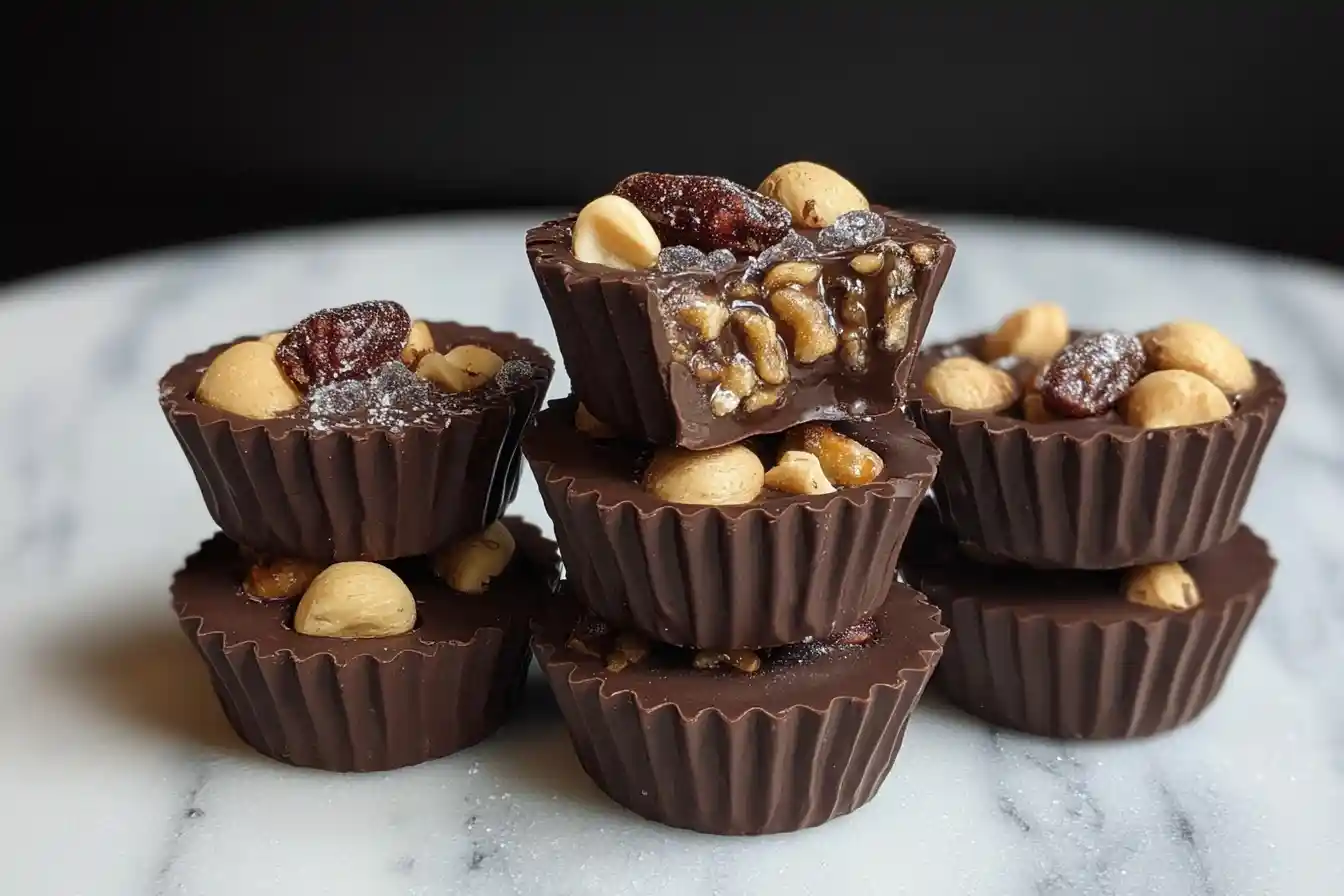
Fruity Fling
While these are traditionally nutty, a friend loves when I add a tablespoon of finely chopped dried cranberries or cherries to the chocolate mixture. It introduces a lovely tang and chewiness that complements the crunch beautifully.
What to Serve With Crunchy Signature Chocolate Mixed Nut Cups combine
These delightful Crunchy Signature Chocolate Mixed Nut Cups combine so many textures and flavors on their own, but a little something extra can elevate the experience and make them feel even more special.
- A Scoop of Creamy Vanilla: My absolute favorite pairing is a generous scoop of good quality vanilla bean ice cream. The cool, creamy vanilla is a heavenly contrast to the rich chocolate and crunchy nuts, especially if the cups have just softened a little.
- Fresh Berries: For a lighter, brighter touch, a handful of fresh raspberries or sliced strawberries alongside these treats is simply lovely. The tartness of the fruit cuts through the sweetness beautifully.
- A Warm Beverage: There’s something so comforting about enjoying a Crunchy Signature Chocolate Mixed Nut Cups combine with a warm cup of coffee or a steaming mug of hot cocoa. It’s pure bliss, perfect for a cozy afternoon.
How to Store Crunchy Signature Chocolate Mixed Nut Cups combine
After all the love you’ve poured into making these, you’ll want to ensure your delightful treats stay fresh and delicious. Proper storage is key to preserving the wonderful textures and flavors of these Crunchy Signature Chocolate Mixed Nut Cups combine.
In the Refrigerator
To keep your cups at their best, store them in an airtight container in the refrigerator for up to 5-7 days. The cold helps maintain their firm texture and prevents the chocolate from becoming too soft. I like lining my container with parchment paper to prevent any sticking.
Freezer Friendly Option
Yes, you can absolutely freeze these! Arrange the fully set cups in a single layer on a baking sheet and freeze for about an hour until solid. Then, transfer them to a freezer-safe airtight container or bag, separating layers with parchment paper. They’ll keep wonderfully for up to 2-3 months. When you’re ready to enjoy, simply let the Crunchy Signature Chocolate Mixed Nut Cups combine thaw in the refrigerator for a few hours or at room temperature for about 30 minutes.
Nutritional Benefits
While we certainly indulge in desserts for pure joy, it’s lovely to know that these Crunchy Signature Chocolate Mixed Nut Cups combine wholesome elements too! With the richness of dark chocolate, known for its antioxidants, and the healthy fats, fiber, and protein from mixed nuts, this treat offers a satisfying balance. It’s my way of creating a dessert that’s both nourishing and truly delightful.
FAQs
Faq 1
Can I use a different type of chocolate?
Absolutely! While Crunchy Signature Chocolate Mixed Nut Cups combine dark and milk chocolate for balance, you can use all dark, all milk, or even white chocolate if you prefer. Just be sure to use good quality melting chocolate for the best results in these simple treats.
Faq 2
Do I have to use crispy rice cereal?
Crispy rice cereal adds a wonderful, light crunch to these Crunchy Signature Chocolate Mixed Nut Cups combine, but you can omit it or substitute with an equal amount of finely crushed pretzels for a salty twist.
Faq 3
Can I make these ahead for a party?
Yes, these are a perfect make-ahead dessert! You can prepare the Crunchy Signature Chocolate Mixed Nut Cups combine a day or two in advance and store them in the refrigerator. This frees up your time to enjoy your guests when the party arrives.
Faq 4
Why are my cups not setting firmly?
The most common reason for soft cups is not enough chilling time or the chocolate mixture being too warm when combined. Ensure your Crunchy Signature Chocolate Mixed Nut Cups combine chill fully for at least 2 hours, or until completely firm, before serving.
Conclusion
There you have it, my sweet friends! These Crunchy Signature Chocolate Mixed Nut Cups combine the simple joys of home baking with an irresistible blend of flavors and textures. They’re a testament to how easily we can create something truly special right in our own kitchens, turning everyday ingredients into magical treats. I hope you’ll embrace the warmth, the nostalgia, and the sheer delight of making these for your loved ones, creating new memories, one delicious bite at a time. Happy baking!