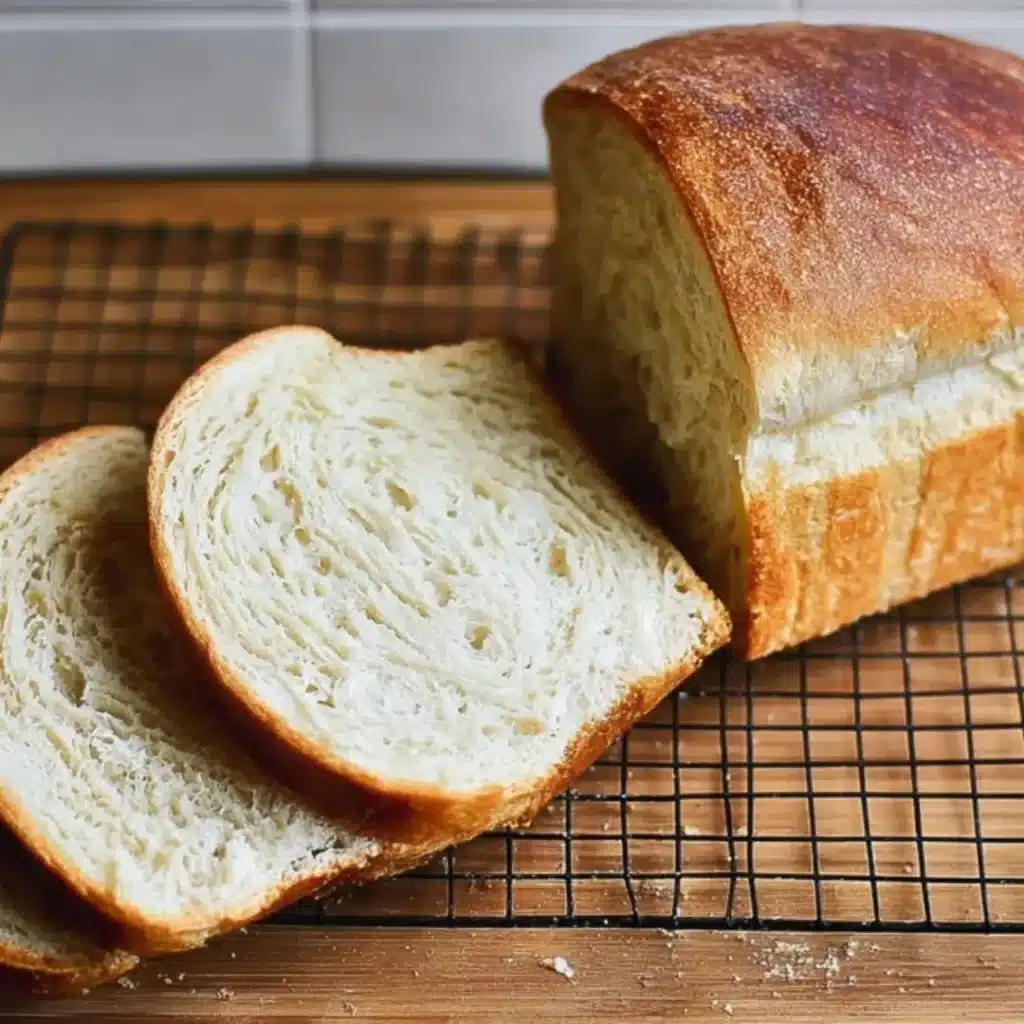
There’s something truly magical about the aroma of freshly baked bread filling your home, isn’t there? For me, the sight of a golden-crusted Sourdough Sandwich Bread cooling on the rack brings such a deep sense of comfort and accomplishment. It’s not just bread; it’s a hug in every slice, with its wonderfully soft crumb and that signature subtle tang that makes every sandwich feel gourmet.
I remember countless childhood afternoons in my grandmother’s kitchen, the air thick with the scent of yeast and flour. While she was a master of sweet treats, the occasional bread loaf she pulled from her oven felt like a special occasion. Learning to bake, for me, has been a journey of trial and error, celebrating the triumphs, and learning from every little mishap along the way.
This recipe for Sourdough Sandwich Bread is one of those triumphs, offering the dual benefits of incredible flavor and a satisfying baking experience. It’s perfect for elevating your daily meals and creating cherished memories around the table. My top tip? Embrace the process, let your senses guide you, and trust in the magic of your hands.
What You Need to Make This Recipe
Crafting the perfect loaf begins with just a few simple, wholesome ingredients. I always feel the magic beginning when I bring out my active sourdough starter, knowing it holds the key to that incredible flavor and airy texture. Alongside some good quality bread flour, a touch of all-purpose flour, and rich unsalted butter, these elements come together to create a truly irresistible Sourdough Sandwich Bread. You’ll find the complete list of ingredients and precise measurements in the recipe card below, ready for your baking adventure!
How to Make Sourdough Sandwich Bread
Baking this beautiful loaf of Sourdough Sandwich Bread is a journey of patience and delight. We’ll start by gently mixing the dough, allowing the active starter to begin its wonderful work. Then, it’s time for the bulk fermentation – that first, slow rise where the flavors deepen and the dough develops its strength. After shaping our loaf with care, we’ll give it a final proof, letting it puff up beautifully before it goes into the oven, transforming into that golden, crusty wonder we all adore.
Classic Sourdough Sandwich Bread
Ingredients
Equipment
Method
- In a large mixing bowl, combine the active sourdough starter with the warm water. Stir gently with a spoon or whisk until the starter is mostly dissolved.
- Add the bread flour, all-purpose flour, granulated sugar, and fine sea salt to the bowl. Mix with a Danish dough whisk or a sturdy spoon until a shaggy dough forms and no dry flour remains. Ensure all ingredients are well combined.
- Cover the bowl with plastic wrap or a damp towel and let the dough rest for 30 minutes. This period, known as autolyse, allows the flour to fully hydrate.
- After the rest, add the softened unsalted butter to the dough. Using your hands, work the butter into the dough until it is fully incorporated. This may take a few minutes and the dough might seem messy at first, but keep kneading gently in the bowl until smooth.
- Perform the first set of ‘stretch and folds’. With wet hands, grab a portion of the dough from one side, gently stretch it upwards, and fold it over to the opposite side of the bowl. Rotate the bowl and repeat this action 3-4 times until you’ve gone all around. Cover the bowl.
- Repeat the stretch and fold process every 30 minutes for the first 2 hours of bulk fermentation (a total of 4 sets).
- After the initial stretch and folds, cover the bowl and let the dough continue to rise at room temperature (ideally 72-76°F / 22-24°C) for another 2-4 hours, or until it has visibly increased in volume by about 50-75% and looks bubbly and active. The exact time will depend on your starter’s activity and ambient temperature.
- Lightly flour your work surface. Gently turn the dough out onto the surface. Carefully pat it into a rough rectangle. Fold the top third of the rectangle down, then fold the bottom third up, like folding a business letter. Turn the dough over, seam side down, and let it rest for 20-30 minutes, covered with plastic wrap or a clean towel, to allow the gluten to relax.
- Lightly grease a 9×5 inch loaf pan. After the rest, gently flatten the dough into a rectangle again. Starting from one long edge, roll the dough tightly into a log, pinching the seam closed as you go. Pinch the ends closed as well to create tension. Place the shaped dough, seam-side down, into the prepared loaf pan.
- Cover the loaf pan loosely with plastic wrap or a proofing bag. For best flavor development and easier scheduling, refrigerate the dough for 8-12 hours (or up to 24 hours). Alternatively, proof at room temperature for 2-4 hours, until the dough is visibly puffy and springs back slowly when gently poked with a floured finger.
- About 30-45 minutes before baking, preheat your oven to 400°F (200°C) with a rack positioned in the middle.
- Once the oven is preheated and the dough is proofed, place the loaf pan in the oven. Bake for 35-45 minutes, or until the crust is deeply golden brown and the internal temperature reaches 200-210°F (93-99°C). If the top browns too quickly, you can loosely tent it with aluminum foil for the remaining bake time.
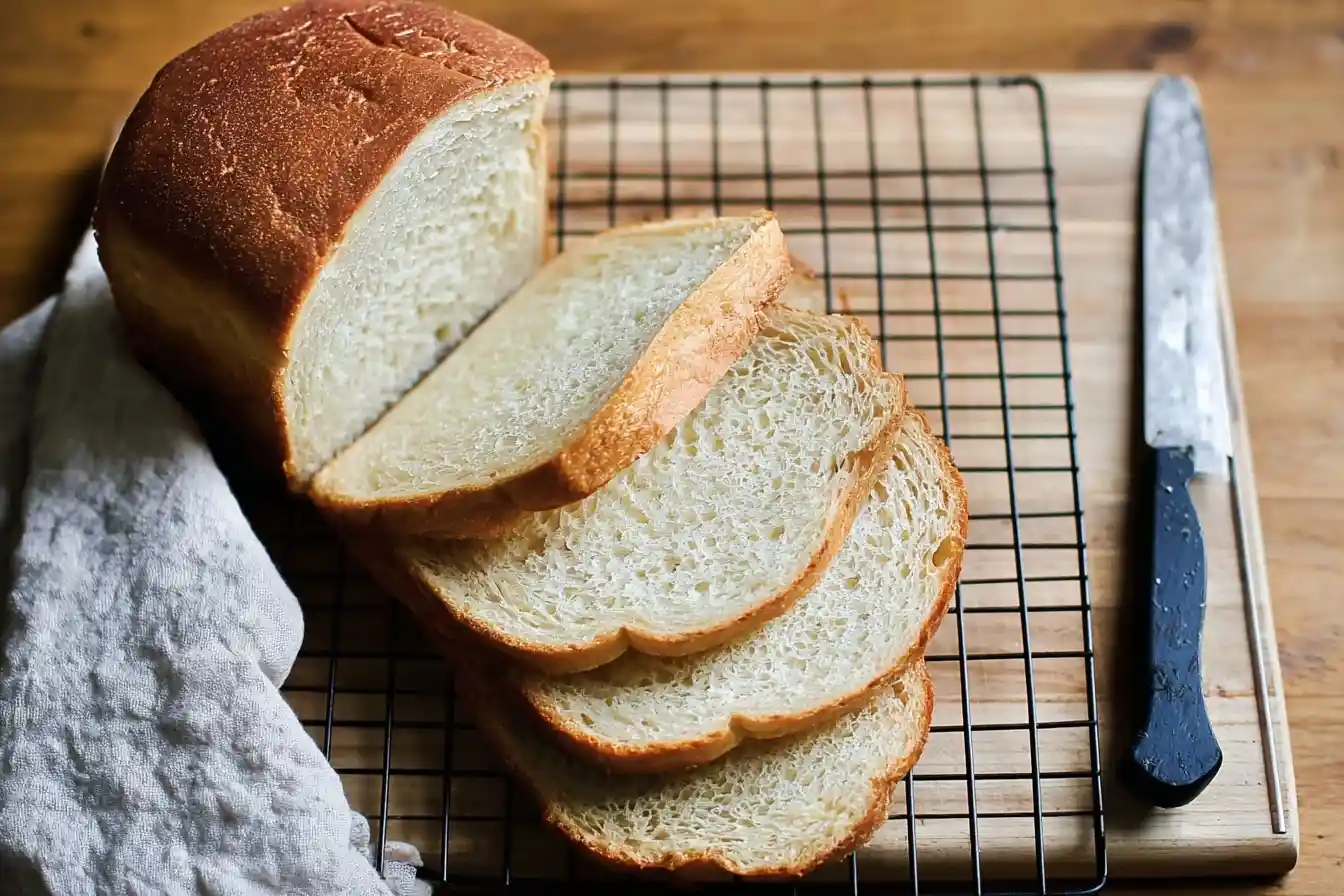
- Carefully remove the bread from the loaf pan immediately after baking and transfer it to a wire rack to cool completely. It is crucial to let the bread cool for at least 2-3 hours before slicing; slicing warm sourdough can result in a gummy texture.
Notes
Pro Tips for Making This Sourdough Sandwich Bread
Over the years, I’ve gathered a few cherished secrets that ensure my Sourdough Sandwich Bread turns out perfectly every time. These little insights, born from countless hours in the kitchen, are what I love to share with fellow bakers.
First, always pay attention to your sourdough starter. It should be active and bubbly, ready to double in size after a feeding. This vitality is absolutely crucial for a good rise and that signature sourdough flavor we all crave. A sleepy starter means a sleepy loaf!
When you’re mixing, don’t rush the process. Let your mixer (or your hands!) work the dough until it’s smooth and elastic. This develops the gluten, which is essential for that lovely, open crumb structure in your finished Sourdough Sandwich Bread.
Patience during bulk fermentation is truly a virtue. Resist the urge to hurry it along. Letting the dough rise slowly at a comfortable room temperature allows the yeast to work its magic, developing complex flavors and a beautiful texture.
My Secret Trick: I always use a digital kitchen scale for weighing my ingredients, especially the flours and water. Baking, particularly with sourdough, is a science as much as it is an art, and precise measurements are the key to consistent, wonderful results.
Fun Variations for Sourdough Sandwich Bread
One of the greatest joys of home baking is making a recipe truly your own! While I adore the classic version, there are so many delightful ways to add a personal touch to your Sourdough Sandwich Bread.
Herb & Garlic Swirl
For a savory twist, try kneading in a tablespoon of dried Italian herbs and a teaspoon of garlic powder after the first rise. My friend, Sarah, absolutely adores this version, especially toasted with a little olive oil. It’s wonderful served with a hearty pasta dish or as a side for [[Easy Minestrone Soup]].
Cheese Lover’s Loaf
Oh, this one is a family favorite! After the bulk fermentation, gently fold in about a cup of shredded sharp cheddar or Gruyère cheese. The cheese melts beautifully into the soft crumb of the Sourdough Sandwich Bread, creating pockets of savory goodness. My nephew always asks for this one for his grilled cheese sandwiches.
Whole Wheat Blend
If you’re looking for a slightly nuttier flavor and a boost of fiber, you can swap out 1 cup of the bread flour for whole wheat flour. This gives the Sourdough Sandwich Bread a denser, more rustic texture while still maintaining its lovely softness. It’s a wonderful way to introduce more whole grains into your diet.
What to Serve With Sourdough Sandwich Bread
This versatile Sourdough Sandwich Bread is truly a star that complements so many meals and moments. Whether you’re looking for a simple breakfast or a comforting dinner, it fits right in.
For a comforting start to the day, I love a thick slice toasted with a generous smear of homemade [[Strawberry Jam]] and a dollop of butter. It’s a simple pleasure that takes me right back to mornings at grandma’s house.
This bread, of course, shines brightest in a classic sandwich! It holds up beautifully to all sorts of fillings, from a simple turkey and provolone to a robust BLT. My mom always says a good sandwich starts with good bread, and she’s absolutely right!
Don’t forget its role as a companion to a warm, cozy meal. There’s nothing quite like dipping a thick slice of this lovely bread into a bowl of rich, homemade soup or a hearty stew on a chilly evening. It truly elevates the entire dining experience.
How to Store Sourdough Sandwich Bread
Keeping your homemade Sourdough Sandwich Bread fresh and delicious is key to enjoying every single slice. There’s nothing worse than a beautiful loaf going stale too quickly!
Keeping it Fresh on the Counter
Once your loaf has cooled completely, store it at room temperature in an airtight bread box or a large plastic bag. I find this keeps the crust from getting too soft and the crumb perfectly tender for 3-4 days. For an extra personal touch, I like to wrap it first in a clean linen towel before placing it in the bag; it’s a trick my grandmother taught me that seems to preserve that fresh-baked feel a little longer.
Freezing for Future Feasts
If you’ve baked an extra loaf or want to enjoy fresh bread weeks later, the freezer is your friend! Once completely cooled, slice the Sourdough Sandwich Bread and then place the slices in a freezer-safe bag or wrap the whole loaf tightly in plastic wrap and then foil. It will keep beautifully for up to 3 months.
Bringing it Back to Life
To enjoy frozen slices, simply toast them directly from the freezer. If you’ve frozen a whole loaf, let it thaw at room temperature, then pop it in a preheated oven at 350°F (175°C) for about 10-15 minutes, or until the crust is crisp and the interior is warm. It’s almost like it’s fresh from the oven again!
Nutritional Benefits
While it’s a comforting treat, our Sourdough Sandwich Bread offers some wonderful benefits too! Made with wholesome flours and active sourdough starter, it provides a good source of carbohydrates for energy and, thanks to the fermentation process, can be easier to digest for some. It’s a treat that’s both satisfying and nourishing, allowing us to indulge in the simple joy of home baking with a little extra goodness.
FAQs
Faq 1
Yes, you can substitute up to half of the bread flour with all-purpose flour for a slightly softer crumb in your Sourdough Sandwich Bread, though it might affect the chewiness slightly. For best results, I recommend using bread flour if possible.
Faq 2
Your sourdough starter is active enough when it has consistently doubled or even tripled in volume after a recent feeding. You should see lots of bubbles, both on the surface and throughout the starter, indicating strong yeast activity.
Faq 3
A dense Sourdough Sandwich Bread can often be a sign of an inactive starter, insufficient kneading (which develops gluten), or not enough bulk fermentation time. Ensure your starter is robust and let the dough rise until noticeably expanded.
Faq 4
Absolutely! While a stand mixer makes kneading easier, you can certainly mix and knead your Sourdough Sandwich Bread dough by hand. It takes a bit more elbow grease, but it’s a wonderful way to connect with the dough and truly feel its development.
Conclusion
Baking this Classic Sourdough Sandwich Bread is more than just following a recipe; it’s about embracing a tradition, nurturing a living ingredient, and creating something truly special with your own hands. The soft, chewy texture and subtle tang of a homemade loaf are unparalleled, bringing such warmth and joy to any meal. I truly hope this recipe inspires you to dive into the wonderful world of sourdough baking, to fill your kitchen with irresistible aromas, and to create those unforgettable, sweet memories that only a homemade Sourdough Sandwich Bread can provide. Happy baking, my dear friends!