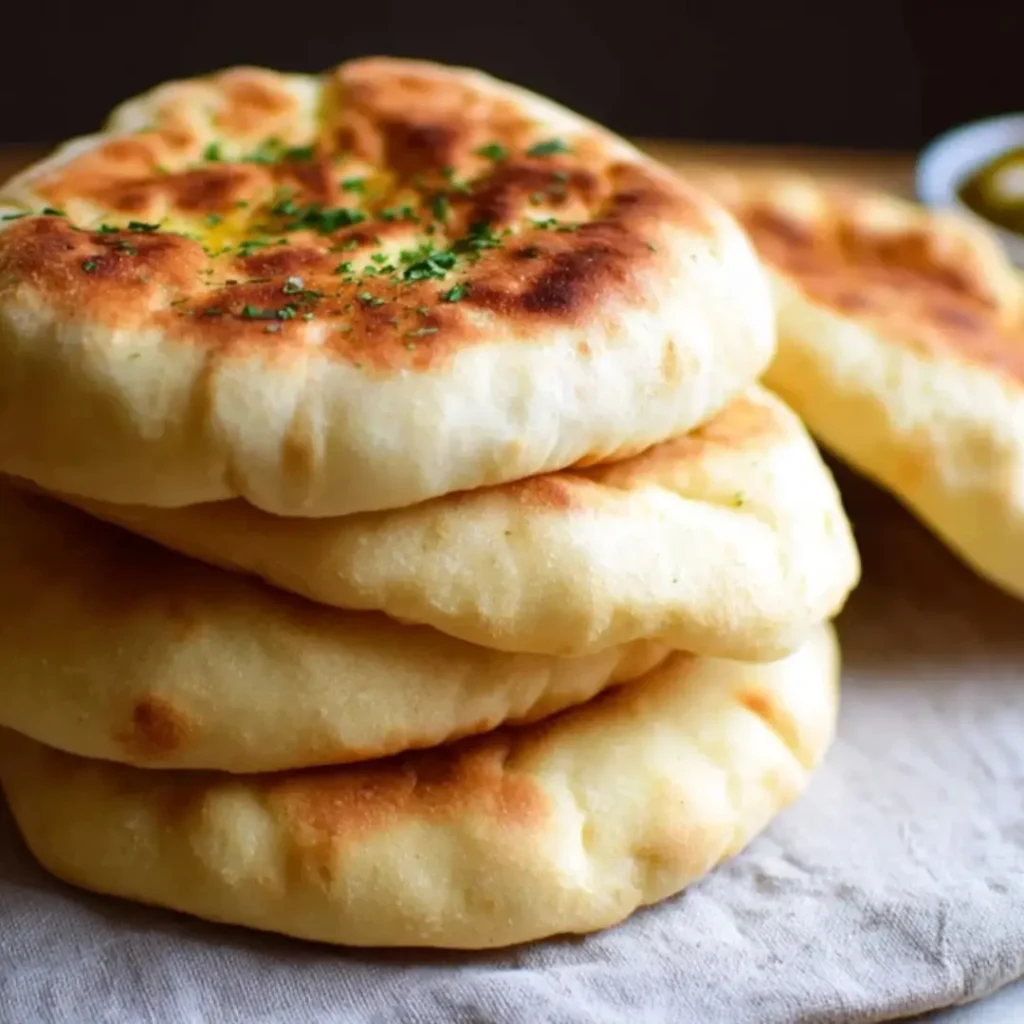
Oh, darling bakers, do you remember those moments in the kitchen when a simple recipe transforms into something truly magical? That’s exactly the feeling I get with The Easiest Homemade Pita Bread Recipe. There’s nothing quite like the warmth and tender chewiness of freshly baked pita, straight from your own oven, ready to cradle all your favorite fillings. It’s a comforting classic that brings a little bit of magic to any meal.
I remember countless afternoons with my grandmother, her hands dusted with flour, patiently teaching me the secrets of yeast and dough. We’d experiment with all sorts of breads, and the joy of seeing dough rise was a lesson in patience and wonder. That same simple joy is what I hope to share with you today, as we dive into creating these delightful, puffy pockets.
This recipe is not only incredibly straightforward, making it perfect for bakers of all skill levels, but it also promises a wonderfully versatile addition to your culinary repertoire. My top tip for any bread-making adventure? Trust your instincts with the dough; it’ll tell you what it needs.
What You Need to Make This Recipe
Crafting this delightful pita requires just a handful of humble ingredients. We’re talking warm water and active dry yeast to bring life to our dough, balanced with granulated sugar, all-purpose flour, and a touch of salt. A drizzle of olive oil adds a lovely richness and helps achieve that signature soft texture for The Easiest Homemade Pita Bread Recipe. You’ll find the full list of ingredients and precise measurements ready for you in the recipe card below.
How to Make The Easiest Homemade Pita Bread Recipe
Getting started with The Easiest Homemade Pita Bread Recipe is a wonderfully straightforward process. We’ll begin by preparing the dough, allowing it time to develop its beautiful texture and rise. Then, we’ll move on to shaping our individual pita rounds, carefully coaxing them into their familiar forms. Finally, the true magic happens as we cook the pita, watching them puff up into perfect pockets of deliciousness right before our eyes.
The Easiest Homemade Pita Bread Recipe
Ingredients
Equipment
Method
- In a large mixing bowl, combine the warm water, yeast, and sugar. Stir gently and let it sit for 5-10 minutes until foamy. This indicates the yeast is active.
- Add 2 tablespoons of olive oil, salt, and 2 cups of the all-purpose flour to the yeast mixture. Stir with a wooden spoon until combined. Gradually add the remaining 1 cup of flour, 1/2 cup at a time, mixing until a shaggy dough forms.
- Turn the dough out onto a lightly floured surface. Knead for 5-7 minutes until the dough is smooth and elastic. If it’s too sticky, add a little more flour, 1 tablespoon at a time.
- Lightly grease the mixing bowl with a little olive oil. Place the dough in the bowl, turning to coat all sides. Cover the bowl with a clean kitchen towel or plastic wrap and let it rise in a warm place for 60-90 minutes, or until doubled in size.
- Once risen, gently punch down the dough to release the air. Transfer it to a lightly floured surface and divide it into 8 equal pieces.
- Take one piece of dough and flatten it slightly. Using a rolling pin, roll it into a circle about 6-7 inches in diameter and about 1/8 inch thick. Ensure the thickness is even. Repeat with the remaining dough pieces. Place the rolled pitas on a lightly floured baking sheet or parchment paper, ensuring they don’t touch.
- Cover the rolled pita circles with a kitchen towel and let them rest for another 20-30 minutes. During this time, preheat your oven to 450°F (230°C) with a baking stone or an inverted baking sheet inside for at least 30 minutes. If using a cast iron skillet, place it over high heat on the stovetop for 5-10 minutes until smoking lightly.
- Oven Method: Carefully transfer 2-3 pita circles directly onto the preheated baking stone/sheet. Bake for 2-4 minutes, or until they puff up beautifully and the bottoms are lightly golden. Flip them over and bake for another 1-2 minutes until both sides are lightly browned.
- Skillet Method (Alternative): Place one pita at a time onto the hot cast iron skillet. Cook for 1-2 minutes per side, or until they puff up and develop golden-brown spots. Press down gently with a spatula if needed to encourage puffing.
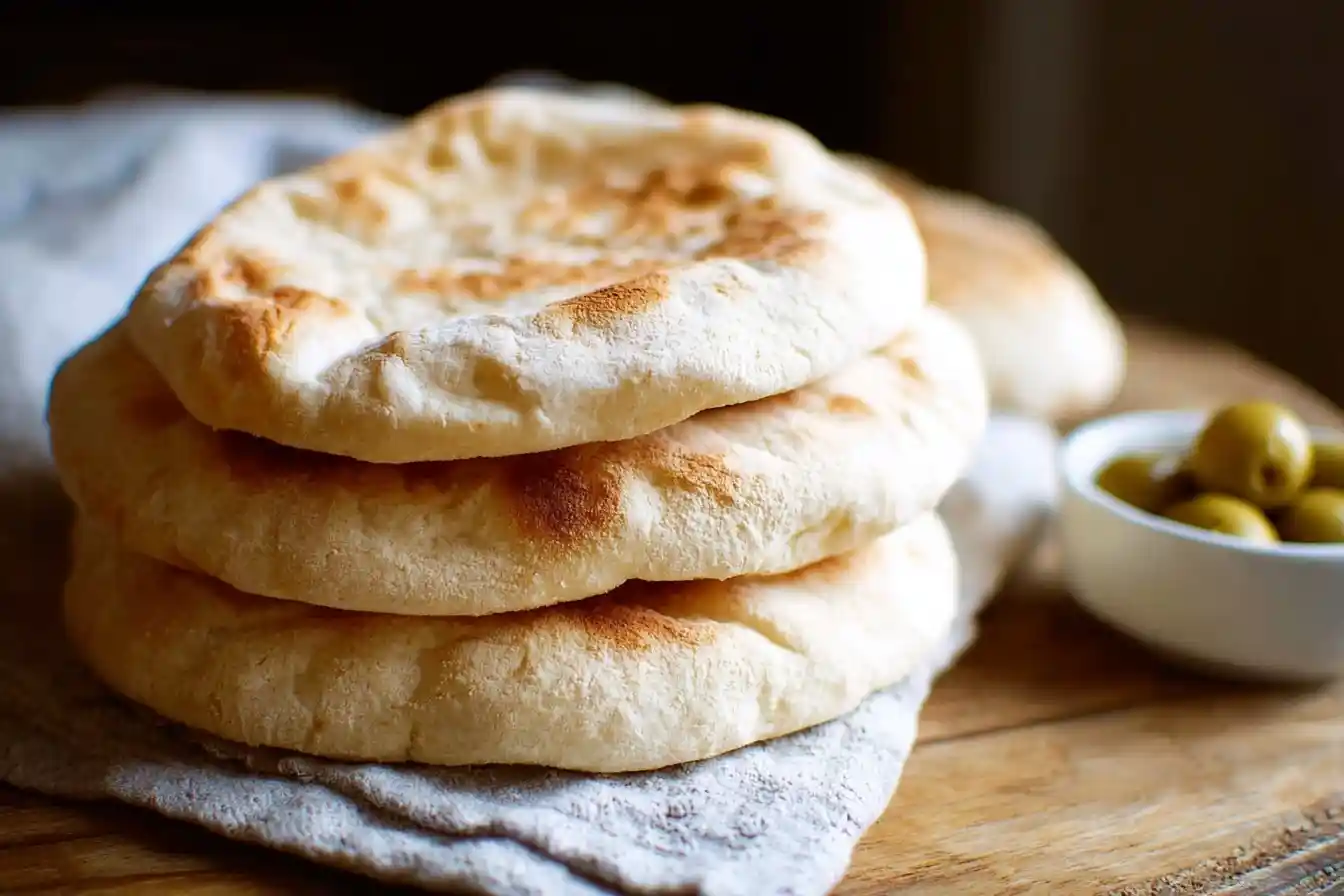
- Transfer the baked pitas to a basket or plate and cover with a clean kitchen towel to keep them warm and soft. Serve immediately with your favorite dips, spreads, or fillings.
Notes
Pro Tips for Making This The Easiest Homemade Pita Bread Recipe
Baking should always feel like a heartwarming adventure, and with a few of my tried-and-true tips, your journey with The Easiest Homemade Pita Bread Recipe will be smooth and rewarding.
My Secret Trick: When kneading the dough, don’t be afraid to add just a tiny bit more flour, a teaspoon at a time, if it feels too sticky. The goal is a dough that’s smooth and elastic, but still slightly tacky to the touch – that’s the secret to those soft, fluffy pitas.
Ensuring a Perfect Rise
Always make sure your water is just the right temperature for activating the yeast – around 105-115°F (40-46°C). If it’s too hot, it can kill the yeast, and too cold, it won’t activate. A thermometer is a bread baker’s best friend!
Achieving the Perfect Puff
For that iconic pita puff, preheat your baking sheet or pizza stone in the oven before placing the dough on it. This initial burst of high heat creates steam inside the dough, which is essential for forming those wonderful pockets.
Don’t Overwork the Dough
While kneading is important for developing gluten, overworking the dough can lead to tough pitas. Knead until it’s smooth and elastic, then let it rest and do its magic. Patience is truly a virtue in bread making, especially for The Easiest Homemade Pita Bread Recipe.
Fun Variations for The Easiest Homemade Pita Bread Recipe
One of the joys of baking is making a recipe truly your own, and The Easiest Homemade Pita Bread Recipe is wonderfully adaptable. A friend of mine always loves when I swirl in a sprinkle of za’atar right into the dough for an herbaceous, aromatic twist. It instantly transports you to a bustling Mediterranean market!
Herb-Infused Delights
For a fresh take, try incorporating finely chopped fresh herbs like rosemary or oregano into the dough during the kneading stage. It adds a subtle, savory aroma that’s absolutely divine, perfect for pairing with dips.
Whole Wheat Goodness
If you’re looking for a heartier option, you can swap out a quarter to a third of the all-purpose flour for whole wheat flour. This gives the pita a slightly nutty flavor and a more substantial texture, making it even more nourishing.
Garlic & Parmesan Twist
My sister once asked me to add a little garlic powder and grated Parmesan cheese to her batch, and it was a revelation! These savory pitas are amazing for scooping up hummus or serving alongside a cozy bowl of [[The Soup Recipes Everyone Should Master]].
What to Serve With The Easiest Homemade Pita Bread Recipe
Once your kitchen is filled with the irresistible aroma of freshly baked pita, you’ll want to know what delightful companions to pair them with. I love serving The Easiest Homemade Pita Bread Recipe warm, alongside a generous bowl of creamy hummus or a vibrant baba ghanoush. It makes for such an inviting spread!
For a more substantial meal, these soft pitas are absolutely perfect for wrapping up grilled chicken or falafel with a dollop of tzatziki. My mom always pairs them with a fresh, crisp Greek salad in the summer, making for a light yet satisfying dinner. And for a quick bite, tear them into pieces and serve with a simple olive oil and herb dip – instant gratification!
How to Store The Easiest Homemade Pita Bread Recipe
Preserving the softness and freshness of your homemade pita is key to enjoying them for days. After your pitas have cooled completely, I like storing them in an airtight container or a resealable plastic bag at room temperature for up to 2-3 days. This helps keep them wonderfully moist and prevents them from drying out.
Freezer-Friendly Tips
For longer storage, The Easiest Homemade Pita Bread Recipe freezes beautifully! Place the cooled pitas in a freezer-safe bag, pressing out as much air as possible, and freeze for up to 3 months. When you’re ready to enjoy them, simply thaw at room temperature.
Reheating for Freshness
To bring your pitas back to life, whether from the fridge or freezer, a quick warm-up is all they need. I pop them into a lightly oiled pan on the stovetop for about 30 seconds per side, or into a toaster oven for a minute or two. A light mist of water before reheating can help them regain that wonderful soft texture, making The Easiest Homemade Pita Bread Recipe taste freshly baked again.
Nutritional Benefits
While often enjoyed as an accompaniment, The Easiest Homemade Pita Bread Recipe offers more than just deliciousness. Made primarily from flour, it provides a good source of carbohydrates for energy, and with ingredients like olive oil, it contains healthy fats. It’s a treat that’s both satisfying and nourishing, embodying my philosophy of combining simple ingredients for wholesome enjoyment.
FAQs
Faq 1
Can I make The Easiest Homemade Pita Bread Recipe ahead of time?
Absolutely! You can prepare the dough a day in advance and let it rise slowly in the refrigerator overnight. Just bring it to room temperature before shaping and cooking your pita for The Easiest Homemade Pita Bread Recipe.
Faq 2
What if my pita doesn’t puff up?
Don’t worry! This can happen if the oven isn’t hot enough, or if your pitas are rolled too thick or thin. They’ll still taste amazing, even without the big puff, making The Easiest Homemade Pita Bread Recipe still a success.
Faq 3
Can I use whole wheat flour for this recipe?
Yes, you can! For a heartier pita, substitute up to half of the all-purpose flour with whole wheat flour. You might need a tiny bit more water, as whole wheat flour absorbs more liquid for The Easiest Homemade Pita Bread Recipe.
Faq 4
How can I achieve a chewier texture?
For a chewier pita, try kneading the dough for a minute or two longer than suggested, until it’s very elastic. This develops more gluten, which contributes to a more pronounced chewiness in The Easiest Homemade Pita Bread Recipe.
Conclusion
There’s a special kind of magic in creating something so utterly delicious and comforting with your own hands. The Easiest Homemade Pita Bread Recipe is more than just a recipe; it’s an invitation to bring warmth, flavor, and connection into your home. Each soft, fluffy bite is a testament to the joy of homemade goodness, creating memories around the table, just like in my grandmother’s kitchen. So go on, embrace the simple pleasure of baking, and let’s fill our homes with the sweet scent of happy moments!