Oh, dear friends, there’s just something utterly magical about a homemade Cherry Pie, isn’t there? That first bite, with its burst of sweet-tart cherries nestled under a golden, flaky crust, instantly transports you to a simpler time. It’s a dessert that speaks of warmth, comfort, and the kind of pure joy that only comes from baking with love. For me, the aroma of a Cherry Pie baking fills the kitchen with such a sweet promise, a promise of deliciousness and shared moments.
I remember countless childhood afternoons in my grandmother’s kitchen, her hands, dusted with flour, guiding mine as we’d pit cherries, each one a tiny ruby jewel. Those hours spent together, laughing and creating, weren’t just about making dessert; they were about weaving memories into every crust and filling. Each recipe I share carries a piece of that cherished time, a whisper of those precious moments.
This Classic Homestyle Cherry Pie recipe is truly a labor of love, designed to be approachable yet incredibly rewarding. It’s perfect for a cozy family dinner or a festive gathering, offering a delightful combination of flavors and textures that everyone will adore. My best tip? Don’t rush the crust; it’s the foundation of all that flaky goodness!
What You Need to Make This Recipe
Crafting the perfect pie begins with simple, wholesome ingredients. For our homestyle Cherry Pie, we lean on the buttery richness of cold unsalted butter for that incredible flaky crust and the vibrant sweetness of pitted sweet cherries for a filling that truly shines. I always say, high-quality ingredients are your best friends in the kitchen, and these stars ensure every slice is a dream. You’ll find the complete list and precise measurements in the recipe card just below.
How to Make Cherry Pie
Baking a beautiful Cherry Pie is a delightful journey, and I’m here to guide you every step of the way! We’ll start by preparing our tender, flaky pie crust, then move on to simmering those luscious sweet cherries into a perfectly balanced, thick filling. The assembly is pure fun, as we bring together all our delicious elements before it bakes to golden perfection. It’s a wonderful process, promising a truly spectacular dessert at the end of it.
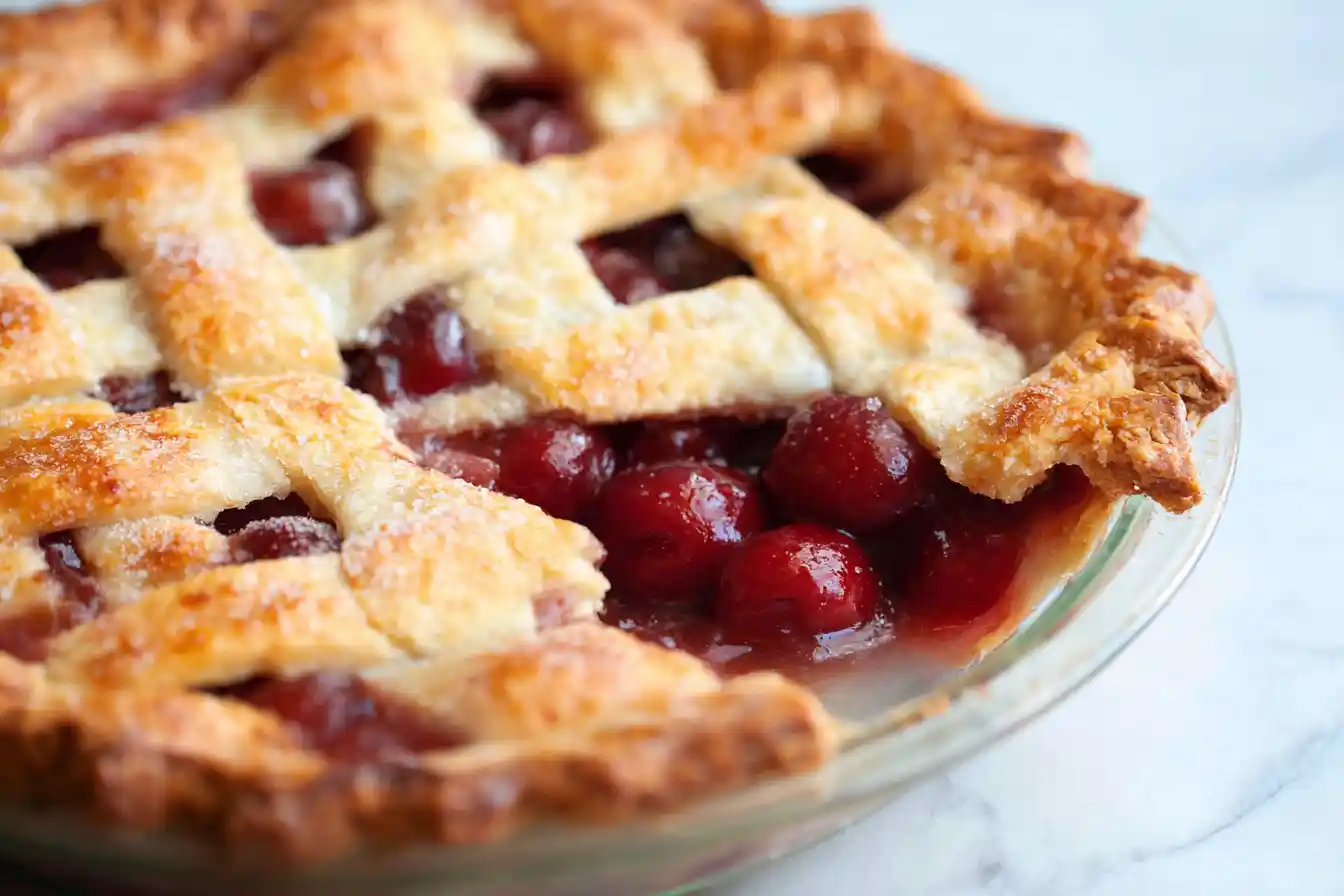
Classic Homestyle Cherry Pie
Ingredients
Equipment
Method
- In a large bowl, whisk together flour, 1 tsp sugar, and 1 tsp salt. Add the cold butter cubes and cut them into the flour mixture using a pastry blender, two knives, or your fingertips, until the mixture resembles coarse crumbs with some pea-sized pieces of butter remaining.
- Gradually add the ice water, 1 tablespoon at a time, mixing lightly with a fork until the dough just comes together. Be careful not to overmix. If the dough is too dry, add a tiny bit more water, 1 teaspoon at a time.
- Divide the dough in half. Form each half into a flat disk, wrap tightly in plastic wrap, and refrigerate for at least 30 minutes (or up to 2 days).
- In a large bowl, combine the pitted cherries (if using frozen, do not thaw), 1 cup granulated sugar, cornstarch, lemon juice, almond extract (if using), and 1/4 tsp salt. Stir gently to combine.
- Pour the cherry mixture into a medium saucepan. Cook over medium heat, stirring frequently, until the mixture thickens and comes to a gentle boil, about 8-12 minutes. The cornstarch needs to activate, so make sure it thickens significantly. Remove from heat and stir in the small pieces of butter until melted. Set aside to cool slightly while you prepare the crust.
- Preheat your oven to 425°F (220°C).
- On a lightly floured surface or between two sheets of parchment paper, roll out one disk of pie dough into a 12-inch circle. Carefully transfer the dough to a 9-inch pie plate. Trim the edges, leaving about a 1/2-inch overhang.
- Pour the slightly cooled cherry filling into the pie crust. Distribute evenly.
- Roll out the second disk of pie dough. You can either place it directly over the filling (cutting a few slits in the top for steam) or cut it into strips for a lattice top. Carefully place the top crust over the filling.
- Trim the edges of the top crust, leaving a 1/2-inch overhang. Fold the overhangs of both crusts under and crimp the edges together using your fingers or a fork to seal.
- In a small bowl, whisk together the egg and water to make an egg wash. Brush the top crust generously with the egg wash, then sprinkle evenly with 1 tbsp granulated sugar.
- Place the pie on a baking sheet (to catch any potential drips). Bake at 425°F (220°C) for 15 minutes. Then, reduce the oven temperature to 375°F (190°C) and continue baking for another 45-50 minutes, or until the crust is golden brown and the filling is bubbly and thick. If the crust starts to brown too quickly, loosely cover the edges with aluminum foil.
- Remove the pie from the oven and let it cool completely on a wire rack for at least 3-4 hours before slicing and serving. This allows the filling to set properly.
Notes
To ensure your homemade Cherry Pie is nothing short of spectacular, I’ve gathered a few tried-and-true tips from my own kitchen adventures. These little secrets will help you achieve that perfect balance of flaky crust and luscious, bubbling filling.
My Secret Trick: Always use ice-cold unsalted butter for your pie crust. I like to grate it or cut it into tiny pieces, then pop it back in the freezer for 10 minutes before mixing. This ensures those beautiful pockets of butter melt slowly in the oven, creating the flakiest crust imaginable for your Cherry Pie.
For the filling, don’t skimp on the cornstarch or fresh lemon juice! The cornstarch is our secret weapon for a perfectly thick, never-runny filling, while a squeeze of fresh lemon juice truly brightens the cherry flavor, balancing the sweetness beautifully. It’s a small addition that makes a world of difference.
When you’re assembling the pie, don’t forget to cut a few vents in the top crust. This allows steam to escape during baking, preventing a soggy crust and ensuring your Cherry Pie cooks evenly. A little egg wash on top not only gives a gorgeous golden sheen but helps create that lovely crisp texture.
Bake your Cherry Pie until the crust is deeply golden brown and the filling is bubbling thickly. Patience is key here; under-baking is the enemy of a perfect pie! If the edges are browning too quickly, simply cover them loosely with foil.
Fun Variations for Your Next Dessert
One of the joys of baking is getting creative! While our classic Cherry Pie is divine as is, here are a few ideas to playfully tweak this recipe and make it uniquely yours, just as my friends love when I experiment with new flavors.
Flavor Twists
Consider adding a touch of another fruit. My sister always asks me to swirl in a few tablespoons of raspberry jam into the cherry filling for an extra layer of berry goodness, or you could mix in some fresh blueberries for a “mixed berry” Cherry Pie. A hint of almond extract already elevates this recipe, but a tiny dash of vanilla bean paste can add even more depth.
Crust Adventures
Instead of a traditional lattice or solid top, try cutting out decorative shapes (stars, hearts!) from your top crust for a charming look. You could also sprinkle a bit of turbinado sugar over the top crust before baking for a delightful crunchy texture and extra sparkle.
Spiced Surprises
A pinch of cinnamon or a tiny grating of fresh nutmeg can add a wonderful warmth to the cherry filling, especially if you’re baking this Cherry Pie during the cooler months. It’s a subtle change that brings out the cozy flavors of fall and winter.
What to Serve With This Homemade Treat
A slice of warm, homemade pie is a treat in itself, but the right accompaniment can turn it into an unforgettable dessert experience. Here are a few ways I love to serve this Cherry Pie to make it feel extra special.
My absolute favorite way to enjoy a slice of this beautiful Cherry Pie is with a generous scoop of good quality vanilla bean ice cream. The cold, creamy ice cream melting into the warm, fruity filling is pure bliss. It’s a classic pairing for a reason!
For a lighter touch, especially if you’re enjoying your Cherry Pie after a rich meal, a dollop of freshly whipped cream is simply perfect. A friend loves when I sweeten the cream with a hint of almond extract to complement the pie’s flavors.
During the cooler months, a hot cup of tea or a robust coffee makes a wonderful partner to a slice of this comforting dessert. There’s something incredibly cozy about sipping a warm drink alongside a sweet and tart Cherry Pie.
How to Store Cherry Pie
Once the delightful aroma of your freshly baked pie has faded and the last crumbs have been savored, knowing how to properly store any leftover Cherry Pie is key to enjoying its deliciousness for days to come.
Fridge Storage
To keep your Cherry Pie tasting its best, especially with its fruit filling, I always recommend storing any leftovers in the refrigerator. Cover it loosely with plastic wrap or aluminum foil, or place it in an airtight pie container. It will stay fresh and delicious for 3-4 days.
Reheating Tips
If you like your pie warm, like I do, you can reheat individual slices in the microwave for 20-30 seconds, or in a preheated oven at 300°F (150°C) for about 10-15 minutes, until warmed through. A light dusting of powdered sugar after reheating brings a lovely fresh finish to your Cherry Pie!
Nutritional Benefits
While it’s undoubtedly a sweet indulgence, our Classic Homestyle Cherry Pie offers a lovely balance. The star of the show, sweet cherries, are packed with antioxidants and vitamins, adding a wholesome touch. This makes for a treat that’s both satisfying and nourishing, proving that delicious desserts can indeed contribute goodness!
FAQs
Can I use frozen cherries for this recipe?
Yes, absolutely! If fresh cherries aren’t in season, you can use frozen pitted sweet cherries. Thaw them completely and drain any excess liquid before using them in the filling to prevent a watery Cherry Pie.
How do I know when the pie is fully baked?
Your Cherry Pie is done when the crust is a deep golden brown and the filling is bubbling thickly through the vents. The internal temperature should reach about 200-210°F (93-99°C).
Can I prepare the pie crust in advance?
You can certainly prepare the pie crust dough up to 2-3 days in advance. Wrap it tightly in plastic wrap and store it in the refrigerator. Let it sit at room temperature for a few minutes before rolling it out for your Cherry Pie.
Why is my pie filling runny?
A runny filling often means there wasn’t enough cornstarch or it didn’t cook long enough to properly thicken. Ensure your filling is bubbling and has a thick consistency before taking your Cherry Pie out of the oven.