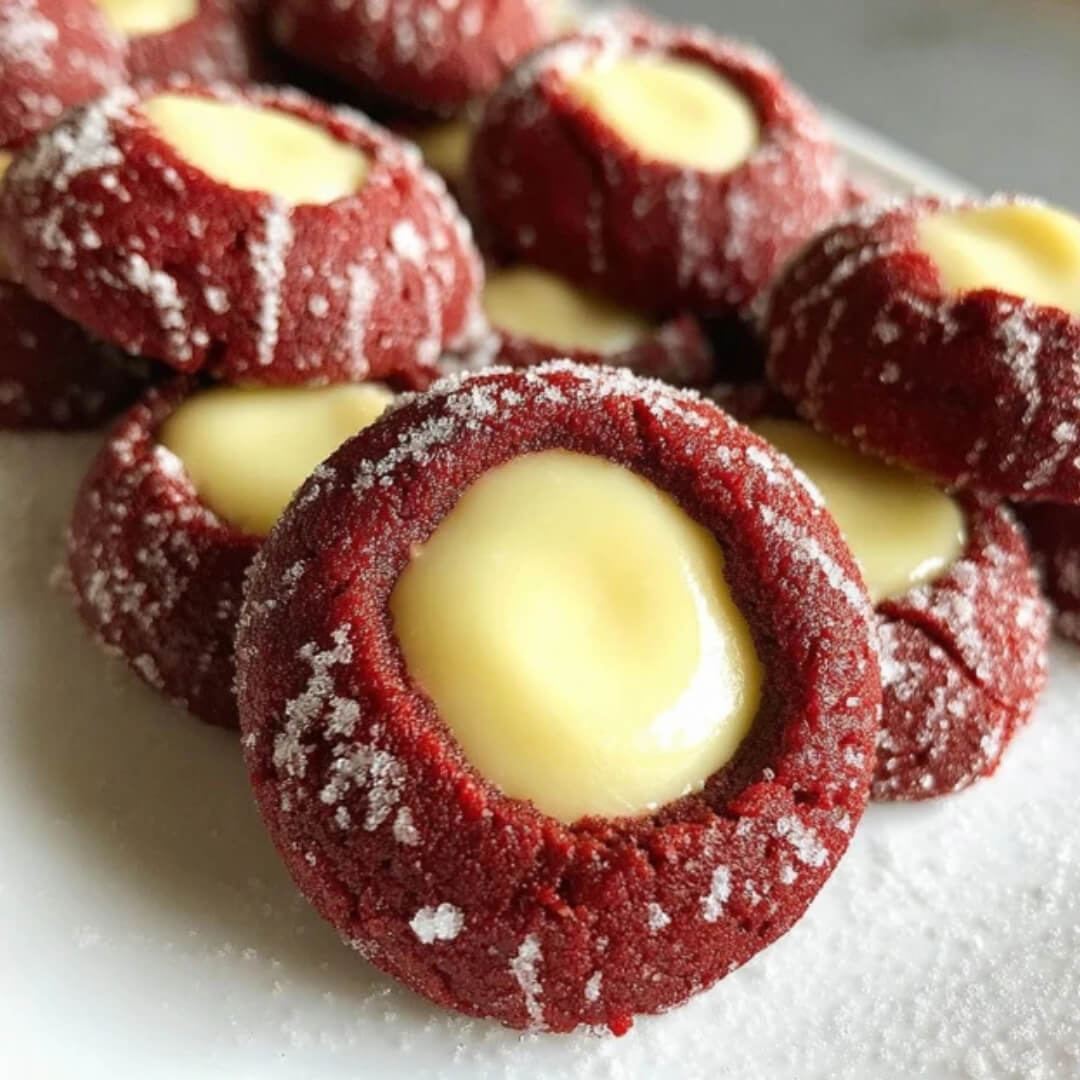
These red velvet cheesecake thumbprints are the kind of cookies that stop you mid-bite and make you close your eyes for a second. Soft and cocoa-kissed with a creamy, dreamy cheesecake center, they bring all the cozy holiday vibes without being overly complicated. Perfect for gifting, dessert trays, or secretly saving for yourself with a hot cup of coffee. Trust me — one bite and you’re hooked.
Why You’ll Love This Recipe
- A Perfect Pairing: That classic red velvet flavor meets tangy cheesecake filling in one magical bite.
- Festive & Eye-Catching: The bright red color and creamy center make these the star of any cookie platter.
- Make-Ahead Friendly: Both dough and filling can be prepped ahead of time for stress-free baking.
- Crowd-Pleasing Favorite: Kids and grown-ups alike can’t resist these little red velvet gems.
Ingredients
To bring these red velvet cheesecake thumbprints to life, here’s what you’ll need:
For the Cookies
- All-Purpose Flour: The base that gives structure to the cookies.
- Unsweetened Cocoa Powder: For that subtle, signature red velvet richness.
- Baking Powder: Gives the cookies just a gentle lift.
- Salt: Balances the sweetness and deepens flavor.
- Unsalted Butter: Softened for a creamy, rich base.
- Granulated Sugar: Adds sweetness and helps with texture.
- Egg Yolk: Adds richness and helps bind the dough.
- Whole Milk: Adds moisture and softness.
- Vanilla Extract: Enhances both the cocoa and the filling flavor.
- Red Food Coloring: Creates that iconic red velvet hue.
- Granulated Sugar (for rolling): Adds sparkle and a light crunch on the outside.
For the Cheesecake Filling
- Cream Cheese: Softened to creamy perfection — the heart of the filling.
- Granulated Sugar: Sweetens the tangy cheese just right.
- Vanilla Extract: Adds warm, sweet notes to the creamy center.
You’ll find full measurements in the printable recipe card just below the article.
How to Make the Red Velvet Cheesecake Thumbprints
Step 1: Mix the Dry Ingredients
In a medium bowl, whisk together the flour, cocoa powder, baking powder, and salt. Set it aside for now — this is your cookie foundation.
Step 2: Cream the Butter and Sugar
In a large bowl, beat together the softened butter and sugar until it’s light, fluffy, and calling your name.
Step 3: Add the Wet Ingredients
Mix in the egg yolk, milk, vanilla, and red food coloring. Your dough should now be turning that signature deep red velvet color. Love at first mix.
Step 4: Combine and Chill
Slowly add your dry ingredients to the wet mixture and stir until a soft, cohesive dough forms. Cover and chill in the fridge for 30 minutes (use the time to sneak a spoon of cheesecake filling — I won’t tell).
Step 5: Make the Cheesecake Filling
In a small bowl, beat the cream cheese, sugar, and vanilla until velvety smooth. Set aside — this is going to be the creamy star of the show.
Step 6: Preheat and Shape
Preheat your oven to 350°F (175°C) and line a baking sheet with parchment paper. Roll chilled dough into 1-inch balls, coat them in granulated sugar, and place them spaced apart on your tray.
Step 7: Create Thumbprints
Use your thumb or the back of a spoon to gently press down in the center of each cookie to create that signature well.
Step 8: Fill and Bake
Spoon a dollop of cheesecake filling into each indentation. Bake for 10–12 minutes, until edges are set and the centers just barely firm. They’ll continue to set as they cool.
Step 9: Cool
Let the cookies rest on the baking sheet for about 5 minutes, then transfer them to a wire rack to cool completely (if you can wait that long).
Pro Tips for Making the Recipe
- Chill the Dough: Don’t skip the chill time — it helps the cookies hold their shape and enhances flavor.
- Room Temp Cream Cheese: Ensures a silky-smooth cheesecake filling with no lumps.
- Even Indentations: Press gently and consistently so each cookie holds the right amount of filling.
- Don’t Overbake: The centers should look just slightly underdone — they’ll firm up as they cool.
How to Serve
These cookies are gorgeous all on their own, but here are a few fun ideas:
- Holiday Cookie Trays: Pair with sugar cookies, gingerbread, and peppermint bark.
- Coffee Companion: Serve with lattes, hot cocoa, or spiced tea for a cozy moment.
- Gift Boxes: These beauties are perfect for wrapping up in festive boxes or bags.
Make Ahead and Storage
Storing Leftovers
Store cooled cookies in an airtight container in the refrigerator for up to 5 days. The cheesecake center stays soft and delicious!
Freezing
You can freeze both the unbaked cookie dough balls (before filling) and fully baked cookies. For best results, freeze the unfilled dough and fill just before baking.
Reheating
Not necessary, but if you love a slightly warm cookie, pop one in the microwave for 10–12 seconds. Heavenly.
FAQs
Can I use gel food coloring instead of liquid?
Absolutely! Gel food coloring is more concentrated, so you’ll need less. Adjust based on your desired shade of red.
Can I make these cookies ahead of time?
Yes — the dough can be made 1–2 days in advance and stored in the fridge. You can also freeze unbaked dough for longer storage.
Do these need to be refrigerated?
Yes, because of the cream cheese filling. Keep them chilled and bring to room temp before serving if you prefer a softer bite.
Can I double the recipe?
Definitely! This recipe doubles beautifully if you’re baking for a party, holiday gathering, or just because you want extra (which, let’s be honest, is always a good idea).