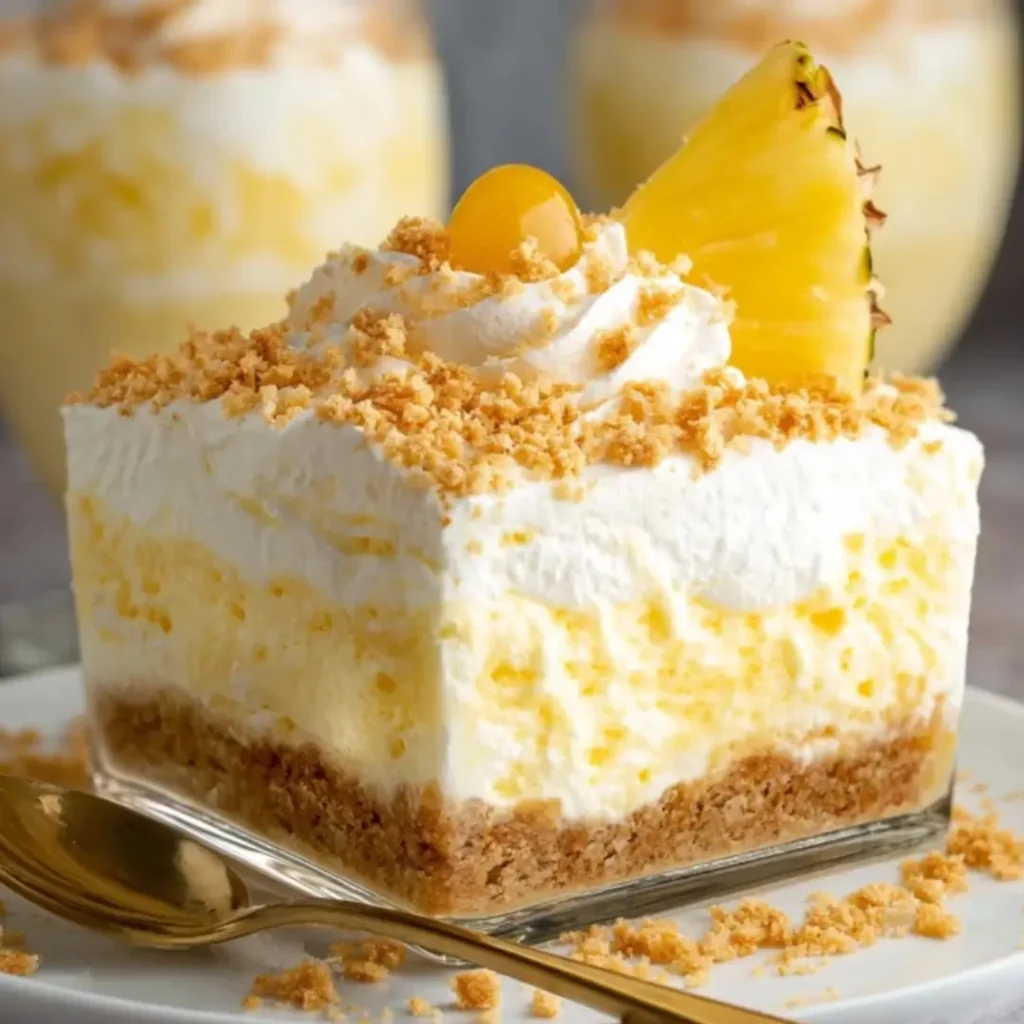
Oh, sweet friends, isn’t there something truly magical about a dessert that evokes sunshine and smiles? Today, I’m absolutely delighted to share a recipe for our Pineapple Dream Dessert, a confection so light, so creamy, and so utterly refreshing, it feels like a little slice of tropical heaven on your plate. It’s that perfect balance of tangy pineapple, luscious cream cheese, and a delicate graham cracker crust that simply melts in your mouth, making every bite a pure joy.
I remember summer afternoons in my grandmother’s kitchen, the air thick with the scent of vanilla and baking spices. While she often had an oven full of pies, I loved when she’d pull together something cool and quick, a treat to share as the sun dipped low. This recipe, much like those cherished memories, proves that the simplest ingredients, combined with a sprinkle of love, can create the most unforgettable experiences.
This Pineapple Dream Dessert is truly a dream to make, requiring no oven time and coming together with minimal fuss, making it ideal for busy days or impromptu gatherings. It’s a wonderful way to bring family and friends together around the table, creating sweet new memories. My top tip? Always use fresh lemon juice for that vibrant zing that truly elevates the pineapple’s natural sweetness!
What You Need to Make This Recipe
Crafting this delightful dessert calls for a handful of simple ingredients, many of which you likely have on hand! We’re talking about that rich cream cheese, bright crushed pineapple, and the essential sweetened condensed milk that gives this creation its irresistible creaminess. This Pineapple Dream Dessert truly shines with quality components. You’ll find the full list of ingredients and precise measurements in the recipe card below, ready for your baking adventure.
How to Make Pineapple Dream Dessert
This delightful treat comes together in three simple steps, making it incredibly approachable for bakers of all skill levels. First, we’ll whisk up a buttery graham cracker crust and press it into our pan. Next, a velvety smooth pineapple filling comes together with ease, combining creamy and tangy notes. Finally, it’s all about assembling the layers and letting the refrigerator work its magic, transforming simple ingredients into a show-stopping Pineapple Dream Dessert.
Pineapple Dream Dessert
Ingredients
Equipment
Method
- In a medium mixing bowl, combine the graham cracker crumbs, melted unsalted butter, and granulated sugar. Mix thoroughly until the crumbs are evenly moistened and resemble wet sand.
- Press the crumb mixture firmly and evenly into the bottom of a 9×13 inch baking dish. Place the dish in the refrigerator to chill while you prepare the filling.
- In a large mixing bowl, using an electric mixer, beat the softened cream cheese until it is smooth and creamy, about 1-2 minutes.
- Gradually add the sweetened condensed milk to the cream cheese, beating continuously until the mixture is fully incorporated and smooth.
- Slowly pour in the fresh lemon juice, continuing to beat for another 1-2 minutes until the mixture begins to thicken slightly.
- Using a rubber spatula, gently fold in the very well-drained crushed pineapple until it is evenly distributed throughout the cream cheese mixture.
- Retrieve the chilled graham cracker crust from the refrigerator. Evenly spread the pineapple filling mixture over the crust, ensuring it reaches all edges.
- Carefully and evenly spread the thawed frozen whipped topping over the pineapple filling layer.
- Cover the baking dish loosely with plastic wrap and refrigerate for a minimum of 4 hours, or preferably overnight, to allow the dessert to set completely and for the flavors to meld.
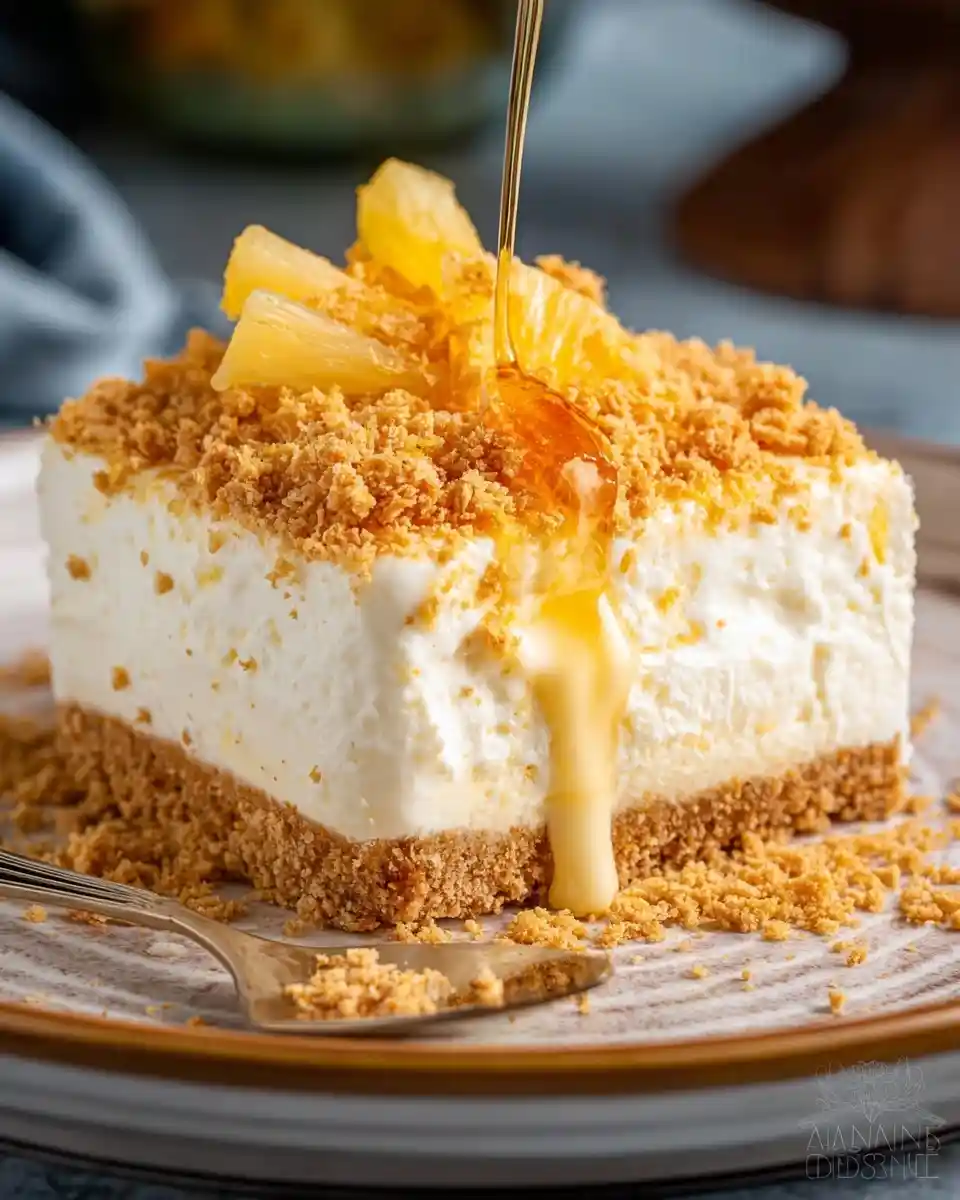
- Before serving, you may optionally garnish with toasted coconut flakes or small pineapple chunks. Cut into squares and serve cold.
Notes
Pro Tips for Making This Pineapple Dream Dessert
Making sure your Pineapple Dream Dessert turns out perfectly every time is my greatest joy. These little insights come from years of trial and error in my own kitchen, and I’m so happy to share them with you!
- My Secret Trick: For the most vibrant flavor, I always recommend using freshly squeezed lemon juice in the filling. It makes such a difference compared to bottled, brightening the entire Pineapple Dream Dessert and truly making the pineapple sing!
- Ensure your cream cheese is at room temperature before mixing. This is a non-negotiable step for me! It ensures a silky-smooth, lump-free filling that sets beautifully and has that perfect melt-in-your-mouth texture.
- When draining the crushed pineapple, make sure to get out as much liquid as possible. Excess moisture can make your filling too loose, so a good squeeze ensures a firm, luscious consistency for your Pineapple Dream Dessert.
- Don’t rush the chill time! This dessert needs ample time in the refrigerator, at least 4-6 hours, or ideally overnight, for all those beautiful flavors to meld and for the layers to set properly. Patience truly is a virtue here!
Fun Variations for Pineapple Dream Dessert
One of the things I adore most about baking is the freedom to get creative and adapt recipes to suit your mood or what you have on hand. This Pineapple Dream Dessert is wonderfully versatile, and I love to experiment with it!
- Tropical Twist: My sister always asks me to add a layer of thinly sliced fresh mango or passion fruit pulp over the pineapple filling before chilling. It adds another layer of tropical sunshine that pairs beautifully with the creamy base of this Pineapple Dream Dessert.
- Cookie Crust Creations: While the graham cracker crust is classic, you could easily swap it for a shortbread cookie crust or even vanilla wafer crumbs. Just crush them finely and mix with butter as you would the graham crackers. A friend once made it with crushed ginger snaps, and it was surprisingly delicious!
- Nutty Delights: For an extra layer of texture and flavor, try sprinkling some chopped toasted macadamia nuts or pecans over the top along with the coconut flakes. It adds a lovely crunch and a rich, buttery note that complements the sweet pineapple.
What to Serve With Pineapple Dream Dessert
This light and airy Pineapple Dream Dessert is a star on its own, but a few thoughtful accompaniments can truly elevate the experience. I often think about what my grandmother would have paired with a bright, fruity dessert like this.
I love serving this Pineapple Dream Dessert with a simple dollop of extra whipped cream, perhaps with a sprinkle of toasted coconut flakes for an added textural element. For a truly comforting experience, a freshly brewed cup of hot coffee or a fragrant herbal tea makes for a lovely pairing, cutting through the sweetness with its warmth. If you’re looking for something extra, a scoop of vanilla bean ice cream on the side is always a welcome addition, turning it into an even more indulgent treat!
How to Store This Delicious Dessert
Ensuring your homemade treats stay fresh is key, and this delightful dessert is no exception. Proper storage means you can savor every last bite of your Pineapple Dream Dessert!
Once assembled, always keep your Pineapple Dream Dessert covered tightly with plastic wrap or in an airtight container in the refrigerator. This will keep it fresh and delicious for up to 3-4 days. While you can technically freeze it, the texture of the whipped topping can change slightly upon thawing, becoming a bit softer. If freezing, wrap individual slices well in plastic wrap and then foil; thaw in the refrigerator. My personal tip? I always make sure to let it come to just below room temperature for about 15 minutes before serving for the best texture and flavor!
Nutritional Benefits
While it’s certainly a treat, our Pineapple Dream Dessert also brings some lovely elements to the table. The fresh pineapple adds a dose of Vitamin C and dietary fiber, aligning with my philosophy of combining indulgence with simple, wholesome ingredients where possible. It’s a delightful way to enjoy a dessert that’s both satisfying and nourishing in its own sweet way.
FAQs
Faq 1
Can I use canned whipped cream instead of frozen whipped topping?
While you technically can, I highly recommend frozen whipped topping for this Pineapple Dream Dessert. It holds its shape much better and contributes to the dessert’s stable, creamy texture, which is essential for a beautiful presentation and perfect set.
Faq 2
Do I have to toast the coconut flakes?
No, toasting the coconut flakes is optional, but I truly believe it enhances the flavor and adds a lovely nutty aroma to your Pineapple Dream Dessert. It only takes a few minutes in a dry pan and is well worth the effort!
Faq 3
Can I make the crust gluten-free?
Absolutely! To make a gluten-free Pineapple Dream Dessert, simply substitute the regular graham cracker crumbs with a gluten-free version. The process and measurements for the crust will remain exactly the same, ensuring everyone can enjoy this lovely treat.
Faq 4
Why did my filling not set properly?
The most common reasons for a loose filling are not draining the crushed pineapple thoroughly or not allowing enough chill time. Ensure your cream cheese is at room temperature for smooth mixing, and give your Pineapple Dream Dessert at least 4-6 hours, or ideally overnight, in the fridge.
Conclusion
There’s something truly special about creating a dessert that feels both effortless and incredibly rewarding. This Pineapple Dream Dessert embodies everything I love about home baking: it’s simple, it’s delicious, and it brings a touch of warmth and sunshine to any gathering. I truly hope this recipe inspires you to step into your kitchen, embrace the joy of creating, and share a sweet slice of happiness with those you love. After all, the best desserts are the ones made with a little love and a whole lot of heart!