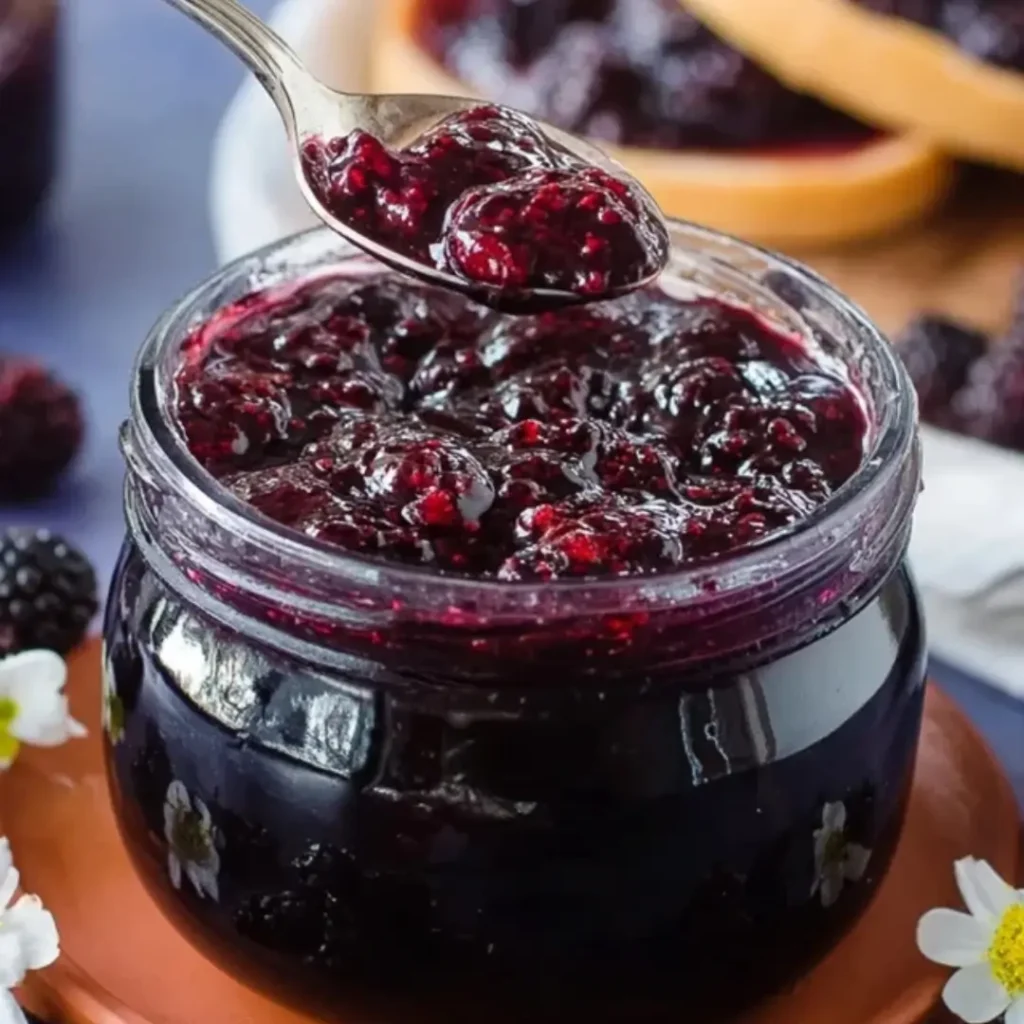
Oh, sweet friends, there’s nothing quite like the simple magic of a truly delightful preserve, and this Mulberry Jam Homemade Thick Easy Spreadable Jam recipe is pure joy in a jar! Imagine waking up to a sunny morning, the scent of freshly toasted bread wafting through the kitchen, and a jar of vibrant, jewel-toned jam just waiting to be slathered on. This isn’t just any jam; it’s a taste of summer captured, offering that perfect balance of sweetness and tartness with an irresistible texture that glides onto anything it touches.
I remember summer afternoons in Grandma’s kitchen, her apron dusted with flour, teaching me to hull strawberries for her famous preserves. While mulberries weren’t in her usual repertoire, the spirit of those afternoons—the shared laughter, the sticky fingers, the anticipation of homemade goodness—is exactly what I pour into every batch of this mulberry delight. It’s a testament to how simple ingredients, given a little love and patience, can create something truly extraordinary.
This recipe is wonderfully straightforward, making it perfect for both seasoned canners and those just dipping their toes into the world of homemade preserves. You’ll be delighted by how quickly you can transform a bounty of fresh mulberries into a pantry staple, ready to elevate your breakfast, brunch, or even your afternoon tea. My top tip? Don’t be afraid to taste and adjust as you go; that’s the real secret to any home-baked success!
What You Need to Make This Recipe
Crafting this Mulberry Jam Homemade Thick Easy Spreadable Jam calls for a handful of humble yet essential ingredients: fresh mulberries for their natural sweetness and vibrant color, granulated sugar, a splash of lemon juice to balance the flavors, a touch of powdered fruit pectin for that perfect thick set, and a tiny bit of unsalted butter to prevent foaming. The full list and exact measurements are waiting for you in the recipe card below, ready to guide your sweet adventure.
How to Make Mulberry Jam Homemade Thick Easy Spreadable Jam
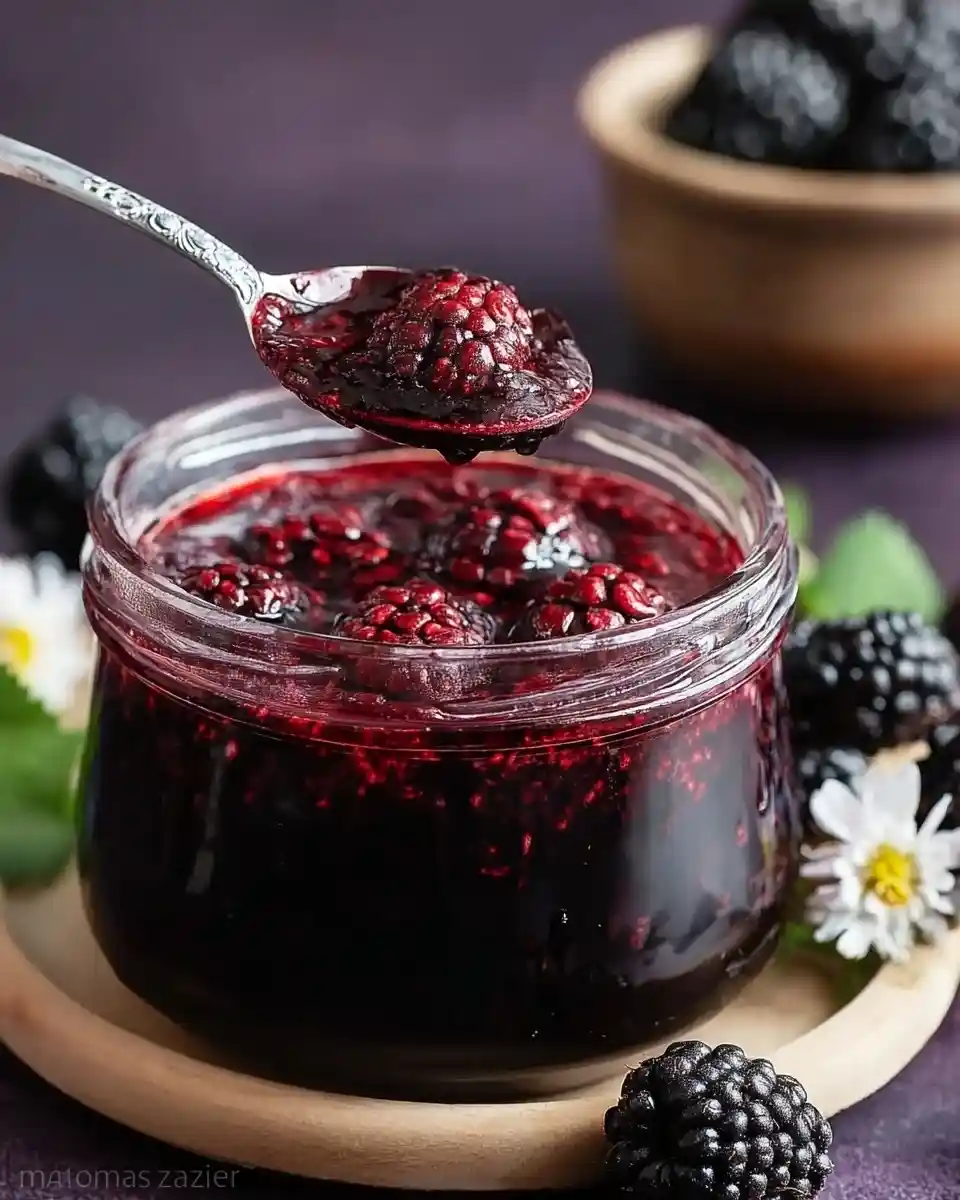
Making this glorious Mulberry Jam Homemade Thick Easy Spreadable Jam is a lovely process, really! You’ll start by gently cooking down your beautiful mulberries with sugar and lemon juice, allowing their natural juices to release and their flavors to meld. Then, we introduce the pectin, bringing everything to a rolling boil to activate that magical thickening power. A quick skim, and your homemade jam is ready to be jarred, preserving that burst of summer for months to come.
Mulberry Jam: Homemade, Thick & Easily Spreadable
Ingredients
Equipment
Method
- Sterilize your canning jars and lids according to manufacturer’s instructions or by boiling them in water for at least 10 minutes. Keep them hot until ready to fill.
- Gently wash the mulberries under cool running water and meticulously remove any remaining stems or debris. Place the cleaned mulberries in a large, heavy-bottomed non-reactive pot or Dutch oven.
- Using a potato masher or a sturdy fork, gently mash the mulberries to release their juices. You can leave some fruit whole for a chunkier jam or mash more thoroughly for a smoother texture.
- Add the powdered fruit pectin and freshly squeezed lemon juice to the mashed mulberries in the pot. Stir well to combine these ingredients thoroughly.
- Place the pot over high heat and bring the mixture to a full rolling boil (a boil that cannot be stirred down). Stir constantly to prevent sticking and ensure even heating.
- Once at a full rolling boil, add the granulated sugar all at once. Stir continuously until the sugar is completely dissolved. If using, add the optional unsalted butter at this stage to help reduce foam formation.
- Return the mixture to a full rolling boil and boil hard for exactly 1 minute, stirring constantly to avoid scorching the bottom of the pot.
- After 1 minute of hard boiling, remove the pot from the heat. To test for set, place a small spoonful of jam onto a chilled plate. Let it sit for 30 seconds, then push the jam with your finger. If it wrinkles, it’s ready. If not, return to heat and boil for another minute, then retest.
- If desired, skim off any foam that has accumulated on the surface of the jam using a large spoon. This improves clarity.
- Carefully ladle the hot jam into the hot, sterilized jars, leaving 1/4 inch headspace from the rim. Use a canning funnel for easier and cleaner filling. Wipe jar rims clean with a damp cloth to ensure a proper seal.
- Center new lids on the filled jars and apply bands, tightening just until finger-tight. Do not overtighten.
- For shelf stability, process the filled jars in a boiling water canner. Place jars on a canning rack in a large canner or stockpot. Ensure jars are covered by at least 1 inch of water. Bring to a full rolling boil and process for 10 minutes (adjust for altitude if necessary: add 1 minute for every 1,000 feet above sea level).
- Carefully remove jars from the canner using a jar lifter and place them upright on a clean kitchen towel or wire rack to cool completely, undisturbed, for 12-24 hours. You should hear a ‘pop’ as the jars seal.
- After cooling, check the seals by pressing the center of the lid; it should not flex or pop up. If a jar doesn’t seal, refrigerate it and use within 3 weeks. Store properly sealed jars in a cool, dark place for up to 1 year.
Notes
Pro Tips for Making This Mulberry Jam Homemade Thick Easy Spreadable Jam
When I’m making a batch of Mulberry Jam Homemade Thick Easy Spreadable Jam, I’ve picked up a few little secrets over the years that truly make all the difference. These are the touches that elevate your jam from good to absolutely glorious, just like my grandmother used to say about her apple pies.
- Choose Ripe Berries: Always use fresh, ripe mulberries. They’re at their peak sweetness and flavor, meaning less added sugar is needed, and the jam will sing with natural fruitiness. Underripe berries can lead to a more tart jam, which isn’t always what we’re aiming for with this particular recipe.
- Prepare Your Jars: Sterilizing your jars properly is key for shelf stability and safe preservation. I always give them a good wash and then process them in boiling water or a hot oven just before filling. This ensures your beautiful Mulberry Jam Homemade Thick Easy Spreadable Jam stays fresh longer.
- Don’t Overcook: Pay close attention to the cooking time. Overcooking can make the jam too stiff, losing that lovely, easily spreadable texture we adore. The 35 minutes cook time in the recipe is a sweet spot, but always do a plate test to check for doneness.
- My Secret Trick: I always add a tiny pat of unsalted butter right into the jam as it cooks. It works wonders to reduce foam, leaving you with a beautifully clear, vibrant jam that looks as good as it tastes. It’s a simple step, but it makes such a difference!
Fun Variations for Mulberry Jam Homemade Thick Easy Spreadable Jam
One of the joys of baking and preserving, for me, is the freedom to play and experiment! This Mulberry Jam Homemade Thick Easy Spreadable Jam recipe is a wonderful canvas, and I love helping fellow bakers find their own special twist. My friend, Martha, always encourages me to try new things, and these are a few variations we’ve enjoyed.
A Hint of Spice
For those who love a little warmth, consider adding a cinnamon stick or a few whole cloves to the pot while the mulberries cook down. Just remember to remove them before jarring! This infuses the jam with a subtle, comforting spice that pairs beautifully with the fruit.
Citrus Zest Boost
While lemon juice is in the recipe, a little extra finely grated lemon or orange zest, added in the last few minutes of cooking, can brighten the flavor profile even further. It adds a lovely aromatic complexity to your Mulberry Jam Homemade Thick Easy Spreadable Jam that truly delights the senses.
Mixed Berry Medley
Why stop at just mulberries? I’ve often made a mixed berry jam by combining mulberries with an equal part of raspberries or blueberries. My sister always asks me to do this; she loves the extra layer of fruitiness! This creates a truly unique flavor experience and still yields a wonderfully Mulberry Jam Homemade Thick Easy Spreadable Jam.
What to Serve With Mulberry Jam Homemade Thick Easy Spreadable Jam
Ah, the possibilities are endless when it comes to enjoying your incredible Mulberry Jam Homemade Thick Easy Spreadable Jam! This isn’t just for breakfast toast, though it shines there, of course. For me, pairing it with something simple yet delightful often brings the most joy, like those cozy Sunday mornings with family.
- Classic Toast or Scones: This is a no-brainer! A generous dollop on warm, buttery toast, freshly baked biscuits, or tender scones is pure bliss. It’s the perfect start to any day, making even the simplest breakfast feel like a special occasion.
- Yogurt or Oatmeal Topping: Swirl a spoonful into your morning Greek yogurt or oatmeal for a burst of natural fruit flavor. It adds a lovely sweetness and texture that elevates a simple breakfast into something truly special.
- Cheese Board Companion: Believe it or not, this Mulberry Jam Homemade Thick Easy Spreadable Jam is fantastic on a cheese board! Pair it with creamy brie, tangy goat cheese, or sharp cheddar and some crusty bread or crackers. My mom always says it’s the perfect sweet counterpoint.
- Dessert Drizzle: Use it as a topping for vanilla ice cream, panna cotta, or even a simple cheesecake. A quick serving idea is to warm it slightly for a luscious, pourable sauce that transforms any plain dessert into something elegant.
How to Store Mulberry Jam Homemade Thick Easy Spreadable Jam
After all the love you’ve poured into making your gorgeous Mulberry Jam Homemade Thick Easy Spreadable Jam, you’ll want to ensure it stays fresh and flavorful for as long as possible. Proper storage is key to enjoying your homemade goodness for months to come, just as Grandma taught me to properly seal her canned peaches.
Canning for Long-Term Storage
If you’re looking to store your Mulberry Jam Homemade Thick Easy Spreadable Jam for extended periods (up to a year), I highly recommend processing your filled, sealed jars in a boiling water bath. This creates a vacuum seal, ensuring your jam is shelf-stable in a cool, dark pantry.
Refrigerator Storage
For shorter-term enjoyment, any opened jars or unsealed jars of your delicious Mulberry Jam Homemade Thick Easy Spreadable Jam should be stored in the refrigerator. It will keep beautifully there for about 3-4 weeks. I like storing opened jars in the front of the fridge so I see them and remember to enjoy a spoonful every morning!
Freezing (Unprocessed Jars)
If you made a large batch and don’t want to can it all, you can freeze unprocessed jam! Fill freezer-safe containers, leaving about ½ inch headspace for expansion, and freeze for up to 6 months. Thaw in the refrigerator before serving.
Nutritional Benefits
This delightful Mulberry Jam Homemade Thick Easy Spreadable Jam, with its star ingredient, mulberries, offers more than just sweet indulgence. Mulberries are packed with antioxidants, vitamins (like Vitamin C and K), and dietary fiber, making this a treat that’s both satisfying and nourishing. It’s a wonderful example of how desserts, crafted with simple, wholesome ingredients, can bring a little extra goodness to your day.
FAQs
Faq 1
Can I reduce the sugar in this mulberry jam?
While you might be tempted, sugar plays a crucial role in both the preservation and set of this Mulberry Jam Homemade Thick Easy Spreadable Jam. Significantly reducing it might affect the texture and shelf life. For best results, I recommend sticking to the recipe.
Faq 2
How do I know if my jam has set properly?
The simplest way is the “plate test.” Before jarring, spoon a small amount of hot Mulberry Jam Homemade Thick Easy Spreadable Jam onto a cold plate. Let it cool for a minute, then push it with your finger. If it wrinkles, it’s ready!
Faq 3
Can I use frozen mulberries for this recipe?
Absolutely! If fresh mulberries aren’t in season, frozen ones work wonderfully. Just be sure to thaw them completely before starting, and drain any excess liquid to ensure your Mulberry Jam Homemade Thick Easy Spreadable Jam achieves the perfect consistency.
Faq 4
Why add butter to jam?
The small amount of unsalted butter in this Mulberry Jam Homemade Thick Easy Spreadable Jam recipe helps to reduce the amount of foam that forms on top during cooking. This results in a clearer, more visually appealing finished jam.
Conclusion
And there you have it, dear friends! A truly enchanting recipe for Mulberry Jam Homemade Thick Easy Spreadable Jam that brings the vibrant taste of summer into your home, no matter the season. Baking and preserving are more than just following steps; they’re acts of love, opportunities to create something truly special with your own hands. I hope this recipe inspires you to embrace the joyful mess, the sweet anticipation, and the pure delight of sharing homemade treats that create lasting memories. Happy jamming!