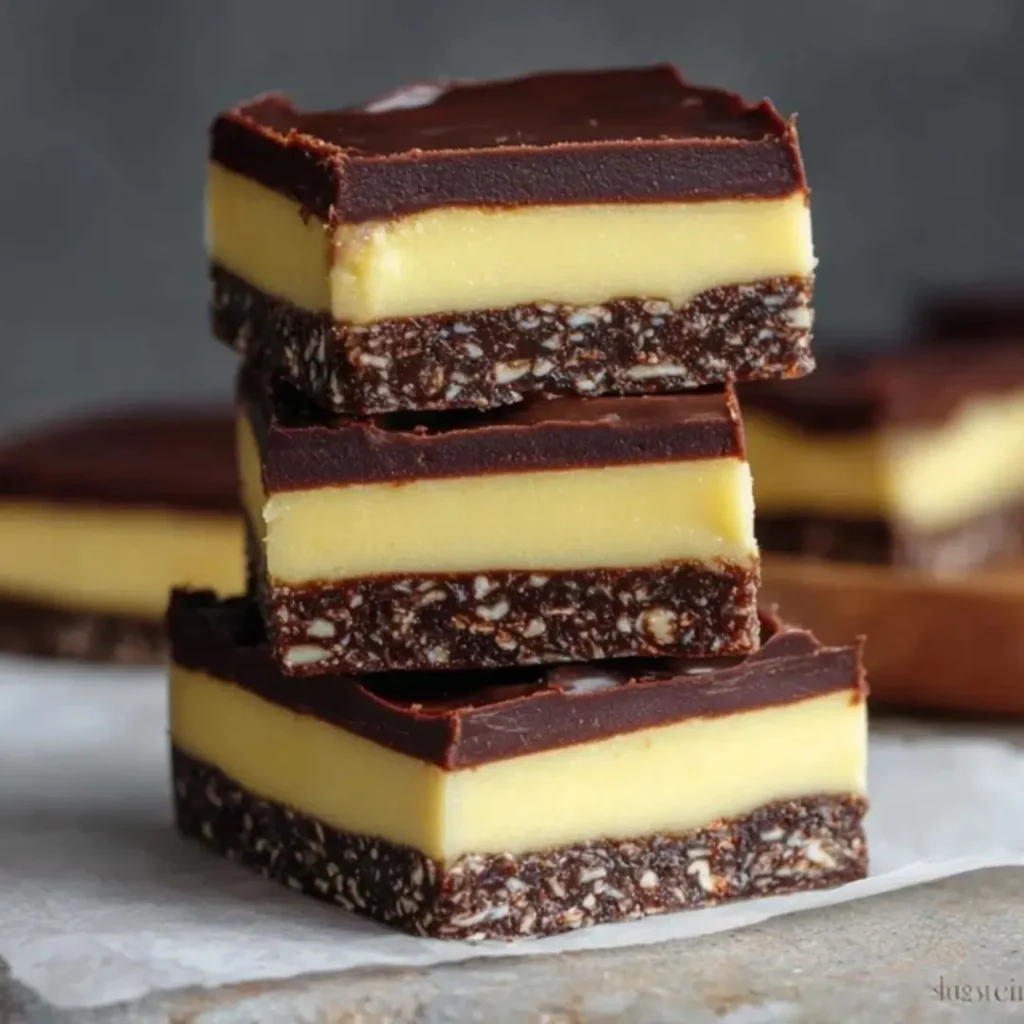
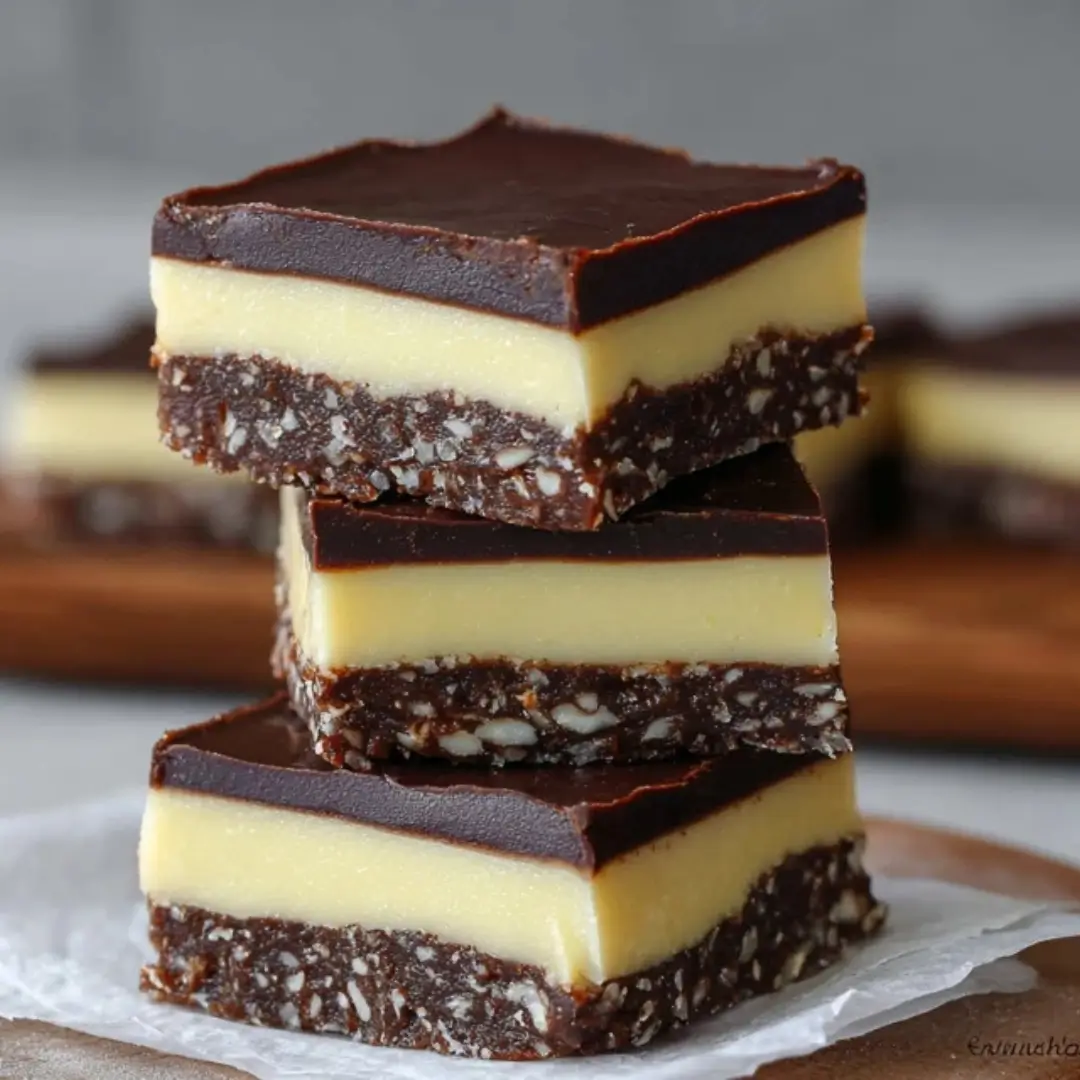
Oh, Nanaimo Bars! Just saying the name brings a smile to my face and a warmth to my heart. These iconic Canadian no-bake treats, with their distinctive three layers, have always felt like a little piece of edible magic. Today, I’m absolutely delighted to share a recipe for Dairy-Free Nanaimo Bars that truly captures that classic, rich flavor and delightful texture, all while being wonderfully kind to those with dairy sensitivities. Imagine a crumbly chocolate-coconut base, topped with a smooth, sweet custard filling, and finished with a glossy chocolate glaze – pure bliss in every bite!
My love affair with Nanaimo Bars started back in my grandmother’s kitchen. She had a knack for transforming simple pantry staples into extraordinary desserts, and though her version wasn’t dairy-free, the joy of pressing that rich base into the pan and spreading the creamy filling was a childhood delight I’ll never forget. Over the years, I’ve experimented endlessly to create a dairy-free treat that tastes just as authentic and comforting, learning through many happy (and sometimes messy!) kitchen adventures.
These Dairy-Free Nanaimo Bars are not only incredibly easy to assemble, making them perfect for bakers of all skill levels, but they’re also a fantastic make-ahead dessert that’s sure to delight everyone at your next gathering. My best practical baking tip for these beauties? Patience is key when letting each layer chill – it ensures those perfect, clean lines we all adore!
What You Need to Make This Recipe
Crafting these delightful no-bake bars requires a few simple, yet essential, ingredients. Dairy-free butter is a star here, creating both the rich base and the dreamy custard, while unsweetened cocoa powder ensures that deep chocolate flavor we all crave. You’ll find the full list of ingredients and precise measurements for these amazing Dairy-Free Nanaimo Bars in the recipe card below, ready for your baking adventure!
How to Make Dairy-Free Nanaimo Bars
Whipping up these luscious bars is a joyful journey through three distinct layers. You’ll begin by preparing the rich, chocolatey base, which is then pressed firmly into your pan. Next comes the star of the show: a creamy, dreamy dairy-free custard filling, spread generously over the chilled base. Finally, a decadent dairy-free chocolate glaze crowns the bars, creating that irresistible crackle. A little patience for chilling each layer, and you’ll have perfect Dairy-Free Nanaimo Bars ready to enjoy!
Dairy-Free Nanaimo Bars
Ingredients
Equipment
Method
- Line a 9×13 inch baking pan with parchment paper, leaving an overhang on the sides for easy removal.
- In a large saucepan over low heat, melt the dairy-free butter. Remove from heat.
- Stir in the granulated sugar and cocoa powder until well combined and smooth.
- Gradually whisk in the lightly beaten egg. Return the saucepan to low heat and cook, stirring constantly, for about 2-3 minutes until the mixture thickens slightly. Be careful not to scramble the egg.
- Remove from heat and stir in the dairy-free graham cracker crumbs, shredded coconut, and chopped slivered almonds (if using) until evenly coated.
- Press the mixture firmly and evenly into the prepared baking pan. Use the back of a spoon or your hands.
- Refrigerate for at least 30 minutes to set while you prepare the filling.
- In a medium mixing bowl, beat the softened dairy-free butter until light and creamy.
- Gradually add the sifted powdered sugar, dairy-free vanilla custard powder, dairy-free milk alternative, and vanilla extract.
- Beat on medium-high speed until the mixture is light, fluffy, and smooth. If too thick, add an additional teaspoon of dairy-free milk; if too thin, add a tablespoon more powdered sugar.
- Spread the custard filling evenly over the chilled base layer in the baking pan.
- Return the pan to the refrigerator for at least 30 minutes to allow the filling to set.
- In a heatproof bowl set over a saucepan of simmering water (double boiler method), or in a microwave-safe bowl, melt the dairy-free chocolate chips and dairy-free butter together. Stir until smooth and fully combined.
- Allow the glaze to cool slightly for 5-10 minutes, so it’s warm but not hot (this prevents it from melting the custard layer too much).
- Pour the chocolate glaze evenly over the set custard filling. Gently tilt the pan to ensure full coverage, or use a spatula to spread it.
- Refrigerate the Nanaimo bars for at least 1 hour, or until the chocolate glaze is completely firm.
- Once fully set, use the parchment paper overhang to lift the bars out of the pan onto a cutting board.
- Using a sharp, hot knife (run under hot water and wipe dry between cuts), cut the bars into desired squares or rectangles.
- Store Dairy-Free Nanaimo Bars in an airtight container in the refrigerator for up to 5-7 days. They can also be frozen for longer storage.
Notes
The custard powder is key for the traditional Nanaimo bar flavor; ensure it’s specifically dairy-free if you have severe allergies. Bird’s brand is often suitable, but always check labels.
Use a high-quality dairy-free chocolate for the best glaze.
Chilling times are crucial for distinct layers and easy cutting. Don’t rush them!
Pro Tips for Making This Dairy-Free Nanaimo Bars
I’ve learned a trick or two over the years to ensure every batch of Dairy-Free Nanaimo Bars turns out perfectly, and I’m so excited to share them with you!
For that perfectly smooth and lump-free custard filling, I always recommend sifting your powdered sugar and dairy-free vanilla custard powder together before whisking them into the softened dairy-free butter. This simple step makes all the difference in achieving that silky texture that defines these bars.
My Secret Trick: When pressing the base layer into the pan, I always place a sheet of parchment paper over the mixture before using a flat-bottomed glass or the back of a measuring cup to press it down. This prevents sticking and ensures an incredibly even and compact base for your delicious Dairy-Free Nanaimo Bars.
Remember, the chill time between layers is crucial. It allows each layer to set properly, ensuring you get those beautifully defined lines when you slice into your homemade treats. Don’t rush it; good things come to those who wait!
Finally, for the chocolate glaze, make sure your dairy-free chocolate chips and dairy-free butter are fully melted and smooth before spreading. A gentle touch and an offset spatula work wonders for an even, glorious finish.
Fun Variations for Dairy-Free Nanaimo Bars
One of the most wonderful things about baking is the freedom to get creative and adapt recipes to your own taste! These Dairy-Free Nanaimo Bars are a fantastic canvas for playful variations.
Zesty Citrus Twist
For a brighter, fresher flavor profile, consider adding a teaspoon of orange zest to the chocolate base mixture. The subtle citrus note beautifully complements the cocoa, giving your Dairy-Free Nanaimo Bars a delightful lift. My friend, Emily, absolutely adores this variation, especially during summer gatherings!
Nutty Delight
While our classic recipe uses slivered almonds, feel free to experiment with other nuts. Finely chopped pecans or walnuts can add a different dimension of texture and flavor to the base layer. You could even lightly toast them beforehand for an enhanced nutty aroma.
Mocha Magic
If you’re a coffee lover like me, a touch of espresso powder can elevate the chocolate glaze. Dissolve about half a teaspoon of instant espresso powder in a tiny bit of hot dairy-free milk alternative before mixing it into your melted chocolate and butter. It deepens the chocolate flavor beautifully!
What to Serve With Dairy-Free Nanaimo Bars
These Dairy-Free Nanaimo Bars are utterly divine on their own, but pairing them with a thoughtful accompaniment can elevate the whole dessert experience. Think of it as creating a little moment of joy!
I absolutely love serving a chilled bar with a simple cup of [[Dairy-Free Whipped Cream]]. The lightness of the cream provides a beautiful contrast to the richness of the bar. For a cozy evening, a warm mug of [[Chocolate Chip Pecan Cookies]] is a delightful pairing, creating a comforting dessert duo that truly satisfies. My mom always said the best desserts end with a good cup of tea, and I heartily agree! A robust black tea or a calming herbal blend makes for a perfect companion. If you’re feeling a bit fancy, a few fresh raspberries or strawberries scattered alongside add a lovely burst of color and a tart counterpoint to the sweet Dairy-Free Nanaimo Bars.
How to Store Dairy-Free Nanaimo Bars
After putting so much love into creating these delightful Dairy-Free Nanaimo Bars, you’ll want to ensure they stay fresh and delicious! Proper storage is key to enjoying them for days to come.
Refrigerator Storage
These bars are best kept in the refrigerator, stored in an airtight container. This helps maintain their shape, texture, and prevents them from absorbing any unwanted fridge odors. They will keep beautifully for up to a week, though in my house, they rarely last that long!
Freezer Tips
For longer storage, you can absolutely freeze your Dairy-Free Nanaimo Bars! Once fully chilled and cut into individual portions, place them in a single layer on a parchment-lined baking sheet and freeze until solid. Then, transfer them to an airtight freezer-safe container or a heavy-duty freezer bag, separating layers with parchment paper. They’ll stay fresh for up to two months. My personal tip is to always label the container with the date – it’s so easy to forget!
Serving from Cold
When you’re ready to enjoy a frozen bar, simply take it out of the freezer and let it thaw in the refrigerator for an hour or at room temperature for about 15-20 minutes. They’re actually quite delicious chilled straight from the fridge too, offering a firmer, chewy texture.
Nutritional Benefits
While we certainly indulge for the joy of it, it’s lovely to know that even delightful treats can offer a little something extra. These Dairy-Free Nanaimo Bars, with their use of unsweetened cocoa powder, provide a touch of antioxidants, while the almonds contribute healthy fats and protein. It’s a wonderful example of my philosophy: combining simple, wholesome ingredients to create a treat that’s both satisfying and nourishing for the soul.
FAQs
Faq 1
Can I make Dairy-Free Nanaimo Bars ahead of time for a party?
Absolutely! These Dairy-Free Nanaimo Bars are perfect for making in advance. They need ample chilling time anyway, so preparing them a day or two before your event ensures they’re perfectly set and ready to impress your guests.
Faq 2
What if I can’t find dairy-free vanilla custard powder?
If you can’t find dairy-free vanilla custard powder, you can often substitute an equal amount of cornstarch or arrowroot powder mixed with a little extra vanilla extract and a pinch of turmeric for color. It helps thicken the Dairy-Free Nanaimo Bars filling.
Faq 3
How do I prevent the chocolate glaze from cracking when I cut the bars?
To prevent cracking, make sure the glaze is slightly firm but not rock-hard before cutting. Running a sharp knife under hot water and wiping it clean before each cut also helps achieve neat slices for your Dairy-Free Nanaimo Bars.
Faq 4
Can I use a different type of dairy-free milk alternative?
Yes, you can! While I typically use unsweetened almond or soy milk, most dairy-free milk alternatives like oat or cashew milk will work beautifully in these Dairy-Free Nanaimo Bars. Choose your favorite for the creamy custard filling.
Conclusion
Creating these Dairy-Free Nanaimo Bars has been a delightful journey, bringing together cherished memories and the joy of inclusive baking. It’s a testament to how, with a little love and mindful ingredient choices, we can recreate those comforting classics for everyone to enjoy. I truly hope you’ll find as much joy in making and sharing these delectable bars as I do. Dive in, get creative, and let these sweet treats bring a little extra magic to your kitchen and your heart. Happy baking!