Oh, sweet friends, do you remember those perfect autumn days? The air crisp, leaves painted in fiery hues, and the comforting aroma of apples and cinnamon wafting from your kitchen? That’s the feeling I get every time I bake an Apple Crisp Cheesecake. It’s a magical blend of velvety smooth cheesecake, tender spiced apples, and a crunchy oat streusel, offering a taste that’s both familiar and utterly divine. Each spoonful is like a warm embrace, a testament to the joy of homemade desserts.
Growing up, my grandmother’s kitchen was my sanctuary, a place where flour dust danced in the sunlight and the simple act of mixing ingredients felt like pure magic. I remember her saying, “Sara, a good dessert isn’t just about taste; it’s about the memories you bake into it.” This particular creation brings back those cherished moments, reminding me of all the sweetness we can create when we pour our hearts into baking.
This Apple Crisp Cheesecake recipe is truly a showstopper, perfect for holiday gatherings or a quiet Sunday afternoon when you crave something extraordinary. It’s surprisingly approachable, even with its elegant layers, and promises to delight everyone at your table. My best tip? Always let your cream cheese soften completely; it makes for the smoothest, silkiest filling imaginable.

What You Need to Make This Recipe
Crafting this delightful Apple Crisp Cheesecake begins with a few pantry staples and fresh, crisp apples. We layer buttery graham cracker crumbs for the base, a rich cream cheese filling, and an irresistible spiced apple topping, all crowned with a golden oat streusel. I always say that a dessert is only as good as its ingredients, and for this, using good quality butter and fresh apples makes all the difference. You’ll find the complete list of ingredients and precise measurements in the recipe card below.
How to Make Apple Crisp Cheesecake
Embarking on the journey to create this incredible Apple Crisp Cheesecake involves a few distinct stages, each building upon the last to create a harmonious symphony of flavors and textures. You’ll start by preparing the buttery graham cracker crust, then move on to the luscious cream cheese filling, baking it gently in a water bath. Next, you’ll simmer spiced apples until tender, and finally, assemble everything with a crunchy oat crisp topping. It sounds like a grand affair, but trust me, each step is straightforward and incredibly rewarding.
Apple Crisp Cheesecake
Ingredients
Equipment
Method
- Preheat your oven to 350°F (175°C). Wrap the outside bottom of a 9-inch springform pan with heavy-duty aluminum foil to prevent water bath leakage.
- In a medium bowl, combine graham cracker crumbs and 2 tablespoons of granulated sugar. Pour in the melted butter and mix until all crumbs are moistened.
- Press the mixture firmly into the bottom of the prepared springform pan. Bake for 10 minutes. Remove from oven and let cool slightly while you prepare the filling.
- In a large mixing bowl, using an electric mixer, beat the softened cream cheese on medium speed until smooth and creamy, about 2-3 minutes. Scrape down the sides of the bowl.
- Add 1 cup of granulated sugar and all-purpose flour to the cream cheese. Beat on low speed until just combined, then increase to medium and beat for another 1-2 minutes, scraping down the bowl as needed.
- Stir in the sour cream and vanilla extract until just combined. Be careful not to overmix.
- Add the eggs one at a time, beating on low speed until just incorporated after each addition. Do not overmix; overmixing can introduce too much air, which can cause cracks.
- Pour the cheesecake batter over the baked crust in the springform pan.
- Place the foil-wrapped springform pan into a larger roasting pan. Carefully pour hot water into the roasting pan until it reaches halfway up the sides of the springform pan.
- Carefully transfer the roasting pan to the preheated 350°F (175°C) oven. Bake for 60-75 minutes, or until the edges are set but the center still jiggles slightly when gently shaken.
- Turn off the oven, crack the door open slightly, and let the cheesecake cool in the water bath in the oven for 1 hour. This helps prevent cracking.
- Remove the cheesecake from the water bath and carefully remove the foil. Let it cool completely on a wire rack at room temperature.
- While the cheesecake cools, melt 2 tablespoons of butter in a medium saucepan over medium heat. Add the sliced apples, brown sugar, cinnamon, nutmeg, lemon juice, and water/apple juice.
- Cook, stirring occasionally, for 8-12 minutes, or until the apples are tender-crisp but still hold their shape. Remove from heat and let cool slightly.
- In a small bowl, combine old-fashioned oats, all-purpose flour, brown sugar, cinnamon, and salt. Add the cold butter pieces.
- Using your fingertips or a pastry blender, cut the butter into the dry ingredients until the mixture resembles coarse crumbs.
- Once the cheesecake has cooled to room temperature, gently spread the spiced apple topping evenly over the top.
- Evenly sprinkle the oat crisp topping over the apples.
- Return the cheesecake (without the water bath) to the oven, preheated to 350°F (175°C), for 15-20 minutes, or until the crisp topping is golden brown and the apples are warmed through.
- Remove from the oven and let cool completely on a wire rack before chilling. Once fully cooled, cover and refrigerate for at least 6 hours, or preferably overnight, before serving.
- To serve, run a thin knife around the edge of the pan before releasing the springform sides. Slice and enjoy!
Notes
Pro Tips for Making This Apple Crisp Cheesecake
Creating a truly outstanding Apple Crisp Cheesecake is all about those little touches that elevate your baking from good to absolutely glorious.
Perfect Textures
To achieve that wonderfully creamy, crack-free cheesecake filling, make sure all your dairy ingredients – cream cheese, eggs, and sour cream – are at room temperature. This helps them combine smoothly, preventing lumps and ensuring an even bake. Don’t rush it; a little patience here goes a long way!
My Secret Trick: When baking any cheesecake, I always wrap the springform pan securely in heavy-duty aluminum foil before placing it in a water bath. This is my tried-and-true method to prevent any water from seeping into the crust, keeping it perfectly crisp and delicious for our Apple Crisp Cheesecake.
Baking Made Easy
Resist the urge to open the oven door too frequently while your cheesecake bakes. Sudden temperature changes can cause cracks. Instead, once the baking time is up, turn off the oven and let the cheesecake cool slowly inside with the door ajar for about an hour. This gradual cooling prevents cracking and helps maintain its creamy texture.
The Apple Topping
For the spiced apple topping, I always recommend using a mix of tart and sweet apples, like Granny Smith and Honeycrisp. This balance creates a more complex and exciting flavor profile that beautifully complements the rich cheesecake and crunchy oat crisp. Cook them until just tender, not mushy, so they retain a little bite.
Fun Variations for Apple Crisp Cheesecake
One of the joys of home baking is making a recipe truly your own, and this Apple Crisp Cheesecake is wonderfully versatile! Don’t be afraid to get creative with your flavors and textures.
Spice It Up
While cinnamon and nutmeg are classics, consider adding a pinch of ground ginger or cardamom to your spiced apple topping for an extra layer of warmth. My sister always asks me to add a hint of allspice; she says it reminds her of her favorite fall candle!
A Nutty Twist
For an extra crunch and depth of flavor, you could add a handful of finely chopped pecans or walnuts to your oat crisp topping. Toasting them lightly before adding will really bring out their nutty essence, making this Apple Crisp Cheesecake even more irresistible.
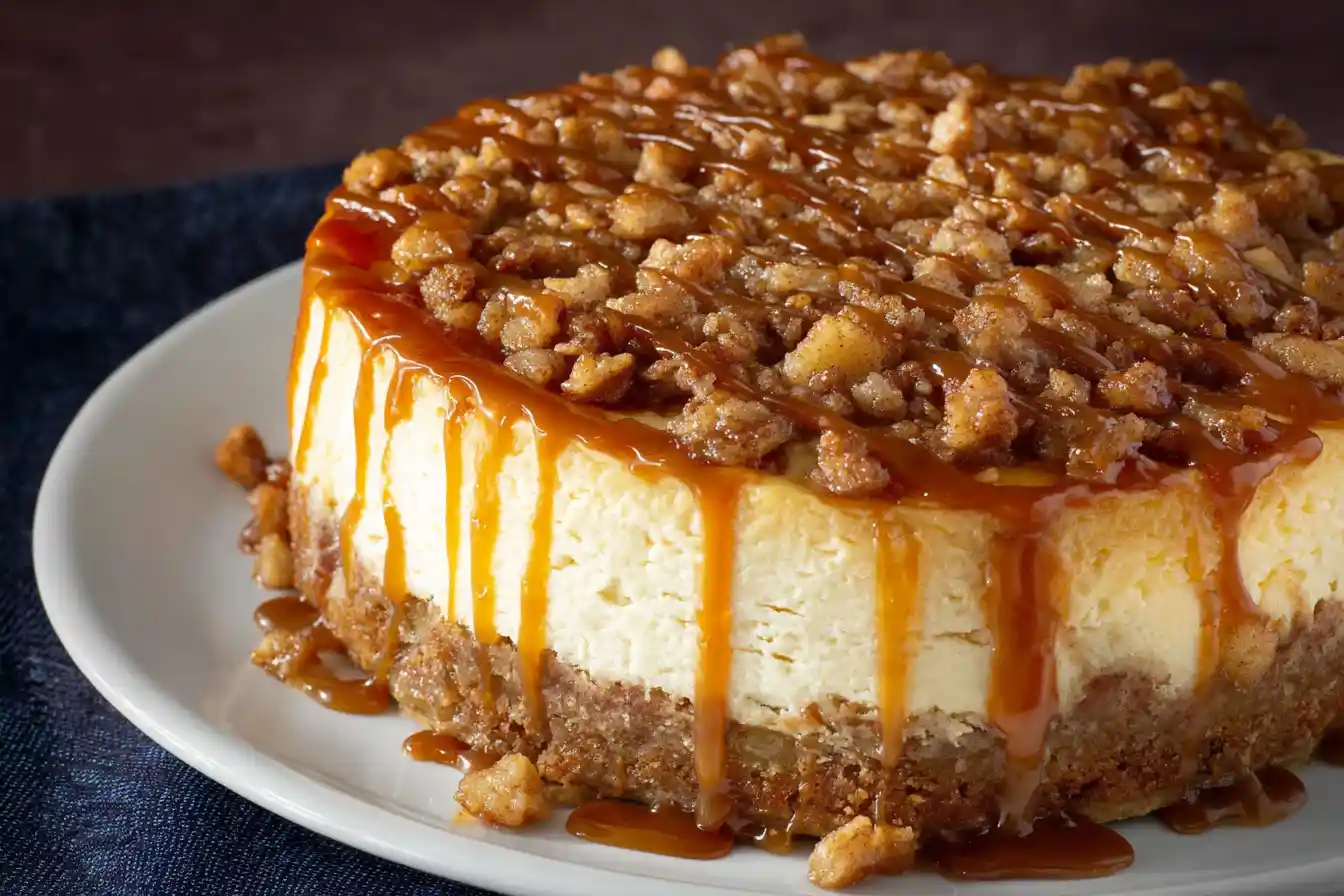
Caramel Drizzle Delight
Before serving, a generous drizzle of homemade or store-bought caramel sauce over the entire cheesecake elevates it to new heights. A friend loves when I swirl in a little extra caramel with the apples; it’s a wonderfully decadent addition that pairs perfectly with the sweet and tangy notes of the Apple Crisp Cheesecake.
What to Serve With Apple Crisp Cheesecake
This Apple Crisp Cheesecake is undeniably a star all on its own, but sometimes a little accompaniment can make a delightful dessert even more special. Think of it as creating a complete, cozy experience around your sweet treat.
For a classic pairing, a scoop of creamy vanilla bean ice cream melting over a warm slice is absolutely divine. The cold, smooth ice cream contrasts beautifully with the warm, spiced apples and crisp topping. My mom always pairs it with a steaming mug of spiced apple cider in the autumn; it’s such a comforting combination.
Another lovely option is a dollop of freshly whipped cream, perhaps lightly sweetened with a touch of maple syrup. The airiness of the cream provides a delicate balance to the richness of the Apple Crisp Cheesecake. And for those who enjoy a post-dinner indulgence, a strong cup of freshly brewed coffee or a delicate herbal tea is always a perfect complement.
How to Store Apple Crisp Cheesecake
Once you’ve poured your heart into creating this magnificent Apple Crisp Cheesecake, you’ll want to ensure any leftovers stay just as delicious as the first slice. Proper storage is key to preserving its wonderful textures and flavors.
Fridge Storage
To store leftover Apple Crisp Cheesecake, cover it loosely with plastic wrap or aluminum foil and place it in the refrigerator. It will stay fresh and delicious for up to 3-4 days. I like to store individual slices in airtight containers to prevent them from absorbing other fridge odors and to keep the crust from getting soggy.
Freezer Tips
If you’re planning ahead or want to savor this treat for longer, the Apple Crisp Cheesecake can be frozen. Wrap individual slices or the entire cooled cheesecake (after the apple and oat topping has set) tightly in plastic wrap, then a layer of aluminum foil. It will keep well in the freezer for up to 1 month. Thaw overnight in the refrigerator before serving.
Nutritional Benefits
While undoubtedly an indulgence, this Apple Crisp Cheesecake does offer some delightful aspects. The apples provide a good source of dietary fiber and essential vitamins, supporting a wholesome approach to treats. Combined with the protein from the cream cheese, it’s a dessert that’s both satisfying and nourishing in its own sweet way.
FAQs
Faq 1
Can I use canned apple pie filling instead of fresh apples?
While fresh apples offer the best flavor and texture, you can use canned apple pie filling in a pinch. Just be sure to drain off any excess liquid before adding it to your Apple Crisp Cheesecake to prevent it from becoming watery.
Faq 2
My cheesecake cracked! What went wrong?
Cracks often happen from rapid temperature changes. Ensure your ingredients are room temperature, avoid overmixing the filling, and let the Apple Crisp Cheesecake cool slowly in the turned-off oven after baking.
Faq 3
Can I make this recipe ahead of time?
Absolutely! This Apple Crisp Cheesecake is an excellent make-ahead dessert. You can prepare it a day or two in advance and store it in the refrigerator. The flavors often deepen and meld beautifully overnight.
Faq 4
What kind of apples are best for the apple crisp topping?
I recommend using a mix of tart apples like Granny Smith and sweeter varieties such as Honeycrisp or Fuji for the most balanced and flavorful Apple Crisp Cheesecake topping. This blend provides a delightful contrast.
Conclusion
Baking, for me, has always been an act of love, a way to connect with cherished memories and create new ones. This Apple Crisp Cheesecake embodies that spirit perfectly – it’s a dessert that brings smiles, warmth, and that wonderful feeling of home. So, gather your ingredients, put on your favorite apron, and let the sweet aroma fill your kitchen. I truly hope you find as much joy in making and sharing this delightful Apple Crisp Cheesecake as I do. Happy baking, my dear friends!