What if I told you that the most unexpected pantry combination could create your new favorite weeknight dinner? That’s exactly what happened when I wondered what would happen if I swapped traditional breadcrumbs for coconut in my air fryer chicken routine. The result? This incredible coconut chicken that delivers restaurant-quality crunch with tropical sweetness in every bite.
I’ll be honest – I was skeptical at first. Coconut on chicken seemed like it might be too sweet, maybe even weird. But curiosity got the better of me (as it always does in my kitchen), and I’m so glad it did. The shredded coconut creates this amazing golden crust that’s somehow both crispy and tender, while the coconut milk in the coating keeps everything incredibly juicy.
This recipe is a total game-changer for two big reasons: it’s ridiculously easy to customize with your favorite spices, and cleanup is practically non-existent thanks to the air fryer. I’m inviting you to trust your adventurous side and give this coconut chicken a try – I have a feeling it’ll become a regular in your dinner rotation just like it has in mine!
Why This Coconut Chicken Recipe is a Game-Changer
This coconut chicken completely transforms ordinary chicken breasts into something special without any fancy techniques or hard-to-find ingredients. The combination of coconut milk and shredded coconut creates layers of flavor and texture that you just can’t get from regular breaded chicken.
Here’s what makes this recipe so brilliant:
- The coconut milk acts as both a flavor enhancer and natural tenderizer
- Air frying gives you that perfect golden crunch without dealing with hot oil
- The sweet-savory balance works with everything from rice to salads
- Prep takes just 20 minutes, and you’re done cooking in 15
- Kids absolutely love the mild, slightly sweet flavor
- It reheats beautifully for meal prep
The panko breadcrumb and coconut mixture creates this incredible texture contrast – crispy on the outside, impossibly juicy inside. Plus, the natural sweetness means you can skip heavy sauces if you want, though I always make extra dipping sauce because it’s just too good not to!
What You’ll Need for Your Perfect Coconut-Crusted Delight
The beauty of this coconut chicken lies in its simple ingredient list that probably has most items already sitting in your pantry. You’ll be working with boneless chicken breasts, coconut milk for that creamy coating base, and a mixture of sweetened coconut and panko breadcrumbs for the ultimate crispy crust.
How to Make Coconut Chicken
This coconut chicken comes together in four simple steps: prep your chicken with seasoning, set up your three-station coating process, dredge each piece through flour, coconut milk, and the coconut-panko mixture, then air fry until golden and crispy. The whole process is surprisingly straightforward and way less messy than traditional frying methods.
Crispy Coconut Chicken
Ingredients
Equipment
Method
- Cut chicken breasts into 1-inch thick strips. Season with salt and pepper, then set aside for 10 minutes to allow seasoning to penetrate.
- Place flour in the first shallow bowl. In the second bowl, whisk together beaten eggs and coconut milk until well combined.
- In the third bowl, mix shredded coconut, panko breadcrumbs, garlic powder, and paprika until evenly distributed.
- Dredge each chicken strip first in flour, shaking off excess. Then dip into the egg mixture, allowing excess to drip off.
- Finally, press the chicken into the coconut-breadcrumb mixture, ensuring all sides are well coated. Place coated pieces on a plate.
- Preheat air fryer to 380°F (193°C). Lightly spray the air fryer basket with cooking oil.
- Place chicken pieces in a single layer in the air fryer basket, making sure they don’t touch. Cook in batches if necessary.
- Air fry for 6-8 minutes, then flip each piece and spray lightly with oil. Continue cooking for 6-7 more minutes until golden brown and internal temperature reaches 165°F (74°C).
- Remove from air fryer and let rest for 2-3 minutes before serving. Serve immediately while hot and crispy.
Notes
Pro Tips for Getting This Coconut Chicken Just Right
My Secret Trick for Extra Crunch
I always press the coconut mixture firmly onto each piece of chicken after coating. This step makes such a difference in getting that restaurant-quality crust that stays put during cooking.
Temperature Matters More Than You Think
Don’t skip the meat thermometer! Chicken breasts can vary so much in thickness, and while 165°F is safe, I actually prefer pulling my coconut chicken at 160°F and letting carryover cooking finish the job. This prevents any dryness.
The Coating Station Setup I Swear By
- Station 1: Seasoned flour in a shallow dish
- Station 2: Coconut milk whisked with beaten eggs
- Station 3: Coconut-panko mixture spread on a large plate
Work with one hand for wet ingredients and one for dry – this keeps your fingers from getting completely gunked up with coating mixture.
Air Fryer Spacing is Everything
Don’t overcrowd! I learned this the hard way when my first batch came out soggy on the bottom. Give each piece of coconut chicken enough space for air to circulate all around it.
My Quick Tip for Even Browning
Flip your coconut chicken exactly once, right at the halfway mark. I set a timer for 7 minutes, flip, then cook for the remaining 8 minutes. This ensures both sides get that perfect golden color.
Fun Variations for Coconut Chicken
This coconut chicken base is incredibly versatile, and I love experimenting with different flavor combinations. Try adding a teaspoon of curry powder to your coconut mixture for a tropical-Indian fusion that’s absolutely delicious.
My Favorite Spice Swaps:
- Mexican-inspired: Add chili powder and cumin to the coating
- Asian-style: Mix in some garlic powder and ginger powder
- Spicy kick: A pinch of cayenne pepper transforms the whole dish
- Herb garden: Dried thyme and rosemary create an elegant twist
For a lighter version, you can use light coconut milk instead of regular, though you’ll lose a bit of that rich coconut flavor. I’ve also had great success substituting the sweetened coconut with unsweetened – just add a tablespoon of honey to your coconut milk mixture to balance the flavors.
Perfect Pairings and What to Serve With It
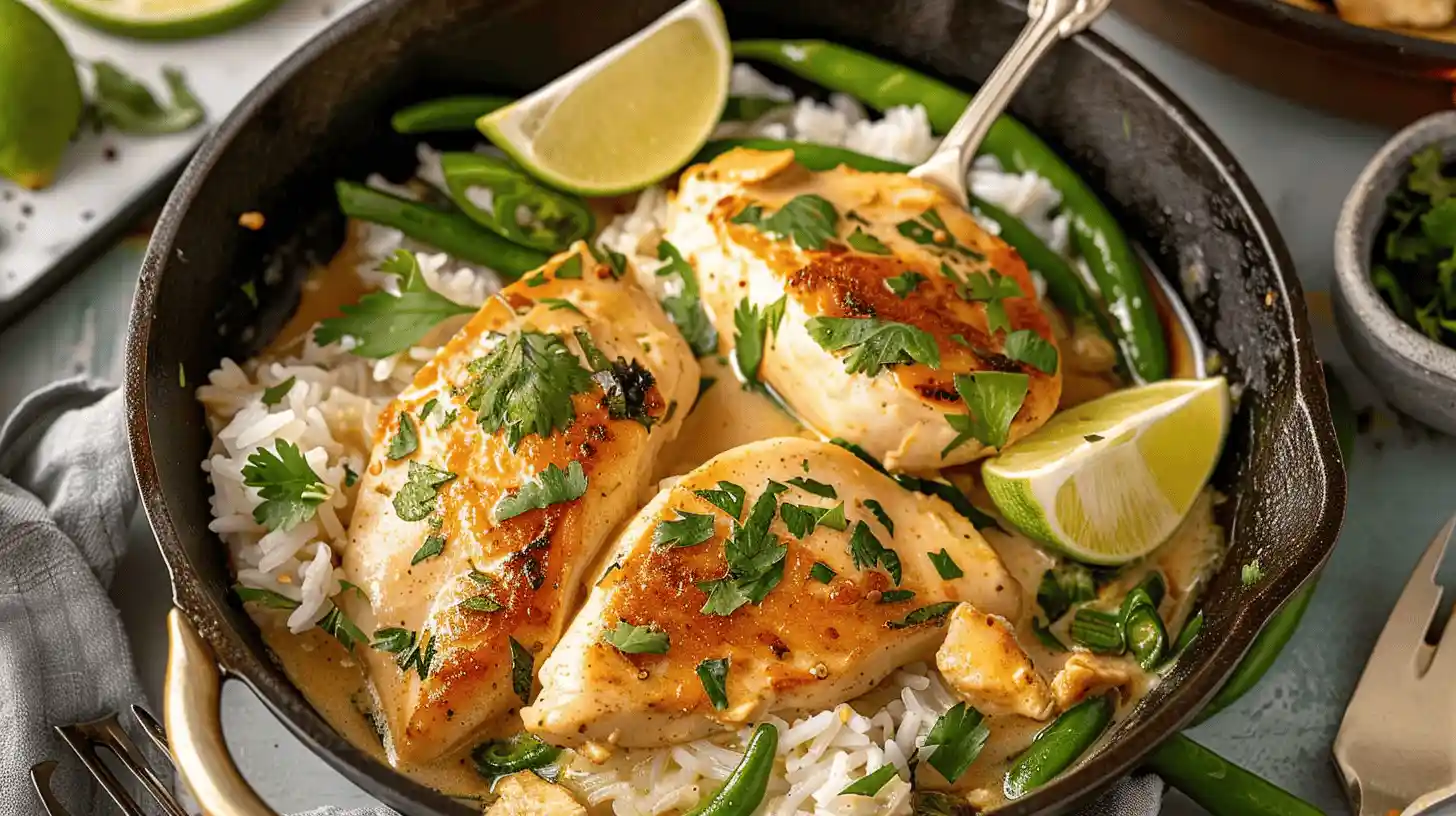
This coconut chicken pairs beautifully with so many different flavors and textures. I love serving it over coconut rice with a side of roasted vegetables – the flavors just harmonize perfectly together.
My go-to serving suggestions:
- Fresh and bright: Serve over a bed of mixed greens with mango slices
- Comfort food style: Pair with garlic mashed sweet potatoes
- Asian-inspired: Serve with jasmine rice and steamed broccoli
- Tropical theme: Add grilled pineapple and coconut rice
The sweet dipping sauce that comes with this recipe is absolutely perfect, but I also love making a quick lime-cilantro mayo by mixing mayonnaise with fresh lime juice and chopped cilantro. The tangy freshness cuts through the rich coconut beautifully.
Storing & Reheating Your Crispy Creation
Leftover coconut chicken stays fresh in the refrigerator for up to 4 days when stored in an airtight container. The key to maintaining that crispy texture when reheating is using your air fryer again instead of the microwave.
My Quick Tip for reheating: Set your air fryer to 350°F and reheat the coconut chicken for just 3-4 minutes. This brings back almost all of that original crispiness without drying out the meat.
For longer storage, you can freeze cooked coconut chicken for up to 3 months. I like to freeze portions individually on a baking sheet first, then transfer to freezer bags. This prevents them from sticking together and makes it easy to grab just what you need for a quick meal.
My Workflow and Time-Saving Hacks
As a fellow tinkerer who’s always looking for ways to make cooking more efficient, I’ve streamlined my coconut chicken process over time. I always start by setting up my three coating stations before I even touch the chicken – this prevents any mid-cooking scrambling.
Here’s my prep sequence that saves so much time:
- Get the air fryer preheating first thing
- Set up all coating stations in assembly-line style
- Season and slice chicken while coconut chicken coating ingredients come to room temperature
- Work through coating each piece without stopping
I also discovered that lining my air fryer basket with parchment paper (with holes) makes cleanup incredibly easy. The coconut chicken releases perfectly, and there’s almost no scrubbing involved afterward.
For meal prep, I often double this coconut chicken recipe and freeze half before cooking. Having pre-coated chicken ready to go in the freezer means I can have this meal on the table in under 20 minutes on busy weeknights.
Conclusion
I was so excited when this coconut chicken experiment worked out even better than I’d hoped! It’s become one of those recipes I find myself making again and again, especially when I want something that feels special but doesn’t require a lot of fuss. The combination of crispy coconut coating and tender, juicy chicken inside really is restaurant-quality delicious.
I hope you have as much fun playing with this coconut chicken as I did! Let me know what you think in the comments below – and definitely tell me if you try any of the variations. I’m always curious to hear how fellow home cooks make recipes their own.