Oh, sweet friends, there’s nothing quite like a homemade Banana Pudding Layered Dessert to bring a smile to everyone’s face! This classic, creamy concoction, with its tender vanilla wafers, ripe bananas, and rich, velvety pudding, is pure comfort in every spoonful. It’s a treat that feels both elegant and delightfully down-to-earth.
I remember summer afternoons in Grandma’s kitchen, the scent of vanilla wafting through the air as we layered her famous banana pudding. Each spoonful was a little hug, a moment of pure bliss. Those memories shaped my love for baking and sharing joy through simple, sweet creations.
This recipe isn’t just delicious; it’s wonderfully approachable and a guaranteed crowd-pleaser for any gathering. My best advice? Embrace the process, and let the love you put into it shine through!
What You Need to Make This Recipe
For this delightful treat, we’re focusing on a few key players: ripe bananas for that signature sweetness, classic vanilla wafers for a tender bite, and a rich, homemade vanilla pudding base that truly elevates this Banana Pudding Layered Dessert. I always insist on using real vanilla extract; it makes all the difference! You’ll find the complete list of ingredients and measurements in the recipe card below.
How to Make Banana Pudding Layered Dessert
Crafting this beautiful Banana Pudding Layered Dessert is a journey of creating creamy layers and soft textures. You’ll begin by whisking up a silky vanilla pudding, letting it cool to perfection. Then, it’s all about artfully arranging the sliced bananas and vanilla wafers, building a lovely tower of sweetness. Finally, a cloud of homemade whipped cream crowns this masterpiece before it chills into pure bliss.
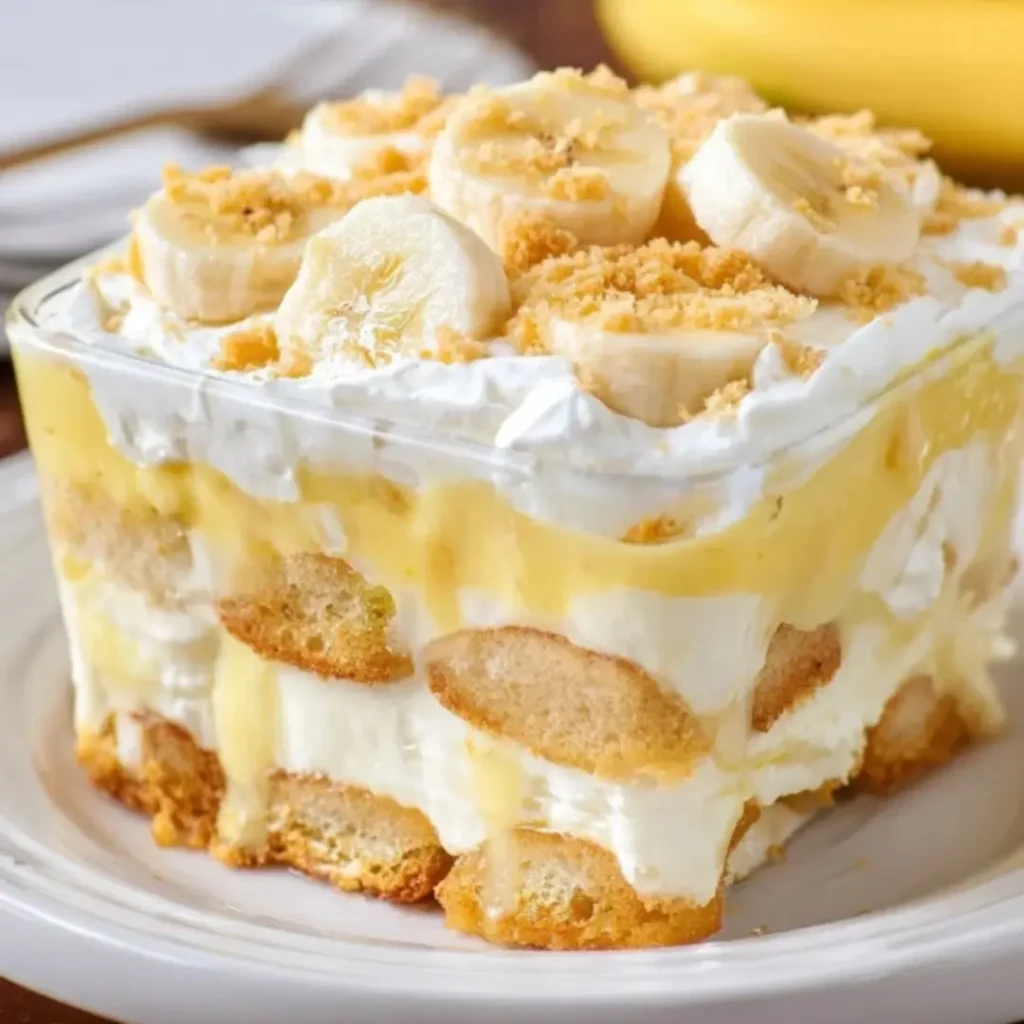
![Close-up slice of {{ $('Fetch Recipe Data').first().json["Main Keyword"] }} topped with bananas and cream.](https://recipesdessert.net/wp-content/uploads/2026/03/banana-pudding-layered-dessert.webp)
Classic Banana Pudding Layered Dessert
Ingredients
Equipment
Method
- In a medium saucepan, whisk together the granulated sugar, all-purpose flour, and salt.
- In a separate bowl, whisk the egg yolks. Gradually whisk in the whole milk until thoroughly combined.
- Slowly pour the milk and egg mixture into the dry ingredients in the saucepan, whisking constantly to prevent any lumps from forming.
- Place the saucepan over medium heat. Cook, stirring constantly with a whisk or rubber spatula, until the mixture thickens significantly and comes to a gentle boil. This typically takes about 8-12 minutes. Continue to boil gently and stir for 1 minute.
- Remove the saucepan from the heat. Stir in the softened unsalted butter and vanilla extract until they are fully incorporated and the pudding is smooth.
- Pour the hot pudding into a clean bowl. Cover the surface directly with plastic wrap to prevent a skin from forming, and let it cool completely to room temperature, which will take about 1-2 hours. You may refrigerate it to speed up the cooling process once it’s no longer hot.
- Once the pudding is cooled, arrange a single layer of vanilla wafers in the bottom of a 9×13 inch baking dish (or a large trifle bowl). Break some wafers if necessary to create an even base.
- Arrange a layer of sliced bananas evenly over the vanilla wafers.
- Carefully spread about half of the cooled vanilla pudding evenly over the banana layer.
- Repeat with another layer of vanilla wafers, followed by another layer of banana slices, and then the remaining pudding.
- In a large, chilled mixing bowl (a metal bowl works best), combine the very cold heavy cream, powdered sugar, and vanilla extract.
- Using an electric mixer on medium-high speed, beat until soft peaks begin to form. Increase the speed to high and continue beating until stiff peaks form. Be careful not to overbeat, as it can quickly turn into butter.
- Gently spread the prepared whipped cream topping evenly over the final layer of pudding.
- If desired, garnish the top with a few extra vanilla wafers or fresh banana slices.
- Cover the dish tightly with plastic wrap and refrigerate for at least 4 hours, or preferably overnight, to allow the flavors to meld beautifully and the vanilla wafers to soften slightly for that classic banana pudding texture.
Notes
Pro Tips for Making This Banana Pudding Layered Dessert
Creating the perfect Banana Pudding Layered Dessert is all about a few simple tricks I’ve learned over the years.
The Creamiest Pudding Base
My top tip for a smooth, lump-free pudding is to whisk constantly while it’s on the stove. Don’t rush it! A slow, steady cook, ensuring the egg yolks are tempered properly, prevents scrambling and gives you that dreamy, velvety texture.
My Secret Trick: I always press a piece of plastic wrap directly onto the surface of the pudding as it cools. This prevents a skin from forming, ensuring every spoonful is perfectly smooth and delightful.
Perfect Banana Slices
Choose ripe, but firm, bananas for layering. They hold their shape better and offer that ideal balance of sweetness without becoming mushy. I find slightly under-ripe bananas can be a bit too starchy, and over-ripe ones can turn to liquid too quickly.
Chill for Bliss
Resist the urge to dig in too soon! This Banana Pudding Layered Dessert truly shines after a good long chill, ideally 4-6 hours, or even overnight. This allows the wafers to soften and the flavors to meld beautifully, creating an irresistible treat.
Fun Variations for Banana Pudding Layered Dessert
While the classic version holds a special place in my heart, I always encourage a little kitchen creativity! Here are a few ways to add your own special touch to this beloved Banana Pudding Layered Dessert.
Chocolatey Twist
For all my chocolate lovers, consider swapping out some of the vanilla wafers for chocolate wafers or even a layer of crushed OREOs. You could even swirl a little melted chocolate into your pudding base for a truly decadent experience. My friend, Sarah, always asks me to add chocolate chips to hers!
Tropical Flair
Imagine a touch of the tropics! Try adding a thin layer of toasted coconut flakes between the banana and pudding layers, or even a hint of rum extract to the pudding for a grown-up twist. It’s a delightful way to brighten up the flavors.
Caramel Swirl Delight
A drizzle of homemade caramel sauce over the banana and wafer layers before adding the pudding can take this dessert to a whole new level of indulgence. The rich, buttery caramel complements the sweet bananas beautifully. My husband loves when I add a caramel swirl; it’s his favorite variation!
What to Serve With Banana Pudding Layered Dessert
This delightful Banana Pudding Layered Dessert is often a star on its own, but a few simple accompaniments can make the experience even more special.
A scoop of homemade vanilla bean ice cream alongside is simply heavenly, adding a lovely contrast in temperature and an extra layer of creamy indulgence. Sometimes, for a lighter touch, I’ll offer a bowl of fresh berries, like raspberries or blueberries, for a burst of tartness. My mom always suggests a strong cup of coffee or a comforting Earl Grey tea – it’s a perfect pairing for an afternoon treat. For a quick serving idea, a light dusting of cocoa powder or a few chocolate shavings on top adds a touch of elegance without extra fuss.
How to Store Banana Pudding Layered Dessert
Proper storage is key to keeping your Banana Pudding Layered Dessert tasting fresh and fabulous.
Refrigeration
Once assembled, this dessert is best enjoyed chilled. Store it tightly covered with plastic wrap in the refrigerator for up to 3 days. The vanilla wafers will continue to soften, becoming cake-like, which is part of its charm! My personal tip: always use an airtight container if you have one; it really helps maintain that fresh pudding flavor.
Freezing (Not Recommended)
While technically you could freeze banana pudding, I generally don’t recommend it for this layered version. The bananas can become watery and mushy upon thawing, and the texture of the pudding and wafers can be compromised. This is truly a dessert meant to be enjoyed fresh from the fridge!
Nutritional Benefits
While we cherish this dessert for its comforting indulgence, the presence of ripe bananas in this Banana Pudding Layered Dessert offers a touch of natural sweetness and essential nutrients like potassium. It’s a treat that, when enjoyed thoughtfully, embodies my belief that desserts can be both satisfying and made with simple, wholesome ingredients.
FAQs
Can I make banana pudding ahead of time?
Absolutely! A Banana Pudding Layered Dessert benefits from chilling for at least 4-6 hours, or even overnight. This allows flavors to meld beautifully and wafers to soften, creating that signature tender texture. It’s perfect for prepping in advance for gatherings.
Why did my pudding turn out lumpy?
Lumpy pudding often happens when flour isn’t fully incorporated or the mixture isn’t whisked constantly while cooking. To avoid this, sift dry ingredients and whisk continuously over medium heat until your Banana Pudding Layered Dessert pudding thickens smoothly.
What kind of bananas are best for banana pudding?
For the best Banana Pudding Layered Dessert, choose ripe but firm bananas. They should have a few brown spots, indicating sweetness, but hold their shape when sliced. Avoid overly green or completely mushy bananas for optimal texture and flavor in your layers.
Can I use different cookies instead of vanilla wafers?
While vanilla wafers are classic for a Banana Pudding Layered Dessert, you can experiment! Shortbread cookies, Nilla Wafers, or even graham crackers can be delicious alternatives. Remember, the texture and flavor will change slightly, so choose what you love best!
Conclusion
And there you have it, sweet friends! This Banana Pudding Layered Dessert isn’t just a recipe; it’s an invitation to create something truly special in your kitchen. With its creamy pudding, tender bananas, and soft vanilla wafers, it’s a dessert that speaks of comfort, celebration, and cherished memories. I truly hope you find as much joy in making and sharing this classic treat as I do. Happy baking, and may your kitchen always be filled with love and laughter!