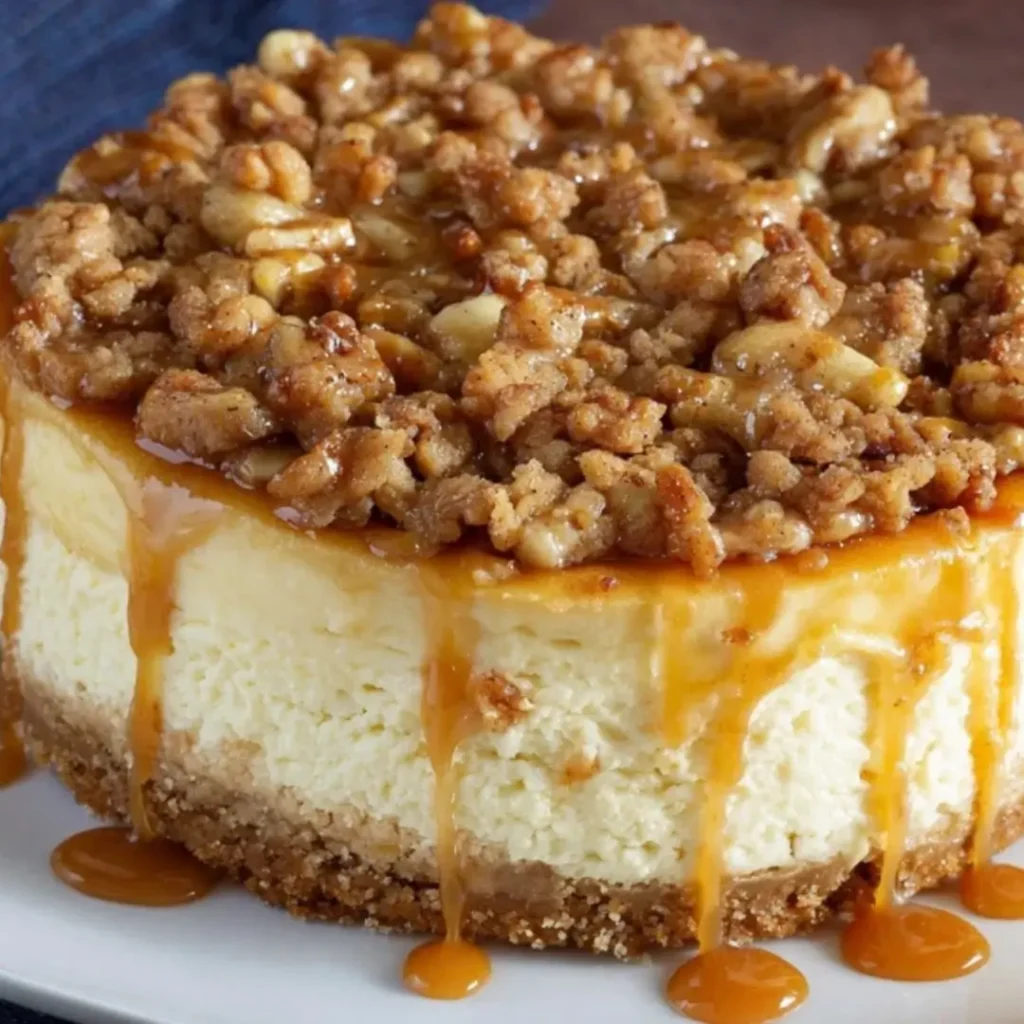
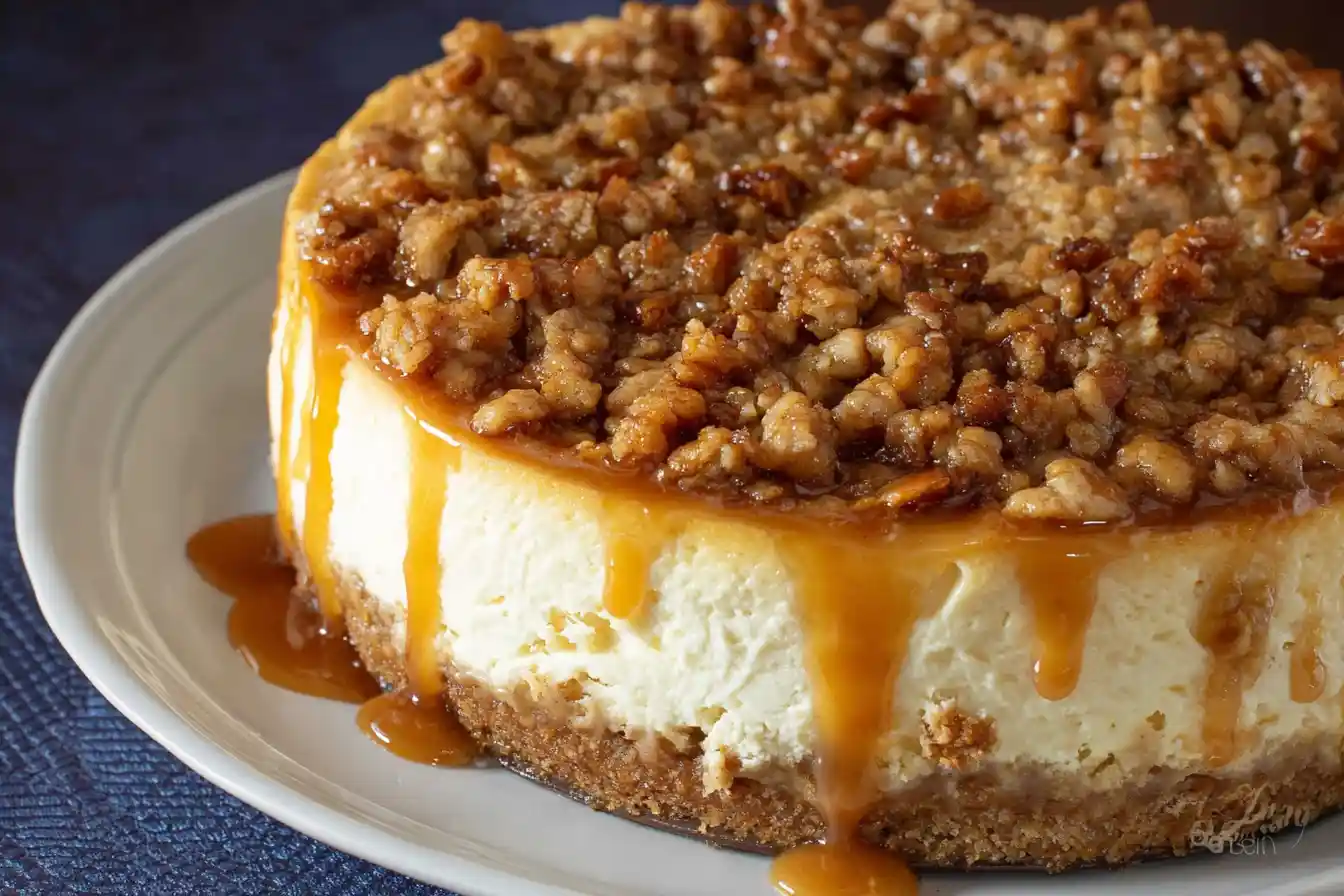
There’s something truly magical about bringing together two beloved dessert classics, isn’t there? Our Apple Crisp Cheesecake does just that, weaving together the creamy indulgence of a rich cheesecake with the comforting, spiced embrace of a warm apple crisp. Imagine the velvety smooth texture melting in your mouth, followed by the sweet, tender bite of cinnamon-kissed apples, all topped with a delightful crunchy oat streusel. It’s a dessert that speaks of autumn evenings and cozy gatherings, yet is perfect for any time you crave a truly special treat.
I can still picture my grandmother in her kitchen, the scent of cinnamon and baking apples filling the air. She believed every dessert had a story, and even though this particular creation wasn’t one of hers, the spirit of combining simple, heartfelt ingredients to make something extraordinary absolutely is. Years later, after countless experiments and a few glorious baking “oops” moments, I discovered the joy of pairing these two timeless comforts into one harmonious bite.
This Apple Crisp Cheesecake isn’t just a showstopper; it’s surprisingly approachable and a fantastic way to impress your loved ones without hours of fuss. You’ll find it’s the ideal dessert for family dinners, holiday celebrations, or simply when you want to treat yourself to something truly comforting. My top tip? Always allow your cream cheese to come to room temperature; it makes for the smoothest, silkiest filling every time.
What You Need to Make This Recipe
Crafting this Apple Crisp Cheesecake requires a few wonderful ingredients that truly shine. We’re talking about crisp Granny Smith apples, delivering that perfect tart balance, creamy Philadelphia cream cheese for a luscious filling, and a hearty blend of brown sugar and rolled oats for that irresistible streusel crunch. I always choose good quality vanilla extract; it makes all the difference in deepening the flavors. You’ll find the full list of ingredients and precise measurements in the recipe card below!
How to Make Apple Crisp Cheesecake
Whipping up this delightful Apple Crisp Cheesecake involves three wonderfully satisfying stages. First, we’ll press together a buttery graham cracker crust, creating the perfect foundation. Next, we’ll blend a silky-smooth cream cheese filling, pouring it over our prepared crust. Finally, we’ll crown it all with a warmly spiced apple and oat crisp topping before baking it to golden perfection. It’s a journey from simple components to a truly spectacular dessert.
Apple Crisp Cheesecake
Ingredients
Equipment
Method
- Preheat oven to 350°F (175°C). Wrap the bottom of a 9-inch springform pan tightly with heavy-duty aluminum foil to prevent water seepage if using a water bath later.
- In a medium bowl, combine the crushed graham crackers, 1/4 cup granulated sugar, and melted butter. Mix until well combined and crumbly.
- Press the mixture firmly into the bottom of the prepared springform pan. Bake for 8-10 minutes, or until lightly golden. Remove from oven and let cool slightly while preparing the filling. Reduce oven temperature to 325°F (160°C).
- In a large mixing bowl, using an electric mixer on medium speed, beat the softened cream cheese until smooth and creamy, scraping down the sides of the bowl as needed.
- Gradually add 1 cup granulated sugar and the 2 tablespoons all-purpose flour, beating until just combined and no lumps remain.
- Beat in the sour cream and vanilla extract until smooth.
- Add the eggs one at a time, beating on low speed after each addition just until combined. Do not overmix, as too much air can cause cracks.
- Pour the cheesecake batter over the cooled crust in the springform pan.
- Place the springform pan in a large roasting pan. Fill the roasting pan with about 1 inch of hot water to create a water bath.
- Carefully transfer the roasting pan with the cheesecake to the preheated 325°F (160°C) oven. Bake for 60-70 minutes, or until the edges are set but the center still jiggles slightly when gently shaken.
- Turn off the oven, crack the door open slightly, and let the cheesecake cool in the oven for 1 hour. This helps prevent cracking.
- Remove the cheesecake from the water bath and the roasting pan. Let it cool completely on a wire rack at room temperature.
- Once completely cooled, cover the cheesecake with plastic wrap and refrigerate for at least 4 hours, or preferably overnight, to allow it to set fully.
- About 30-45 minutes before serving the cheesecake, prepare the apple crisp topping. In a medium bowl, combine the diced apples, brown sugar, 1 tablespoon all-purpose flour, cinnamon, and nutmeg. Toss to coat the apples evenly.
- In a separate small bowl, combine the rolled oats. Add the cold, cubed butter and use your fingertips or a pastry blender to cut the butter into the oats until the mixture resembles coarse crumbs.
- Spread the apple mixture evenly into a small oven-safe dish or a pie plate (about 8-inch). Sprinkle the oat-butter crumble evenly over the apples.
- Bake in a preheated 375°F (190°C) oven for 15-20 minutes, or until the apples are tender and the topping is golden brown and bubbly.
- Remove from the oven and let cool slightly for about 5-10 minutes.
- Once the cheesecake is fully chilled and set, carefully remove the springform pan sides.
- Spoon the warm apple crisp topping over individual slices of cheesecake just before serving.
Notes
Pro Tips for Making This Apple Crisp Cheesecake
Ensuring your Apple Crisp Cheesecake turns out absolutely perfect is all about a few little tricks I’ve learned over the years. These pointers will help you achieve that dreamy texture and incredible flavor every single time.
My Secret Trick: I always wrap the bottom of my springform pan twice with heavy-duty aluminum foil before placing it in a water bath. This is my tried-and-true method to prevent any dreaded leaks and ensures your Apple Crisp Cheesecake bakes evenly, staying wonderfully moist and crack-free.
When preparing your cheesecake filling, make sure all your cold ingredients, especially the cream cheese and eggs, are at room temperature. This is crucial for a lump-free, silky-smooth batter, which is essential for a perfect Apple Crisp Cheesecake texture.
Don’t overmix the cheesecake batter once the eggs are added! Overmixing can incorporate too much air, which can cause cracks during baking and cooling. Mix just until combined for a beautifully dense and creamy cheesecake.
After baking, let your Apple Crisp Cheesecake cool slowly, first in the oven with the door ajar, then on a wire rack, and finally in the refrigerator for several hours, or even better, overnight. This gradual cooling process is key to preventing cracks and setting that luxurious texture.
Fun Variations for Apple Crisp Cheesecake
One of the joys of baking is making a recipe truly your own! This Apple Crisp Cheesecake is wonderfully adaptable, and I love encouraging bakers to play with flavors. Here are a few ideas to spark your creativity:
Seasonal Apple Twists
While Granny Smiths are perfect for their tartness, try a mix of Honeycrisp or Fuji apples for a sweeter, more complex flavor in your Apple Crisp Cheesecake. For a fall treat, add a touch of maple extract to the apple mixture or a sprinkle of chopped pecans to the streusel. My sister always asks me to swirl in a ribbon of salted caramel sauce into the cheesecake filling before baking, and it’s divine!
Spice It Up!
Experiment with your spices. A pinch of ground ginger or allspice can add another layer of warmth to the apple crisp topping. For a bolder flavor, try adding a tablespoon of Calvados or apple brandy to your apple mixture – it truly elevates the taste!
Nutty Crunch
Swap out some of the rolled oats for chopped walnuts or pecans in the crisp topping. This adds an extra layer of texture and a nutty depth that complements the creamy Apple Crisp Cheesecake beautifully. A friend loves when I sprinkle toasted almond slivers over the top right before serving.
What to Serve With Apple Crisp Cheesecake
This Apple Crisp Cheesecake is a star on its own, but a few simple accompaniments can elevate it into an even more memorable dessert experience. Think of these as little touches that round out the flavors and textures beautifully.
I love serving a slice with a generous scoop of good quality vanilla bean ice cream. The contrast between the warm, spiced apples and the cold, creamy ice cream is simply heavenly. A friend of mine always opts for a dollop of freshly whipped cream, perhaps with a whisper of cinnamon sprinkled on top. It adds a lovely lightness to the rich Apple Crisp Cheesecake.
For a comforting pairing, especially during cooler months, a hot cup of black tea or a creamy latte makes for a wonderful companion. And for those who enjoy a little extra decadence, a drizzle of warm caramel sauce over each slice is an absolute game-changer. It ties all the apple and caramel notes together perfectly.
How to Store Apple Crisp Cheesecake
Keeping your Apple Crisp Cheesecake fresh and delicious is quite simple, ensuring you can enjoy its sweet magic for days! Proper storage is key to maintaining its wonderful texture and flavor.
Refrigerator Storage
The best way to store leftover Apple Crisp Cheesecake is in an airtight container in the refrigerator. It will stay fresh and delicious for up to 4-5 days. I like to place a piece of parchment paper directly on top of the sliced portions before sealing the container; it helps prevent any moisture loss and keeps the cheesecake incredibly moist.
Freezer Tips
If you want to enjoy this treat for longer, you can freeze individual slices or the whole Apple Crisp Cheesecake (unbaked or baked). For baked cheesecake, wrap it tightly in plastic wrap, then a layer of aluminum foil, and store it in the freezer for up to 2-3 months. Thaw overnight in the refrigerator before serving. A light dusting of powdered sugar after reheating brings it back to life!
Nutritional Benefits
While it’s undoubtedly a treat, our Apple Crisp Cheesecake does offer a few delightful benefits. The Granny Smith apples contribute dietary fiber and Vitamin C, while the rolled oats in the crisp topping add whole grains. It’s a treat that combines the joy of indulgence with the goodness of simple, wholesome ingredients, making it both satisfying and a little nourishing.
FAQs
Faq 1
Can I use other types of apples for Apple Crisp Cheesecake?
Absolutely! While Granny Smiths offer a great tart balance, you can certainly use a mix of your favorite baking apples like Honeycrisp, Fuji, or Braeburn. Just ensure they are firm apples that hold their shape well during baking.
Faq 2
How can I prevent my cheesecake from cracking?
To minimize cracks in your Apple Crisp Cheesecake, ensure all ingredients are at room temperature, don’t overmix the batter after adding eggs, and use a water bath during baking. Also, cool the cheesecake slowly, gradually reducing the temperature before refrigerating.
Faq 3
Can I make this Apple Crisp Cheesecake ahead of time?
Yes, this Apple Crisp Cheesecake is an excellent make-ahead dessert! You can prepare and bake it a day or two in advance. Store it properly covered in the refrigerator, and it will be perfectly delicious when you’re ready to serve.
Faq 4
What if I don’t have a springform pan?
If you don’t have a springform pan, you can use a regular 9-inch round baking pan. Line it with parchment paper, leaving an overhang on two sides to create “slings” for easy lifting. This makes removing the Apple Crisp Cheesecake much simpler.
Conclusion
Baking, for me, has always been about more than just ingredients; it’s about the warmth of home, the joy of sharing, and the memories created around a sweet table. This Apple Crisp Cheesecake embodies all of that – a comforting, elegant dessert that brings together the best of two worlds. I truly hope you’ll gather your loved ones, roll up your sleeves, and experience the simple delight of creating this magical treat. Happy baking, sweet friends!