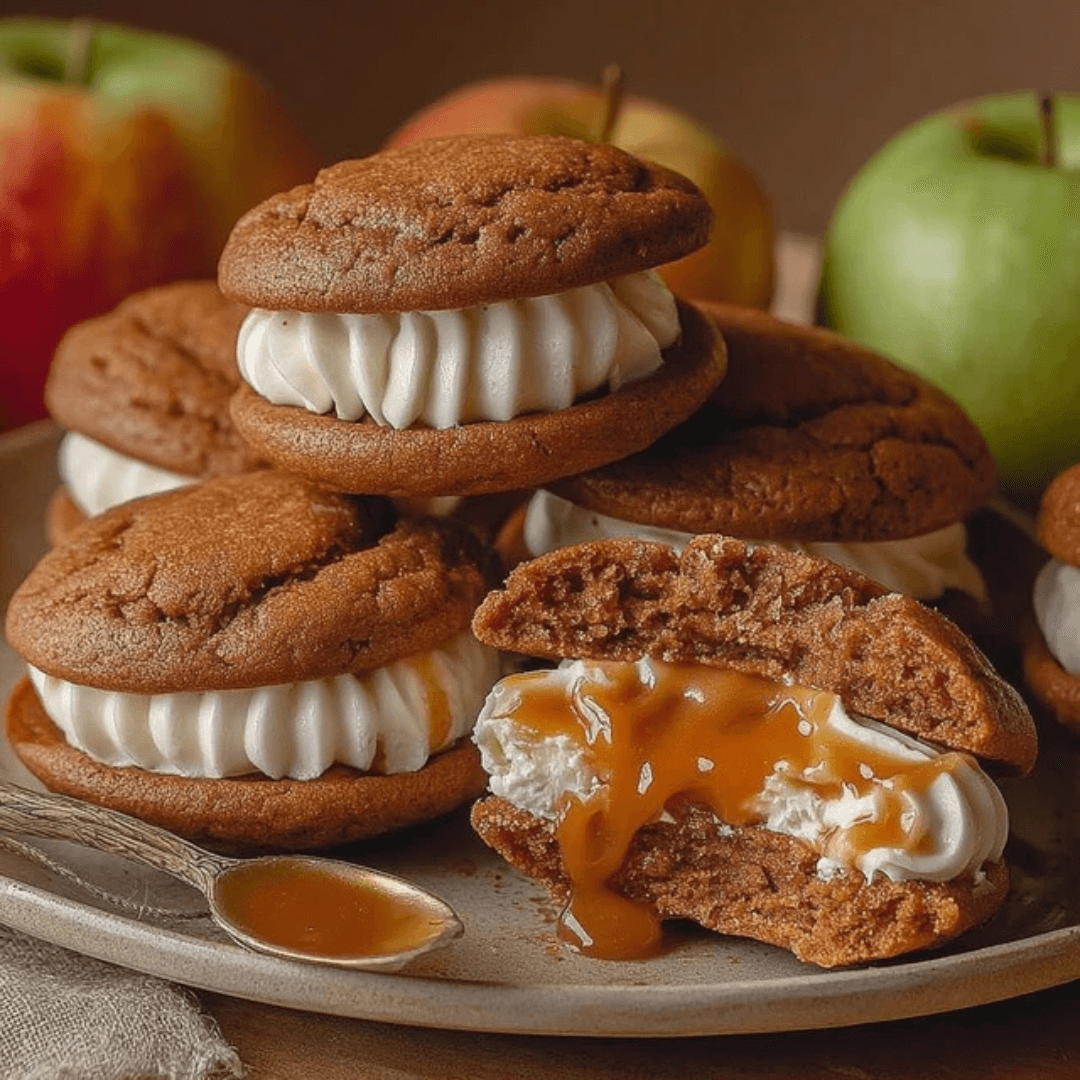
If fall had a mascot dessert, these Apple Cider Whoopie Pies would win every time. Imagine soft, spiced cookies infused with reduced apple cider, sandwiched together with a creamy filling — it’s like biting into autumn itself. Sweet, cozy, and just the right amount of indulgent, these little pies are guaranteed to make your kitchen smell like a cider mill. Trust me, this one’s a game-changer for your fall baking list!
Why You’ll Love This Recipe
- Cozy Autumn Flavors: Apple cider, warm spices, and apple butter come together in the ultimate fall treat.
- Perfectly Soft & Fluffy: The cookies are tender but sturdy enough to hold a generous filling.
- Crowd-Pleaser: Great for parties, bake sales, or just treating yourself with a cup of tea.
- Customizable: Swap apple butter for applesauce or try a spiced cream cheese filling twist.
Ingredients
Here’s what you’ll need to whip up these irresistible whoopie pies:
- Apple Cider: Reduced for a concentrated apple flavor.
- Unsalted Butter: Adds richness and keeps the cookies tender.
- All-Purpose Flour: The foundation for soft, cake-like cookies.
- Salt: Balances sweetness and enhances flavor.
- Baking Powder & Baking Soda: Ensure the cookies rise and stay fluffy.
- Ground Cinnamon, Ginger & Nutmeg: Classic warm spices for that fall vibe.
- Granulated Sugar: Sweetens the dough and gives a little crispness.
- Brown Sugar: Adds moisture and a hint of caramel flavor.
- Apple Butter (or Unsweetened Applesauce): Boosts apple flavor and adds moisture.
- Eggs: Bind everything together and give structure.
- Vanilla Extract: Adds warmth and rounds out the flavor.
- Melted Butter + Cinnamon-Sugar Mix: For brushing and coating the cookies — think snickerdoodle magic!
Full ingredient list with measurements can be found in the recipe card below the article.
How to Make the Apple Cider Whoopie Pies
Step 1: Reduce the Apple Cider
In a small saucepan, simmer apple cider until reduced to ¼ cup. Let cool completely before adding to the batter.
Step 2: Mix Dry Ingredients
In a medium bowl, whisk together flour, salt, baking powder, baking soda, cinnamon, ginger, and nutmeg.
Step 3: Cream Butter and Sugars
In a large bowl or stand mixer, beat butter with granulated and brown sugars until light and fluffy. Add eggs one at a time, then mix in vanilla, apple butter (or applesauce), and cooled cider.
Step 4: Combine Wet and Dry
Gradually mix dry ingredients into the wet mixture until just combined. Don’t overmix — we want fluffy cookies!
Step 5: Bake the Cookies
Drop rounded tablespoons of dough onto prepared baking sheets, leaving room to spread. Bake 11–13 minutes, until they spring back when lightly pressed.
Step 6: Cinnamon-Sugar Coating
While still warm, brush cookies with melted butter and sprinkle with cinnamon sugar. Cool completely on a wire rack.
Step 7: Fill and Assemble
Pair cookies by size and sandwich with a generous dollop of cream cheese filling.
Pro Tips for Making the Recipe
- Reduce the Cider Early: Do this step first so it has time to cool before adding to the batter.
- Use a Cookie Scoop: Helps keep cookies even in size for perfect sandwiches.
- Don’t Overbake: They should be soft and springy, not crisp.
- Chill the Filling: A slightly firmer filling makes for neater sandwiches.
How to Serve
- Pair with a hot mug of apple cider or chai latte for peak cozy vibes.
- Dust with a little extra cinnamon before serving for presentation.
- Serve as part of a fall dessert board with caramel apples and pumpkin bars.
Make Ahead and Storage
Storing Leftovers
Keep assembled whoopie pies in an airtight container in the refrigerator for up to 3 days.
Freezing
Freeze unfilled cookies for up to 2 months. Thaw, then fill and serve.
Reheating
No reheating needed — enjoy straight from the fridge or let them come to room temp for a softer bite.
FAQs
Can I use store-bought apple cider?
Yes! Just be sure it’s unsweetened so you can control the sugar in the recipe.
What filling works best for whoopie pies?
A classic cream cheese frosting is perfect, but you can also try vanilla buttercream or even maple-flavored filling.
Can I make them ahead for a party?
Definitely. Bake the cookies a day or two in advance, then fill them the day of serving for best texture.
Why do I need to reduce the cider?
Reducing concentrates the apple flavor and keeps the batter from being too wet. It’s the secret to that punch of apple goodness!
Apple Cider Whoopie Pies
Ingredients
Equipment
Method
- Preheat oven to 350°F (175°C). Line baking sheets with parchment paper.
- In a saucepan, reduce apple cider over medium heat until it becomes about 1/4 cup. Let cool.
- Cream butter and sugar until fluffy. Add egg, vanilla, and reduced cider.
- In another bowl, whisk together flour, baking soda, cinnamon, and nutmeg.
- Gradually add dry ingredients to wet ingredients. Mix until just combined.
- Scoop dough onto prepared sheets. Bake for 8–10 minutes or until edges are set. Cool completely.
- To make the filling, beat butter, sugar, cider, and vanilla until fluffy. Pipe or spread onto half the cookies, then sandwich with remaining cookies.