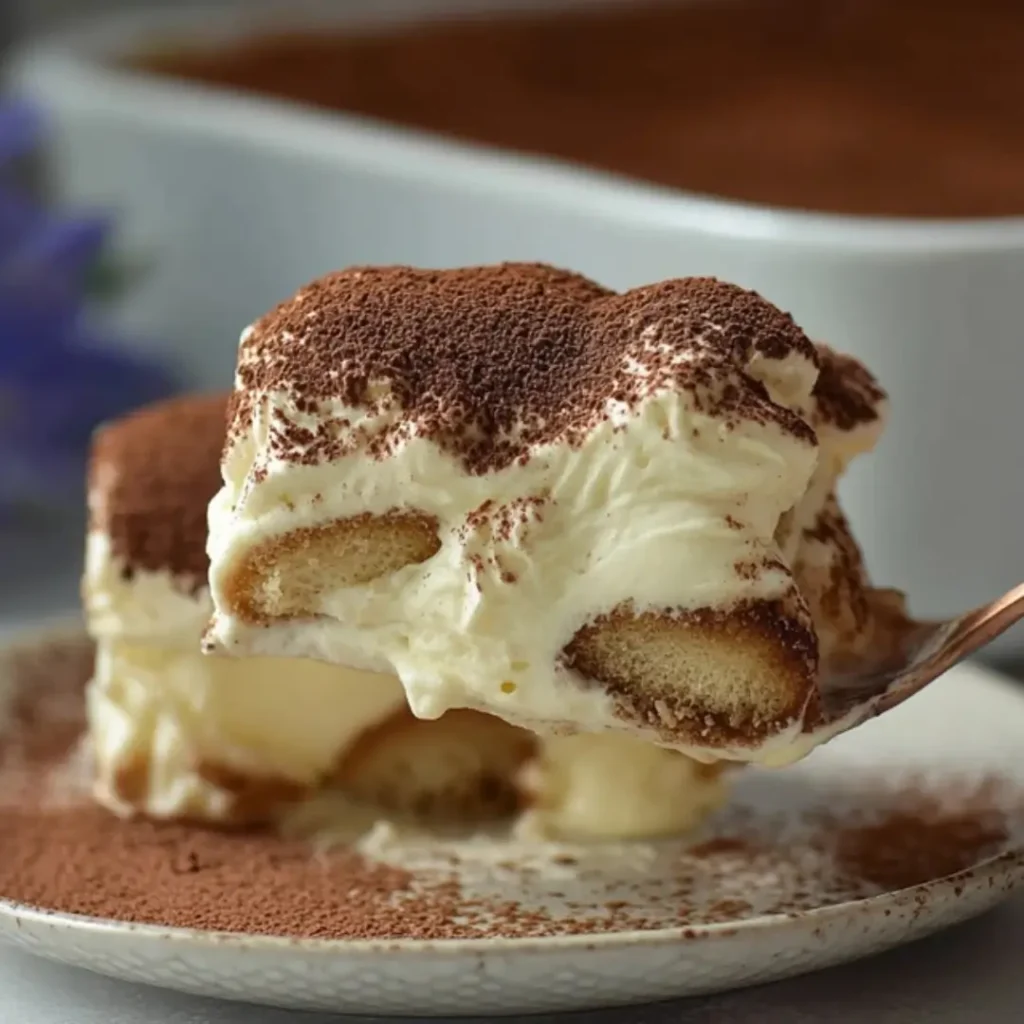
There’s something truly magical about a classic dessert that transports you with every single bite, and for me, that’s always been Creamy Tiramisu. This elegant Italian delight, with its layers of coffee-soaked ladyfingers and rich mascarpone cream, is the epitome of sophisticated comfort. It’s a no-bake wonder that promises a symphony of textures and flavors – creamy, tender, and kissed with just the right hint of espresso.
I remember my grandmother telling me stories of her own kitchen, where simple ingredients were transformed with a little love and patience. That same spirit guides me as I perfect recipes like this one. Experimenting with tiramisu over the years, learning from every swirl and fold, has been such a joyful journey, leading to a dessert that’s become a firm favorite among my friends and family.
This recipe for Creamy Tiramisu is not only incredibly easy to follow, making it perfect for bakers of all levels, but it’s also a showstopper for any gathering, proving that the most memorable treats are often those made with heart. My best advice? Don’t rush the chilling process – patience is truly a virtue when you’re waiting for those flavors to meld!
What You Need to Make This Recipe
Crafting this delightful Creamy Tiramisu starts with a few star ingredients that sing together beautifully. Think strong brewed espresso for that deep coffee essence, creamy mascarpone cheese for luxurious texture, and delicate ladyfingers ready to soak up all that goodness. The full list of ingredients and precise measurements can be found in the recipe card below, ready for your baking adventure!
How to Make Creamy Tiramisu
Whipping up this no-bake wonder is a true joy, and surprisingly straightforward! We’ll start by preparing a flavorful espresso dip to awaken our ladyfingers. Next, you’ll create the luscious mascarpone cream base, gently folding in the heavy cream and vanilla to achieve that signature silky texture. Then comes the fun part: layering these components with care before letting the Creamy Tiramisu chill to perfection.
Creamy Tiramisu
Ingredients
Equipment
Method
- In a shallow dish, combine the cooled espresso, 1/4 cup granulated sugar, and coffee liqueur (if using). Stir until the sugar is dissolved. Set aside.
- In a heatproof bowl (preferably from a stand mixer) combine the egg yolks. In a small saucepan, combine 3/4 cup granulated sugar and 1/4 cup water. Bring to a boil over medium heat, stirring until the sugar dissolves. Continue to boil without stirring until the syrup reaches 240°F (115°C) on a candy thermometer. If you don’t have a thermometer, boil until it forms a soft ball when dropped in cold water.
- With the stand mixer on medium-low speed (or using a hand mixer), slowly and carefully pour the hot sugar syrup in a thin stream into the egg yolks. Increase the speed to high and beat for 7-10 minutes, until the mixture is thick, pale yellow, and has tripled in volume. The bowl should be cool to the touch. This creates a safe, cooked sabayon base.
- Reduce the mixer speed to low. Add the chilled mascarpone cheese, one spoonful at a time, mixing just until combined and smooth. Be careful not to overmix, or the mascarpone may curdle. Set aside.
- In a separate large, chilled bowl, whip the cold heavy cream and vanilla extract with a clean whisk attachment (or hand mixer) on high speed until soft peaks form. Do not overbeat.
- Gently fold the whipped cream into the mascarpone mixture in two additions using a spatula, until just combined and light. Do not overmix.
- Dip each ladyfinger briefly into the espresso mixture (1-2 seconds per side). Do not over-soak, or they will become soggy. Arrange a single layer of dipped ladyfingers at the bottom of the 9×13 inch baking dish.
- Spread half of the mascarpone cream evenly over the layer of ladyfingers.
- Repeat with another layer of espresso-dipped ladyfingers, followed by the remaining mascarpone cream. Smooth the top with a spatula.
- Cover the dish tightly with plastic wrap and refrigerate for at least 4 hours, preferably overnight, to allow the flavors to meld and the tiramisu to set.
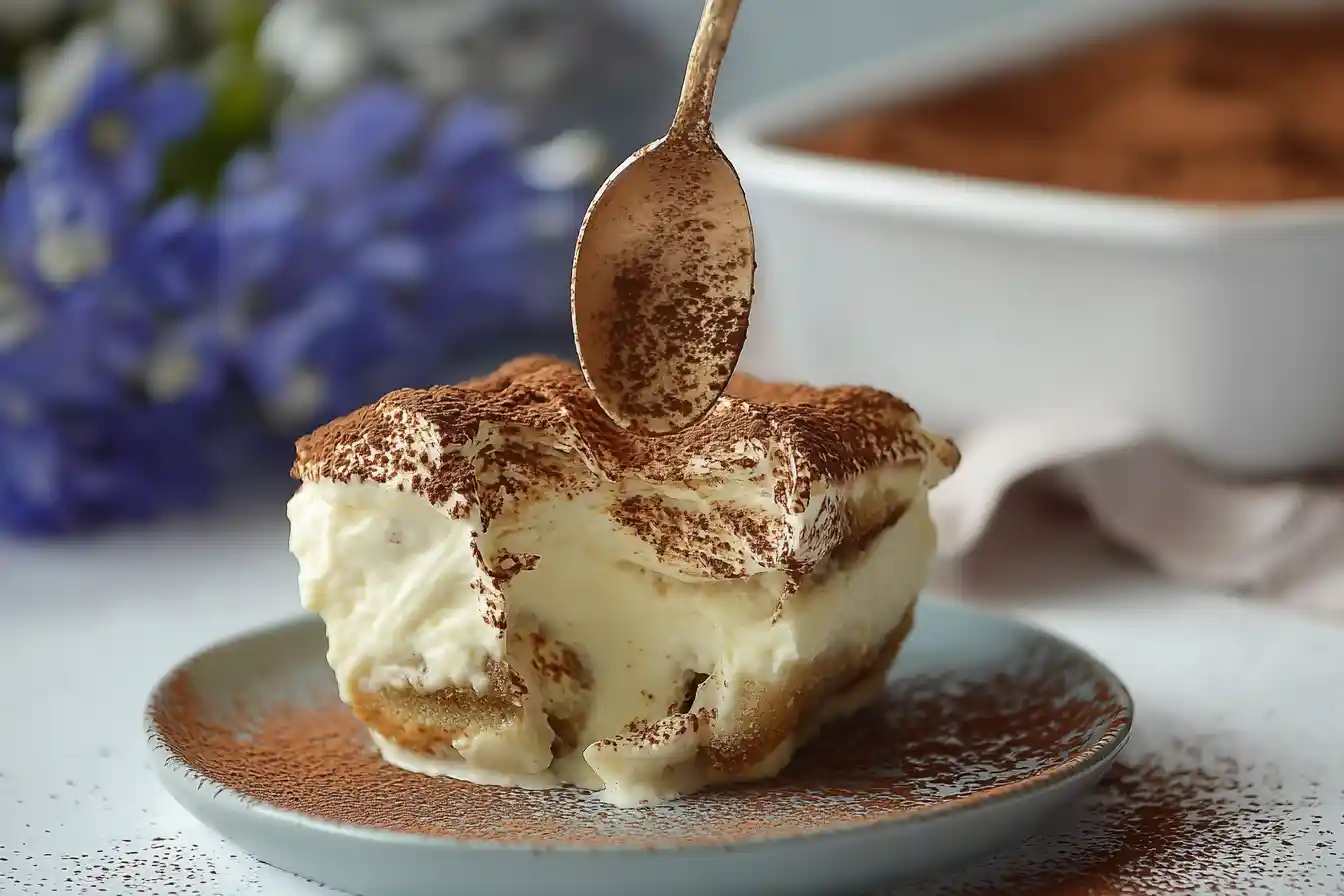
- Before serving, use a fine-mesh sieve to dust a generous layer of unsweetened cocoa powder over the top of the Creamy Tiramisu.
Notes
Over my years of whisking and folding, I’ve gathered a few little secrets that ensure your Creamy Tiramisu turns out absolutely perfect every time. These are the tricks I use in my own kitchen, passed on to you with love.
The Perfect Soak
When dipping your ladyfingers into the espresso mixture, be quick! A swift dip on each side is all you need. If they linger too long, they can become soggy, and we want that lovely structural integrity to hold up against the rich cream. I always aim for just a second or two per side.
My Secret Trick: The Chill Factor
I always recommend letting your assembled Creamy Tiramisu chill for a minimum of 6 hours, but ideally overnight. This extended chill time is absolutely crucial for the flavors to fully meld and for the mascarpone cream to set beautifully. It makes all the difference for that irresistible creamy texture!
Quality Ingredients Matter
Using high-quality mascarpone cheese and a good strong espresso truly elevates the flavor of this classic Italian dessert. Think of it as investing in the heart of your Creamy Tiramisu – it pays off in every delightful spoonful.
Dusting with Delight
Just before serving, a generous dusting of unsweetened cocoa powder is a must. I love using a small sieve to get an even, delicate layer. It adds a beautiful visual appeal and a lovely hint of bittersweet chocolate that balances the sweetness of the cream.
Fun Variations for Creamy Tiramisu
One of the most delightful aspects of home baking is the freedom to get creative and tailor a recipe to your own tastes or those of your loved ones. While the classic Creamy Tiramisu is perfect, there are so many ways to add your own personal touch!
Berry Bliss
For a touch of fruity freshness, try adding a layer of fresh raspberries or sliced strawberries between the mascarpone cream layers. My sister always asks me to swirl in raspberry jam, and it adds a wonderful tart counterpoint to the rich cream. It’s a beautiful twist, especially in the warmer months.
Chocolate Lover’s Dream
If you adore chocolate, consider finely grating some dark chocolate over the cream layers during assembly, in addition to the cocoa powder dusting. A friend loves when I use chocolate ladyfingers for an extra decadent touch – it truly transforms this classic Creamy Tiramisu into an even richer experience.
Liqueur Love
While coffee liqueur like Kahlúa is traditional, you can experiment with other spirits to infuse different flavors. Amaretto adds a lovely almond note, or for a non-alcoholic version, simply omit the liqueur from the espresso dip and add a touch more vanilla extract for depth.
What to Serve With Creamy Tiramisu
This elegant no-bake dessert stands beautifully on its own, but sometimes a little accompaniment can make the experience even more special. Here are a few ideas for enhancing your Creamy Tiramisu moment, turning a simple treat into a full-fledged dessert celebration.
A Warm Beverage
A classic pairing, of course, is a freshly brewed cup of espresso or a strong coffee. The rich, slightly bitter notes perfectly complement the sweet and creamy layers of the tiramisu. My mom always pairs it with hot cocoa in winter for an extra cozy touch.
Fresh Berries
A small side of fresh berries, like raspberries or blueberries, provides a lovely tart contrast and a burst of freshness against the richness of the Creamy Tiramisu. It’s a simple addition that brightens the entire plate.
A Scoop of Vanilla Bean Ice Cream
For an extra indulgent treat, I love serving a small scoop of good quality vanilla bean ice cream alongside. The cold, melting ice cream creates a beautiful texture contrast and adds another layer of creamy sweetness.
How to Store Creamy Tiramisu
After all the love you’ve poured into making this delicious dessert, you’ll want to make sure your Creamy Tiramisu stays fresh and delightful for as long as possible. Proper storage is key to preserving its perfect texture and flavor.
Refrigerator Storage
Once assembled, Creamy Tiramisu should always be stored in the refrigerator. Cover it tightly with plastic wrap or aluminum foil to prevent it from absorbing any odors from other foods and to keep the mascarpone cream from drying out. When stored correctly, it will stay fresh and delicious for 3-4 days.
Freezing Tips
If you’d like to prepare it further in advance or save some for later, this dessert freezes beautifully! Wrap the entire dish (or individual portions) very tightly in several layers of plastic wrap, then a layer of aluminum foil. This keeps the dessert safe from freezer burn.
Thawing and Serving
When you’re ready to enjoy frozen Creamy Tiramisu, transfer it to the refrigerator and let it thaw slowly overnight. I like to let it sit at room temperature for about 15-20 minutes before serving, as it allows the cream to soften slightly and truly express its velvety texture. My personal tip for serving after thawing? A fresh dusting of cocoa powder always makes it look and taste like it was just made!
Nutritional Benefits
While it’s undoubtedly an indulgence, this Creamy Tiramisu offers a moment of pure culinary delight. With the richness of dairy from the mascarpone and heavy cream, it provides a good source of calcium and energy. Made with simple, wholesome ingredients, this particular Creamy Tiramisu recipe embodies my philosophy of enjoying a treat that’s both satisfying and nourishing for the soul.
FAQs
Faq 1
Can I make tiramisu without alcohol?
Absolutely! You can easily make this Creamy Tiramisu alcohol-free. Simply omit the coffee liqueur from the espresso dip. You can add an extra splash of vanilla extract or a tiny bit of almond extract to enhance the flavor in its place.
Faq 2
How long does tiramisu need to chill?
For the best results and a perfectly set, flavorful Creamy Tiramisu, I recommend chilling it for at least 6 hours. However, for truly incredible depth of flavor and ideal texture, letting it chill overnight in the refrigerator is always my top choice.
Faq 3
Can I use store-bought ladyfingers?
Yes, absolutely! Store-bought ladyfingers (savoiardi) are perfect for this recipe. They are designed to absorb liquid beautifully and are a convenient, essential component for achieving the classic texture of a delightful Creamy Tiramisu.
Faq 4
What’s the best way to get a clean slice?
For a beautiful, clean slice of Creamy Tiramisu, use a sharp knife that has been run under hot water and then wiped clean between each cut. This simple trick helps prevent the layers from sticking and creates neat portions.
Conclusion
There’s nothing quite like the joy of bringing a homemade dessert to the table, and this Creamy Tiramisu recipe is truly a labor of love that rewards you with every bite. It’s an invitation to slow down, savor the process, and create something truly special for those you cherish. I hope this recipe inspires you to embrace the joy of baking, knowing that with a little patience and a lot of heart, you can create sweet memories, one delicious Creamy Tiramisu at a time. Happy baking, sweet friends!