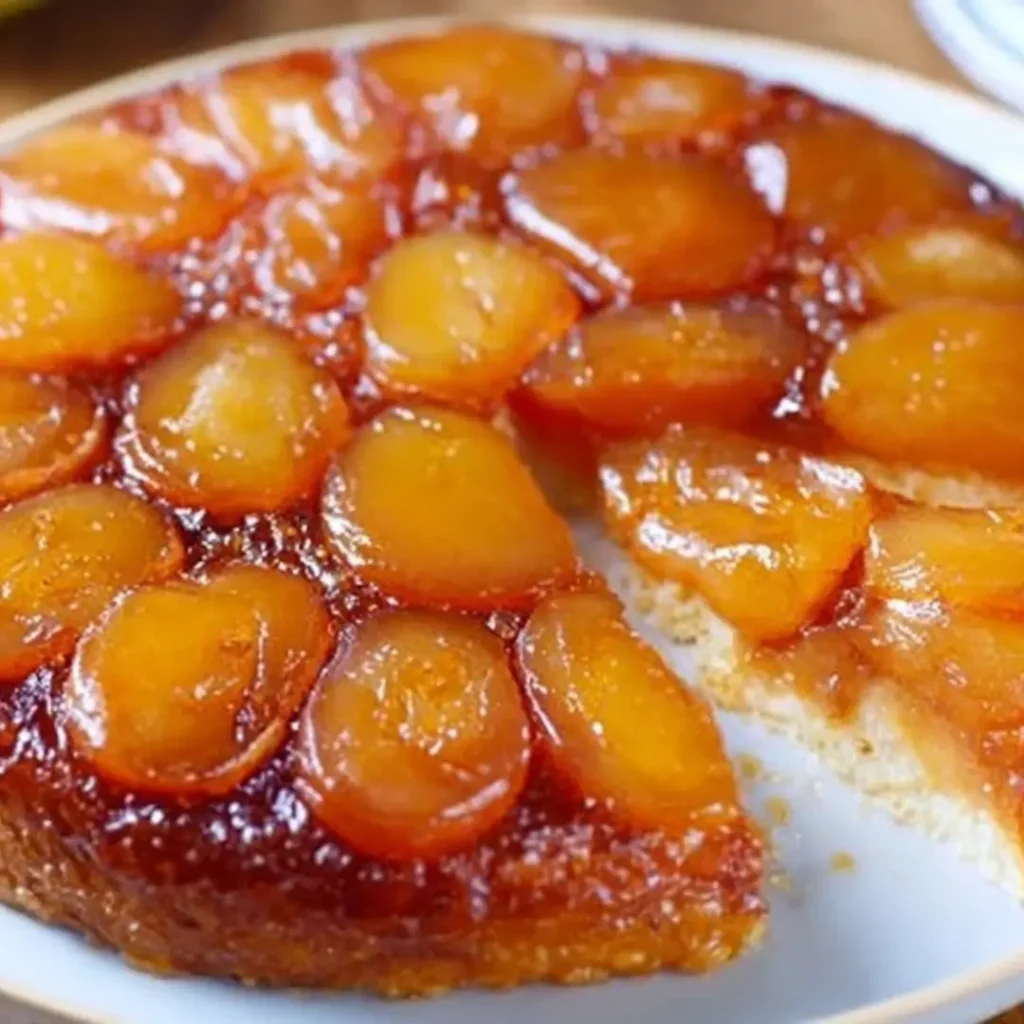
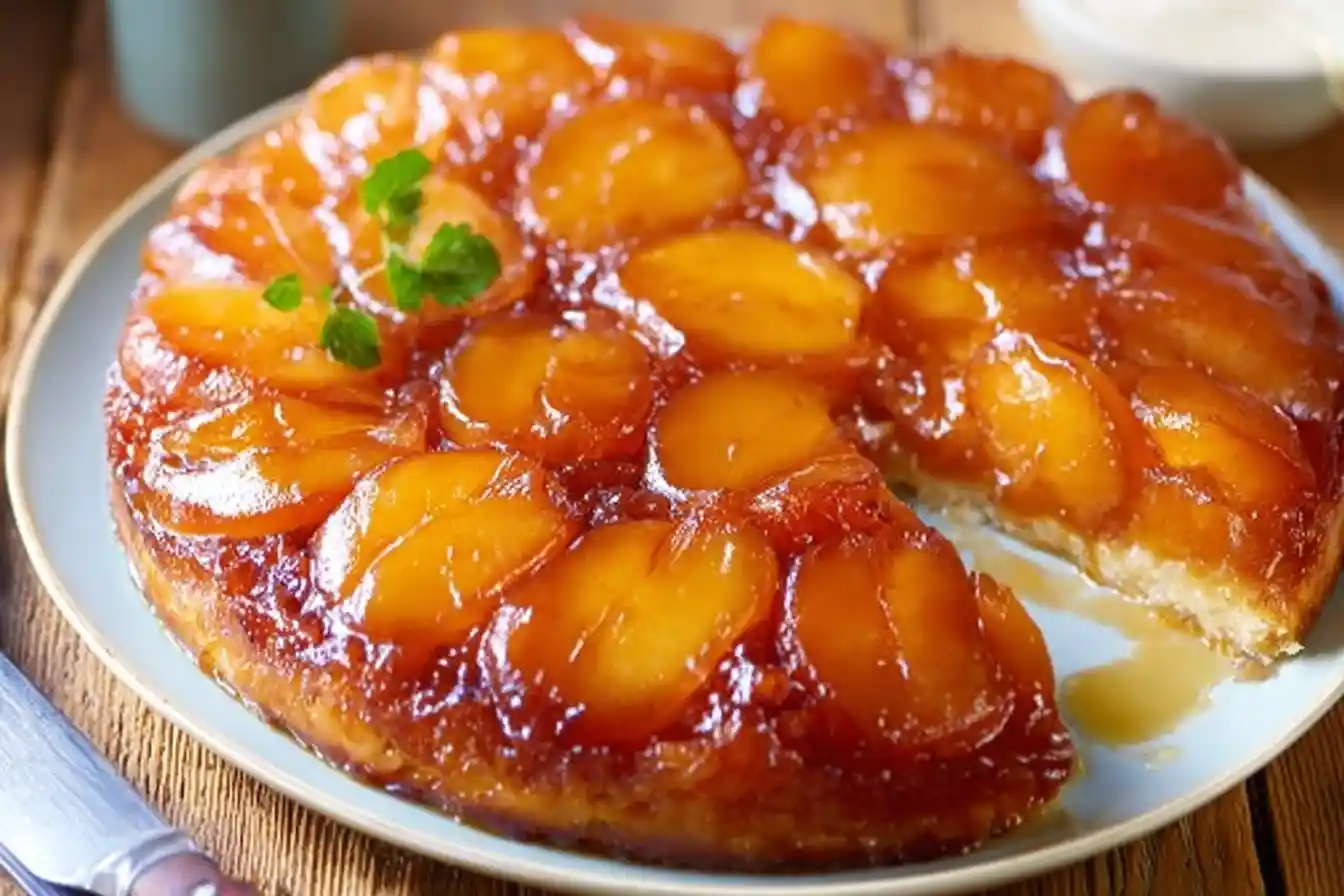
Oh, the delightful aroma of baking apples and caramelized sugar filling the kitchen – it’s a scent that instantly transports me back to my grandmother’s bustling kitchen! And there’s no dessert that captures that warm, nostalgic feeling quite like a Classic Apple Tarte Tatin. This beautiful, inverted apple pastry, with its glistening golden crust and tender, caramelized apples, isn’t just a treat for the taste buds; it’s a testament to how simple ingredients can create pure magic. Each bite of this iconic French dessert offers a perfect harmony of sweet, tart, and buttery richness.
I remember the first time I attempted a Tarte Tatin on my own, long after my grandmother had shown me the basics. There were a few burnt caramel incidents, a pastry that didn’t quite behave, but with each attempt, I learned. It was those sweet triumphs and minor kitchen mishaps that truly shaped my passion for baking and sharing the joy of homemade desserts. Every Tarte Tatin I make now carries a piece of that journey, and I’m so excited to share it with you.
This recipe for Tarte Tatin is wonderfully rewarding, offering both elegance and comforting familiarity, making it perfect for impressing guests or simply indulging your family. My top tip for any aspiring baker is this: don’t fear the caramel! It’s easier than you think, and the result is truly worth every moment.
What You Need to Make This Recipe
Crafting this delightful dessert, a true Tarte Tatin, begins with a handful of wholesome ingredients. We’re focusing on simple staples like crisp, firm apples that hold their shape beautifully, rich unsalted butter for that golden caramel and flaky pastry, and just the right amount of granulated sugar to create that irresistible sweetness. I always believe that the best desserts shine when made with quality, heartfelt ingredients. The full list of ingredients and precise measurements are available in the recipe card below.
How to Make Tarte Tatin
Making this gorgeous Tarte Tatin is a journey of a few distinct, yet incredibly satisfying, steps. You’ll begin by preparing a lovely, flaky pâte brisée, which is simpler than it sounds! Next, we carefully prepare our apples, transforming them into perfect caramelized wedges in a rich, buttery sugar sauce. Once the apples are beautifully browned, we gently top them with our prepared pastry and bake until golden. The grand finale is the magical inversion, revealing your stunning Tarte Tatin in all its glory.
Classic Apple Tarte Tatin
Ingredients
Equipment
Method
- In a large mixing bowl, whisk together the flour and salt. Add the cold, cubed butter and cut it into the flour using a pastry blender, two knives, or your fingertips, until the mixture resembles coarse meal with some pea-sized pieces of butter remaining.
- Gradually add the ice water, 1 tablespoon at a time, mixing lightly with your hands until the dough just comes together. Be careful not to overmix. Form the dough into a flat disc, wrap tightly in plastic wrap, and refrigerate for at least 30 minutes, or up to 2 days.
- Peel, core, and quarter the apples. If using larger apples, you might need to cut them into sixths or eighths. Try to keep the pieces roughly similar in size for even cooking. Set aside.
- Preheat your oven to 375°F (190°C).
- In your 9-10 inch oven-safe skillet, melt the softened butter over medium heat. Add the granulated sugar and stir until the sugar dissolves and the mixture starts to bubble. Continue to cook, stirring occasionally, until the caramel turns a rich amber color. This will take about 8-12 minutes. Remove from heat immediately to prevent burning.
- Carefully arrange the apple quarters tightly in a concentric pattern over the caramel in the skillet. Start from the outside edge and work your way in. Try to pack them in as snugly as possible, standing them upright if necessary, as they will shrink during cooking. If using, drizzle vanilla extract over the apples.
- Return the skillet to medium heat and cook the apples, gently turning them occasionally, for about 15-20 minutes, or until they have softened slightly and released some of their juices into the caramel. This also helps to further develop the caramel flavor.
- On a lightly floured surface, roll out the chilled pastry disc into a 10-11 inch circle, slightly larger than your skillet. Carefully place the pastry over the apples in the skillet, tucking the edges down around the apples and into the sides of the pan.
- Cut a few small slits in the top of the pastry to allow steam to escape during baking.
- Bake for 25-30 minutes, or until the crust is deeply golden brown and puffed, and the apples are tender when poked through the pastry vents.
- Carefully remove the skillet from the oven. Let it cool for 5-10 minutes on a wire rack. This cooling period is crucial, as it allows the caramel to set slightly and prevents it from spilling everywhere when inverted.
- Place a large serving plate (one with a slight rim is best to catch any caramel) upside down over the skillet. Using oven mitts for protection, firmly grasp both the skillet and the plate, then quickly and confidently flip them over. Lift the skillet carefully; if any apples stick, gently dislodge them with a spatula and place them back onto the tart.
- Serve the Tarte Tatin warm, ideally with a dollop of crème fraîche, vanilla ice cream, or whipped cream.
Notes
Over the years, I’ve picked up a few little secrets that make all the difference when baking a show-stopping Tarte Tatin. These tips, born from countless batches and a bit of trial and error, will help you achieve perfection every time.
Choosing Your Apples: For the best Tarte Tatin, always opt for firm, tart apples that hold their shape well when cooked. Granny Smith, Honeycrisp, or Braeburn are fantastic choices. Avoid overly soft or mealy apples, as they’ll turn to mush.
My Secret Trick: I always make sure to slightly undercook my caramel on the stovetop before adding the apples and baking. The caramel will continue to darken and deepen in flavor in the oven, preventing it from becoming bitter or overly dark. It’s a delicate balance that gives the Tarte Tatin its signature hue.
Pastry Perfection: When placing the pastry over the apples, make sure it’s tucked snugly around the edges of the pan. This creates a seal that traps the steam and helps the apples cook beautifully, ensuring your Tarte Tatin has a flawless crust.
The Grand Reveal: Patience is key after baking! Let your Tarte Tatin rest for about 10-15 minutes before inverting. This allows the caramel to cool slightly and firm up, making it much easier to release the tart from the pan in one glorious piece without the apples sticking.
Fun Variations for Tarte Tatin
While the classic apple version of this delightful dessert holds a special place in my heart, the beauty of a Tarte Tatin is how adaptable it can be! Don’t be afraid to experiment and make it your own.
Seasonal Fruit Swaps
Instead of apples, imagine the possibilities with other fruits! During late summer, a Tarte Tatin made with ripe, firm peaches or plums is absolutely divine. Just remember to adjust the sugar slightly depending on the sweetness of your chosen fruit. My sister loves when I use pears; the gentle sweetness and soft texture are truly something special.
A Touch of Spice
To elevate the flavor of your apple Tarte Tatin, consider adding a pinch of cinnamon or a tiny dash of freshly grated nutmeg to the sugar when caramelizing. Or, for a more sophisticated twist, a splash of Calvados (apple brandy) or rum can be added to the caramel just before adding the apples, creating a deeper, more aromatic experience.
Savory Surprises
Believe it or not, the Tarte Tatin method isn’t just for sweet treats! For a unique appetizer, try a savory version with caramelized onions and goat cheese, or roasted cherry tomatoes and fresh herbs. A friend once made a fantastic shallot Tarte Tatin that was absolutely unforgettable.
What to Serve With Tarte Tatin
A beautiful Tarte Tatin is a masterpiece on its own, but a few thoughtful accompaniments can truly elevate the experience, turning a lovely dessert into an unforgettable moment.
For me, there’s nothing quite like a generous scoop of good quality vanilla bean ice cream melting gently over a warm slice of Tarte Tatin. The contrast of the cool cream against the warm, caramelized apples is simply heavenly. My mom always insisted on a dollop of freshly whipped cream, lightly sweetened, to cut through the richness.
If you’re looking for something a little lighter, a scattering of fresh berries – raspberries or blueberries – adds a burst of freshness and a beautiful pop of color. And for a truly comforting end to a meal, a strong cup of coffee or a delicate herbal tea pairs wonderfully, allowing the nuanced flavors of the Tarte Tatin to linger.
How to Store Tarte Tatin
Ensuring your delicious Tarte Tatin stays fresh means you can savor those sweet moments a little longer. With just a few simple storage tips, you’ll be enjoying slices for days to come!
Fridge Storage
Once your Tarte Tatin has completely cooled, it can be stored in the refrigerator. I like to cover it loosely with plastic wrap or place it in an airtight container to prevent the pastry from getting soggy and to keep the apples moist. It will keep beautifully for up to 3-4 days.
Reheating for Freshness
To enjoy a slice of Tarte Tatin as if it were freshly baked, gently reheat individual portions in the microwave for 30-60 seconds, or in a preheated oven at 300°F (150°C) for about 10-15 minutes until warmed through. My personal tip? A quick blast in a toaster oven or air fryer can crisp up the pastry beautifully, making it taste just like it came out of the oven!
Nutritional Benefits
While it’s undoubtedly an indulgence, this lovely Tarte Tatin offers some natural goodness too! The apples are a great source of dietary fiber and vitamin C, and when combined with the simple, wholesome ingredients like real butter, it becomes a treat that’s both satisfying and nourishing in its own right. It’s a reminder that even the sweetest moments can have a balanced touch.
FAQs
Faq 1
Can I make the pastry for Tarte Tatin ahead of time?
Absolutely! The pâte brisée can be prepared up to 2 days in advance. Simply wrap it tightly in plastic wrap and store it in the refrigerator. This makes assembling your Tarte Tatin a breeze on baking day.
Faq 2
What kind of pan is best for baking Tarte Tatin?
A heavy-bottomed, oven-safe skillet, preferably cast iron or a non-stick pan, is ideal. This ensures even caramelization on the stovetop and good heat distribution in the oven, creating a perfect Tarte Tatin.
Faq 3
My Tarte Tatin stuck to the pan, what went wrong?
This often happens if the pan wasn’t sufficiently buttered and sugared, or if you tried to invert it too quickly. Ensure a good coating, and let the Tarte Tatin cool for 10-15 minutes before inverting.
Faq 4
Can I use other types of sugar for the caramel?
Granulated sugar is traditional for this Tarte Tatin, creating a clear, crisp caramel. While you could experiment, other sugars might change the texture and flavor, so I recommend sticking to granulated for the classic result.
Conclusion
Baking a Classic Apple Tarte Tatin is more than just following a recipe; it’s an invitation to create something truly special, a dessert steeped in history and brimming with homemade love. From the flaky pastry to the tender, caramelized apples, every element comes together to form a sweet symphony that will delight your senses and warm your heart. So, gather your ingredients, embrace the joy of baking, and prepare to create unforgettable memories around this simply magical dessert. Happy baking, sweet friends!