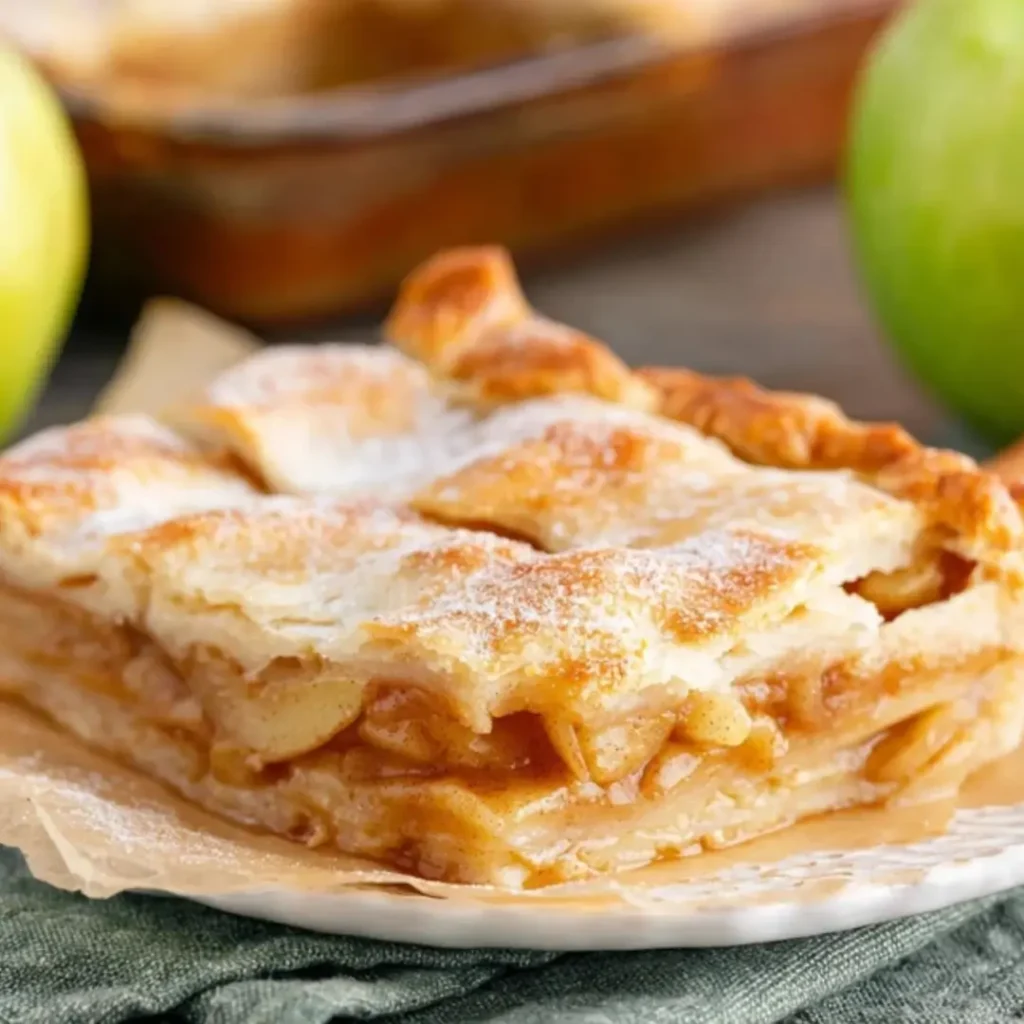
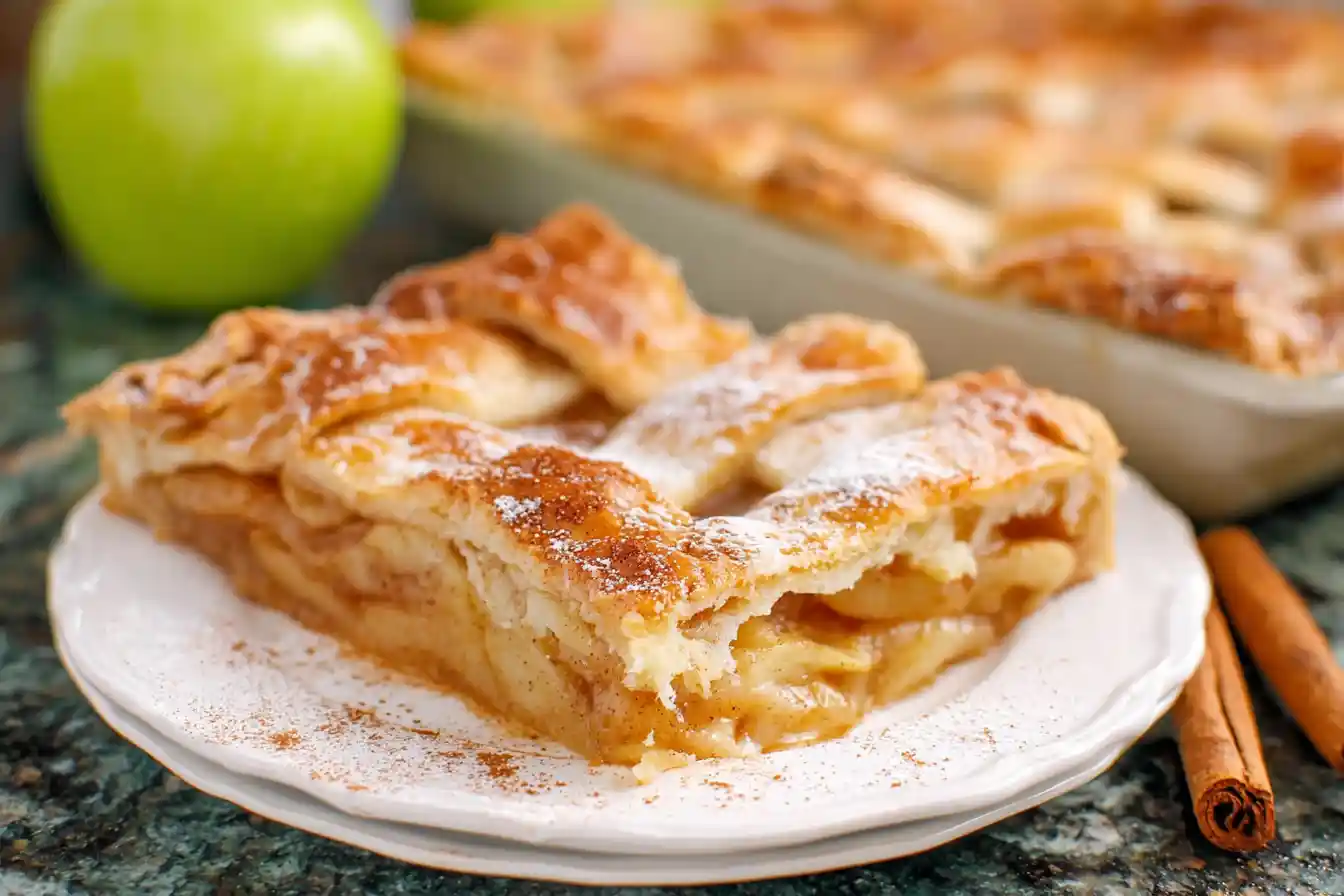
There’s a special kind of warmth that fills the kitchen when an Apple Slab Pie is baking, a sweet promise of comfort and joy. This isn’t just any pie; it’s a generous, rustic treat with a golden, flaky crust, brimming with tender, spiced apples, and topped with a delightfully crumbly brown sugar streusel. It’s the kind of dessert that feels both familiar and extraordinary, perfect for sharing and creating sweet memories.
I remember my grandmother, with flour dusting her apron, teaching me to gently fold fruit into dough, her hands guiding mine. Every autumn, our kitchen became a haven of apple scents, and while her pies were always round, the spirit of generosity and simple, honest flavors lives on in this slab pie. It’s a taste of nostalgia, baked with love in every bite.
This recipe is wonderfully forgiving and fantastic for feeding a crowd, making it ideal for family gatherings or holiday feasts. Plus, it comes together with surprisingly little fuss, proving that homemade doesn’t have to mean complicated. My best advice? Don’t be afraid to get your hands a little messy; that’s where the real magic happens!
What You Need to Make This Delicious Dessert
For this delightful Apple Slab Pie, we embrace simple, wholesome ingredients like crisp baking apples and rich unsalted butter. I always use real vanilla extract to deepen the flavor of the filling, ensuring every bite sings with warmth. The full list of ingredients and precise measurements awaits you in the recipe card just below.
How to Make Apple Slab Pie
Crafting this delightful Apple Slab Pie is a journey of four simple steps: first, prepare a tender, flaky pie dough; next, create the spiced apple filling; then, assemble your magnificent slab pie; and finally, bake it to golden perfection. It’s a rewarding process that transforms humble ingredients into a spectacular dessert, bringing joy with every slice.
Classic Apple Slab Pie
Ingredients
Equipment
Method
- In a large mixing bowl, whisk together the flour and salt. Add the cold, cubed butter and cut it into the flour using a pastry blender, your fingertips, or a food processor until the mixture resembles coarse meal with some pea-sized pieces of butter remaining.
- Gradually add the ice water, 1 tablespoon at a time, mixing gently until the dough just comes together. Be careful not to overmix. Divide the dough into two equal portions, flatten each into a disk, wrap tightly in plastic wrap, and refrigerate for at least 30 minutes (or up to 2 days).
- In another large bowl, combine the sliced apples, granulated sugar, brown sugar, flour, cinnamon, nutmeg, lemon juice, and vanilla extract. Toss gently to ensure the apples are evenly coated. Set aside while you roll out the dough.
- Preheat your oven to 400°F (200°C). Line a 13×18 inch (half-sheet) rimmed baking sheet with parchment paper, leaving an overhang on the two longer sides to help lift the pie out later.
- On a lightly floured surface, roll out one disk of dough into a large rectangle, roughly 15×20 inches, or large enough to cover the bottom and extend slightly up the sides of your prepared baking sheet. Carefully transfer the dough to the baking sheet.
- Pour the apple filling evenly over the bottom crust, spreading it out to the edges. Dot the top of the apples with the small pieces of cold butter.
- Roll out the second disk of dough into another 15×20 inch rectangle. Carefully place it over the apple filling. Trim any excess dough, leaving about a 1/2-inch overhang. Fold the top crust overhang under the bottom crust overhang and crimp the edges together to seal.
- Cut several slits or decorative vents in the top crust to allow steam to escape during baking. In a small bowl, whisk together the beaten egg and milk/water to create the egg wash. Brush the top of the pie generously with the egg wash and sprinkle with coarse sugar.
- Bake for 20 minutes at 400°F (200°C). Then, reduce the oven temperature to 375°F (190°C) and continue baking for another 40-50 minutes, or until the crust is deeply golden brown and the filling is bubbling thickly. If the crust starts to brown too quickly, you can loosely tent it with aluminum foil.
- Once baked, transfer the slab pie to a wire rack and let it cool completely before slicing and serving. This allows the filling to set properly, typically 2-3 hours.
Notes
Bringing a beautiful Apple Slab Pie to life is all about a few thoughtful touches that truly make a difference. Here are some of my tried-and-true tips:
My Secret Trick: I always chill my pie dough for at least 30 minutes (or even an hour!) after rolling and before assembling the pie. This helps the butter stay cold, creating an incredibly flaky crust that melts in your mouth, and prevents the dough from shrinking during baking.
For the apple filling, don’t skimp on a mix of apples! I love combining tart Granny Smiths with sweeter varieties like Fuji or Honeycrisp for a balanced flavor and varied texture that makes the apple slab pie sing. Also, ensure your apples are sliced evenly so they cook uniformly.
When adding the streusel topping, gently press it into the apple filling. This helps the streusel adhere better and creates that lovely, crumbly texture without it scattering too much during baking. A light hand is key!
To get that beautiful golden-brown finish on your crust, I always recommend a simple egg wash. Just a quick brush before baking makes all the difference, giving your Apple Slab Pie a professional and inviting look.
Fun Variations for Apple Slab Pie
One of the joys of baking is making a recipe your own, and this Apple Slab Pie is wonderfully adaptable! Here are a few ways to add your unique touch:
Seasonal Spice Twists
While cinnamon and nutmeg are classics, consider adding a pinch of ground cardamom or a whisper of allspice to your apple filling for an extra layer of warmth. My sister always asks me to swirl in a touch of maple syrup with the brown sugar for an even deeper, cozier flavor that’s perfect for fall.
Fruitful Additions
Why not mix in other fruits? A handful of fresh cranberries with the apples adds a tart burst of flavor and a beautiful color, especially around the holidays. Or, for a summer twist, a friend loves when I include a cup of fresh blueberries to the apple filling; it makes the Apple Slab Pie incredibly juicy and vibrant.
Topping Temptations
Beyond the brown sugar streusel, you could sprinkle some chopped pecans or walnuts into the topping for added crunch and nutty flavor. Or, if you’re feeling extra indulgent, a drizzle of homemade caramel sauce over the streusel before baking takes this sweet treat to another level.
What to Serve With Apple Slab Pie
This generous Apple Slab Pie is a star on its own, but a few simple accompaniments can truly elevate the experience and make it feel like a complete dessert spread.
My absolute favorite way to serve this delightful apple dessert is with a generous scoop of good quality vanilla bean ice cream. The cold, creamy ice cream melting into the warm, spiced apples and crumbly streusel is pure bliss! It’s a classic pairing for a reason, and it never disappoints.
For something a little lighter, a dollop of freshly whipped cream, perhaps infused with a hint of vanilla or a touch of cinnamon, makes for an elegant addition. My mom always pairs her apple treats with a steaming mug of hot cocoa in the winter, creating a truly comforting after-dinner moment. And here’s a quick serving idea: for a special touch, dust your slices of Apple Slab Pie with a little powdered sugar right before serving!
How to Store Apple Slab Pie
Keeping your delicious Apple Slab Pie fresh and flavorful for as long as possible is simple with a few easy steps.
Countertop or Refrigerator Storage
Once cooled completely, your Apple Slab Pie can be stored at room temperature, loosely covered with plastic wrap or aluminum foil, for up to two days. If you live in a warmer climate or want to extend its freshness, I recommend storing it in an airtight container in the refrigerator for up to 4-5 days.
Freezing for Later Enjoyment
To freeze, wrap individual slices or the entire cooled slab pie tightly in plastic wrap, then again in aluminum foil. It will keep beautifully in the freezer for up to 2-3 months. When you’re ready to enjoy, thaw it in the refrigerator overnight.
Reheating for Best Results
For warm, comforting slices, reheat your Apple Slab Pie in a preheated oven at 300°F (150°C) for about 10-15 minutes, or until warmed through. My personal tip for making it taste freshly baked? A quick dusting of coarse sugar right before reheating can revive that lovely shine and add a little extra sparkle!
Nourishing Indulgence
While certainly a treat, this delicious apple dessert offers a lovely way to enjoy the goodness of fresh fruit. The baking apples provide dietary fiber, contributing to a satisfying dessert that’s both comforting and nourishing. It’s a wonderful example of combining indulgence with simple, wholesome ingredients to create something truly special.
FAQs
Faq 1
Can I make the pie dough ahead of time for this Apple Slab Pie?
Absolutely! You can prepare the pie dough up to two days in advance. Just wrap it tightly in plastic wrap and store it in the refrigerator. Let it sit at room temperature for about 15-20 minutes before rolling it out.
Faq 2
What kind of apples are best for an Apple Slab Pie?
A mix of baking apples works best! I love Granny Smith for tartness, combined with Honeycrisp or Fuji for sweetness and texture. This blend ensures a flavorful and not-too-soggy filling for your Apple Slab Pie.
Faq 3
How do I know when my Apple Slab Pie is fully baked?
Your Apple Slab Pie is done when the crust is golden brown, the apple filling is bubbling through the streusel, and a knife inserted into the center of the apples meets little resistance. The streusel should also be nicely toasted.
Faq 4
Can I use a different topping instead of streusel for my Apple Slab Pie?
Certainly! You can opt for a lattice crust made from your pie dough for a classic look, or even a simple sugar glaze drizzled over the top once the pie has cooled. Be creative with your Apple Slab Pie!
Conclusion
Baking an Apple Slab Pie is more than just following a recipe; it’s an act of love, a delicious journey that culminates in a dessert perfect for gathering around. With its comforting spiced apple filling, flaky crust, and irresistible brown sugar streusel, it’s designed to bring joy and create those cherished, sweet memories. So, embrace the warmth of your kitchen, gather your ingredients, and share a slice of homemade happiness with those you love. Happy baking!