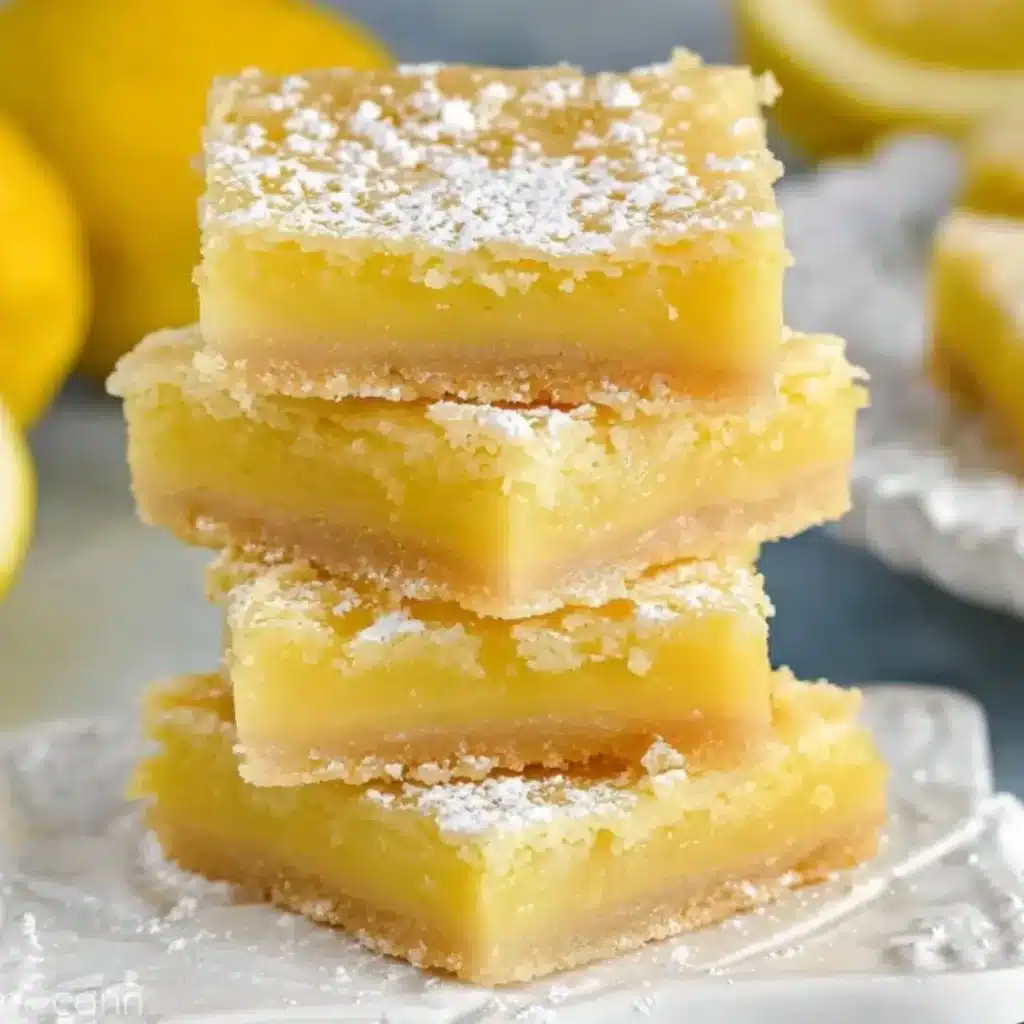
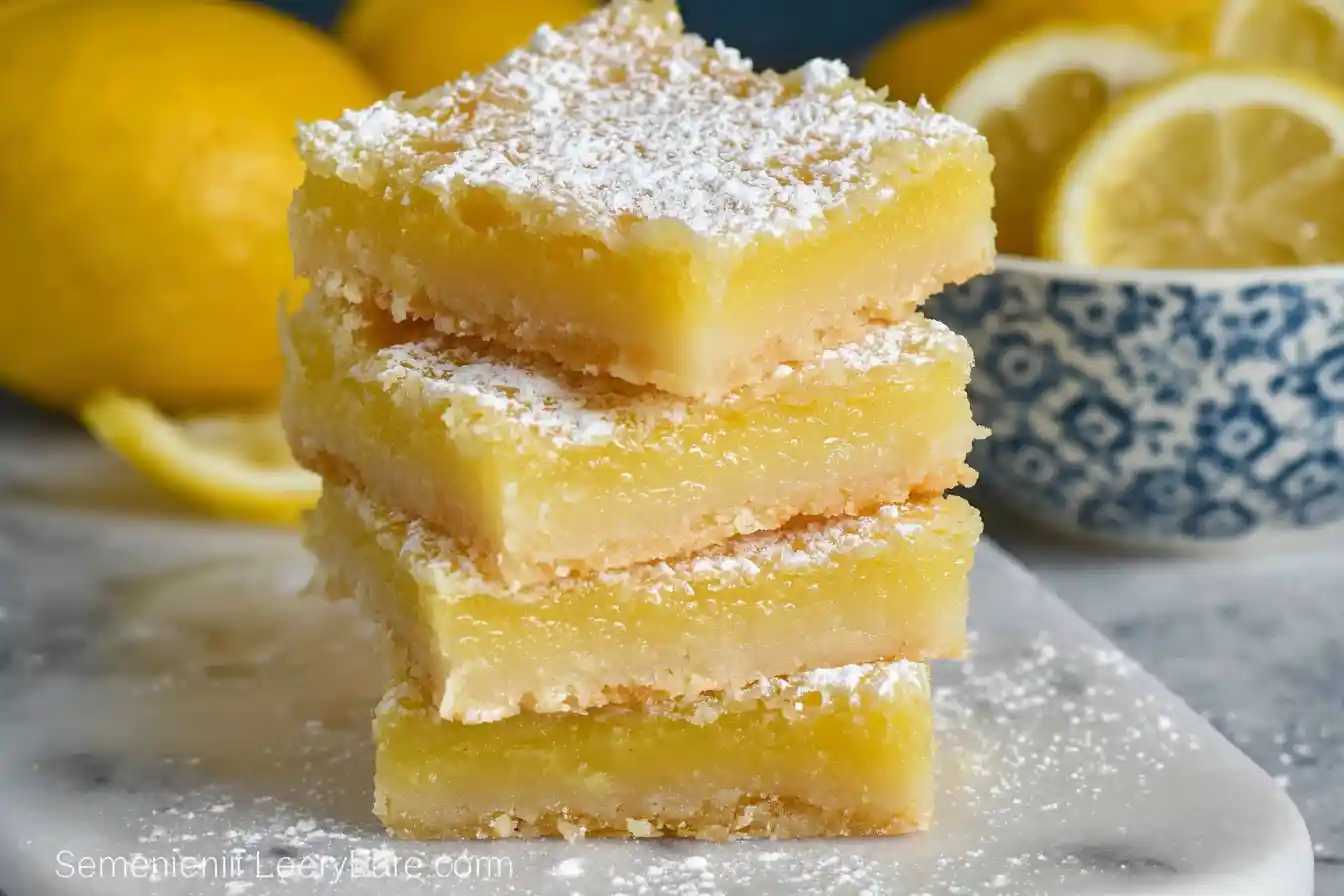
Oh, the sheer delight of a perfectly baked batch of sunny Lemon Bars Recipe! There’s something truly magical about that first bite – the bright, zesty tang of fresh lemon dancing on your tongue, followed by the sweet comfort of a buttery, melt-in-your-mouth shortbread crust. These golden beauties are more than just a dessert; they’re a burst of sunshine, a little slice of joy that brightens any day and any gathering.
I still remember my grandmother, apron dusted with flour, teaching me to zest lemons in her sun-drenched kitchen. The air would fill with that intoxicating citrus aroma, promising a treat that always felt like a warm hug. We’d giggle as she’d tell me her secret was simply using the freshest ingredients and a whole lot of love – a philosophy I’ve carried with me through all my baking adventures.
This Lemon Bars Recipe is wonderfully simple to master, making it a perfect family-friendly project or a delightful surprise for friends. It’s an approachable, rewarding dessert that brings people together, and my top tip for perfect bars is to really chill them before cutting; patience is truly a baker’s best friend!
What You Need to Make This Recipe
Crafting these delightful lemon bars relies on a few simple, high-quality ingredients. The combination of creamy unsalted butter with all-purpose flour creates that irresistible shortbread crust, while fresh lemon juice and zest are truly the stars, giving this Lemon Bars Recipe its signature bright flavor. You’ll find the complete list and precise measurements waiting for you in the recipe card just below!
How to Make Lemon Bars Recipe
Whipping up this Lemon Bars Recipe is a joyful journey in three simple acts: first, we create a tender, buttery shortbread crust that forms the perfect foundation. Next, we whisk together a vibrant, zesty lemon filling, pouring it generously over our prepared crust. Finally, it’s off to the oven, followed by a patient cooling period, ensuring each bar sets beautifully before that delightful dusting of powdered sugar.
Classic Zesty Lemon Bars Recipe
Ingredients
Equipment
Method
- Preheat your oven to 350°F (175°C). Line a 9×13 inch baking pan with parchment paper, leaving an overhang on the sides for easy removal. This is crucial for clean bars.
- In a large bowl, combine the 2 cups all-purpose flour, 1/2 cup granulated sugar, and 1/4 tsp salt for the crust. Add the cold, cubed unsalted butter. Using a pastry blender, your fingertips, or a stand mixer with a paddle attachment, cut the butter into the flour mixture until coarse crumbs form and the mixture resembles wet sand.
- Press the crust mixture evenly into the bottom of the prepared baking pan. Use the back of a spoon or your hands to create a compact, flat layer.
- Bake the crust for 15-20 minutes, or until the edges are lightly golden. Remove from the oven and keep the oven on while you prepare the filling.
- While the crust is baking, in a separate large bowl, whisk together the 1 3/4 cups granulated sugar and 1/4 cup all-purpose flour for the filling until no lumps remain.
- Add the large eggs, fresh lemon juice, lemon zest, and 1/4 tsp salt to the sugar and flour mixture. Whisk vigorously until all ingredients are well combined and the mixture is smooth. Ensure the zest is finely grated to avoid large pieces in the final product.
- Carefully pour the lemon filling over the hot, pre-baked crust in the pan. The heat from the crust will help start the cooking process for the filling.
- Return the pan to the oven and bake for another 20-25 minutes, or until the filling is set and the edges are lightly golden. The center should still have a slight jiggle, but it will firm up as it cools.
- Remove the pan from the oven and let the lemon bars cool completely at room temperature for at least 1-2 hours. Then, refrigerate for a minimum of 2 hours, or preferably overnight, to allow them to firm up completely for clean cuts.
- Once chilled, use the parchment paper overhang to lift the entire slab of lemon bars out of the pan. Place on a cutting board.
- Before serving, dust generously with powdered sugar using a fine-mesh sieve. Cut into 16 squares or desired shapes using a sharp knife, wiping the knife clean between each cut for perfect edges.
Notes
For those of you looking to perfect your Lemon Bars Recipe, I’ve gathered a few tried-and-true tips from my own kitchen. These little insights will help ensure your bars turn out beautifully every single time, full of the bright flavor and tender texture we all adore.
- My Secret Trick: I always make sure my butter for the shortbread crust is very cold and cut into small pieces. This helps create a flaky, tender crust that truly melts in your mouth and doesn’t become tough.
- When pressing the shortbread crust into your pan, use the bottom of a flat glass or measuring cup to get an even, compact layer. This ensures a sturdy base that can hold up to that luscious lemon filling.
- Don’t be tempted to overbake the lemon filling! It should still have a slight “jiggle” in the center when you pull it from the oven. It will continue to set as it cools, leading to that perfect, custardy texture.
- Patience truly is a virtue with this Lemon Bars Recipe. Allow the bars to cool completely to room temperature, and then chill them in the refrigerator for at least 2 hours before slicing. This prevents a messy cut and ensures clean, beautiful squares.
Fun Variations for Lemon Bars Recipe
One of the things I adore about a classic like this Lemon Bars Recipe is how easily you can sprinkle in your own creative flair! Don’t be afraid to experiment and make them uniquely yours. My sister, for instance, adores a little twist!
Berry Bliss Bars
For a touch of fruity sweetness, try swirling a tablespoon or two of raspberry or blackberry jam into the lemon filling before baking. The tartness of the lemon combined with the sweet berries makes for an absolutely delightful surprise. A friend of mine loves when I top these with a few fresh berries after they’ve cooled.
Coconut Sunshine
If you’re a fan of coconut, try adding about half a cup of shredded unsweetened coconut to your shortbread crust mixture. It adds a wonderful texture and a subtle tropical note that beautifully complements the zesty lemon. This simple addition transforms the familiar Lemon Bars Recipe into something new and exciting.
Spice It Up
For a cozy, warming variation, add a tiny pinch of ground cardamom or ginger to your lemon filling. Just a quarter teaspoon will do! It provides a subtle, unexpected complexity that’s perfect for cooler evenings.
What to Serve With Lemon Bars Recipe
These bright and zesty Lemon Bars Recipe are truly a star on their own, but they also play wonderfully with a few delightful accompaniments that can elevate your dessert experience. I love serving them with a little something extra!
For me, there’s nothing quite like a dollop of freshly whipped cream or a scoop of creamy vanilla bean ice cream alongside these sunny treats. The cool, smooth dairy provides a beautiful contrast to the tart lemon. My mom always suggests a light dusting of extra powdered sugar right before serving for that elegant, fresh-from-the-bakery look. Alternatively, a simple cup of hot black tea or a refreshing glass of iced tea makes for a perfect pairing, allowing the vibrant lemon flavor of the bars to truly shine.
How to Store Lemon Bars Recipe
After all the love you’ve put into baking your wonderful Lemon Bars Recipe, you’ll want to ensure they stay fresh and delicious for as long as possible! Proper storage is key to preserving their lovely texture and zesty flavor.
Fridge Storage
Once your lemon bars have completely cooled and been sliced, store them in an airtight container in the refrigerator. They will stay fresh and delicious for up to 3-4 days. I like to place a piece of parchment paper between layers if stacking them to prevent sticking.
Freezer Friendly
Yes, you can absolutely freeze these lemon bars! Once cooled and sliced, arrange them in a single layer on a baking sheet and freeze until firm. Then, transfer the frozen bars to an airtight freezer-safe container or bag, separating layers with parchment paper. They’ll keep well for up to 2-3 months. To enjoy, simply thaw them in the refrigerator overnight or at room temperature for a few hours. A light dusting of fresh powdered sugar after thawing really brings them back to life.
Nutritional Benefits
While undoubtedly a delightful indulgence, this Lemon Bars Recipe also offers some lovely highlights. Lemons, the star ingredient, are packed with Vitamin C, providing a little antioxidant boost in every sunny bite. When we craft homemade treats like these, we control the ingredients, making them a satisfying dessert that’s both a sweet pleasure and nourishing in its own simple way.
FAQs
Faq 1
Can I use bottled lemon juice for this recipe?
While fresh lemon juice yields the best, brightest flavor for this Lemon Bars Recipe, you can use bottled lemon juice in a pinch. However, for that truly zesty and vibrant taste, I always recommend sticking with freshly squeezed lemons.
Faq 2
How can I tell if my lemon bars are fully baked?
The edges of the lemon filling should be set, and the center should have only a slight, gentle jiggle when you lightly shake the pan. The crust will be golden brown. They will continue to firm up as they cool.
Faq 3
My lemon bars are sticking to the pan, what went wrong?
This often happens if the pan wasn’t properly lined or greased. Always use parchment paper with an overhang for easy lifting, and ensure the bars are completely cooled and chilled before attempting to slice them.
Faq 4
Can I make these lemon bars ahead of time?
Absolutely! Lemon Bars Recipe are a fantastic make-ahead dessert. You can bake them a day or two in advance and store them in the refrigerator, or even freeze them for longer storage as outlined in the storage section.
Conclusion
There’s truly nothing quite like the joyful satisfaction of baking a batch of this bright and beautiful Lemon Bars Recipe. From that first moment the citrus aroma fills your kitchen to the delighted smiles on the faces of those you share them with, these bars are a testament to the simple magic of homemade desserts. Embrace the warmth, the nostalgia, and the pure deliciousness. Go ahead, gather your ingredients, and create some sweet memories in your own kitchen today – you deserve every delightful bite!