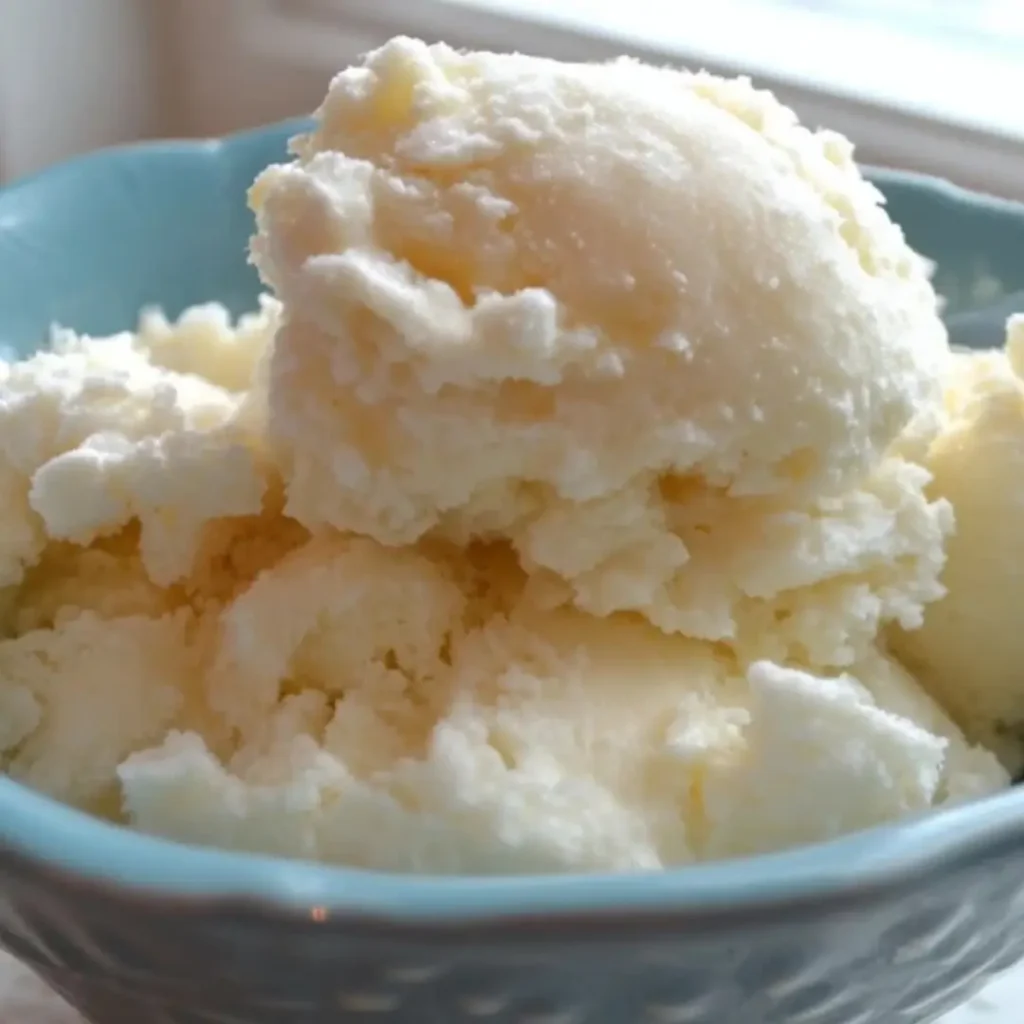
Oh, sweet friends, gather ’round! There’s something truly magical about a dessert that evokes childhood wonder and a whisper of nostalgia, and this Creamy Sweetened Condensed Milk Snow Ice Cream recipe does just that. Imagine a spoonful of pure, velvety delight that melts on your tongue, brimming with that comforting sweetness we all adore. It’s like catching snowflakes and turning them into the dreamiest dessert!
I remember one crisp winter afternoon, bundled up with my grandmother in her cozy kitchen. We had just come in from playing in the snow, and she taught me how to churn simple ingredients into what felt like a treasure. That memory, and countless experiments since, led me to perfect this delightful Sweetened Condensed Milk Snow Ice Cream – a true testament to the joy of homemade treats.
This recipe isn’t just easy to whip up; it’s also a fantastic, family-friendly dessert that brings smiles to every face. My top tip? Don’t rush the chilling; a little patience makes all the difference for that perfect, scoopable texture!
What You Need to Make This Recipe
Crafting this delightful dessert only requires a few simple ingredients that truly shine. Whole milk and heavy cream create that luxurious, smooth base, while the sweetened condensed milk delivers its signature comforting sweetness. I always use a good quality vanilla extract for a deeper, more aromatic flavor that truly elevates this Sweetened Condensed Milk Snow Ice Cream. You’ll find the full list of ingredients and precise measurements in the recipe card below.
How to Make Sweetened Condensed Milk Snow Ice Cream
Making this Sweetened Condensed Milk Snow Ice Cream is a delightful journey of simple steps leading to a truly exquisite treat. You’ll start by gently whisking together your milks, cream, and vanilla, ensuring everything is beautifully combined. Then, it’s a matter of patiently freezing the mixture, stirring occasionally to achieve that wonderfully light, fluffy, and scoopable snow-like texture we all crave. It’s a labor of love that rewards you with pure dessert bliss!
Sweetened Condensed Milk Snow Ice Cream
Ingredients
Equipment
Method
- In a large mixing bowl, whisk together the whole milk, heavy cream, sweetened condensed milk, vanilla extract, and a pinch of salt until thoroughly combined and smooth. Ensure the condensed milk is fully incorporated.
- Pour the mixture through a fine-mesh sieve into another clean bowl or directly into your chosen freezer-safe container. This step helps remove any potential lumps or unmixed solids, ensuring a super smooth “snow” texture.
- Transfer the strained mixture into a shallow, freezer-safe container (such as a 9×13 inch baking dish or an aluminum foil pan). A larger surface area will help it freeze faster and more evenly.
- Place the container in the freezer. Freeze for about 1.5 to 2 hours, or until the edges begin to solidify and ice crystals start to form.
- After the initial freezing, remove the container from the freezer. Using a fork or an ice cream scraper/spatula, vigorously scrape the frozen edges and bottom towards the center, breaking up the ice into fine, snow-like flakes. Mix thoroughly. Return to the freezer.
- Repeat the scraping process every 45-60 minutes for another 4-5 hours, or until the entire mixture has been transformed into fine, fluffy “snow.” The more frequently you scrape, the finer and lighter your snow ice cream will be.
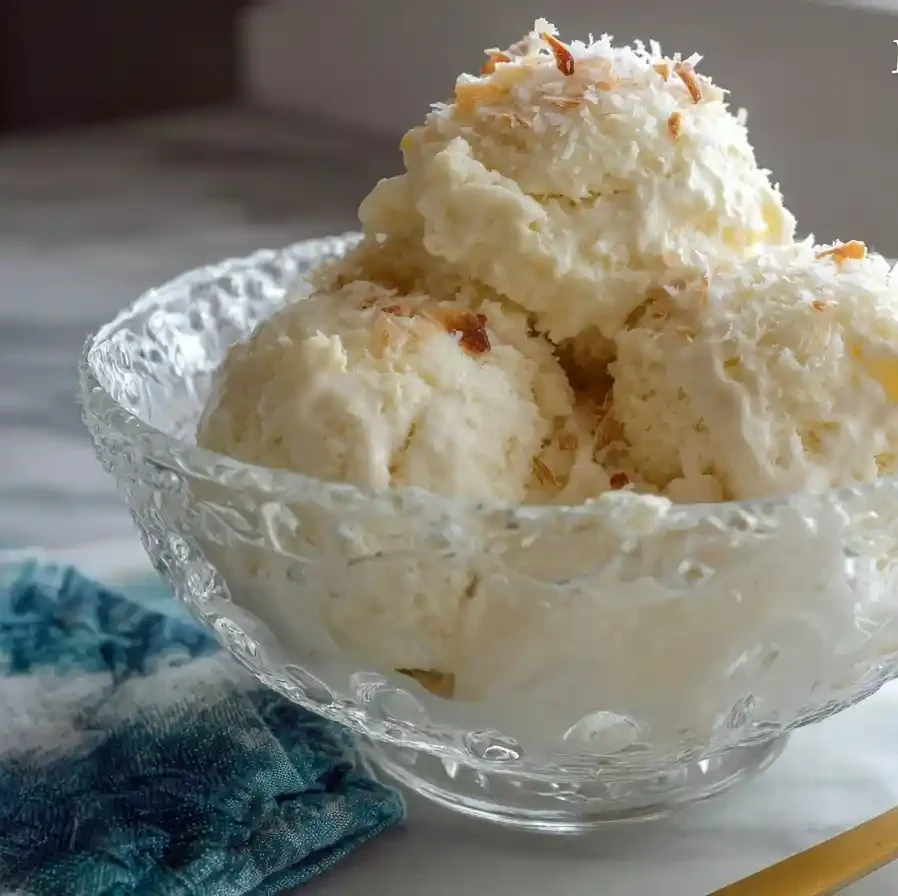
- Once fully frozen and scraped into fine snow, scoop the Sweetened Condensed Milk Snow Ice Cream into serving bowls. Serve immediately, optionally garnished with fresh fruit, a drizzle of extra condensed milk, or your favorite toppings.
Notes
Pro Tips for Making This Sweetened Condensed Milk Snow Ice Cream
Achieving that perfect, ethereal consistency for your Sweetened Condensed Milk Snow Ice Cream is all about a few thoughtful steps, friends. Here are my tried-and-true secrets to ensure your dessert turns out absolutely divine.
The key to preventing your snow ice cream from becoming a solid block of ice is frequent stirring during the freezing process. Every 30-45 minutes, take it out of the freezer and give it a good whisk or scrape with a fork, breaking up any ice crystals. This creates that wonderfully light, fluffy texture.
Don’t be shy with the vanilla extract! While the recipe calls for a specific amount, a tiny bit extra can truly deepen the overall flavor profile, adding another layer of warmth to your creamy Sweetened Condensed Milk Snow Ice Cream. It’s a little touch that makes a big difference.
My Secret Trick: I always make sure my mixing bowl and whisk are super cold before I even start. I pop them in the freezer for about 15-20 minutes. This helps the mixture chill faster and creates a smoother, more uniform consistency from the very beginning.
Ensure your sweetened condensed milk is at room temperature before mixing. This helps it blend seamlessly with the other cold ingredients, preventing any lumps and guaranteeing a perfectly smooth base for your frozen delight.
Fun Variations for Sweetened Condensed Milk Snow Ice Cream
One of the greatest joys of baking is letting your creativity flow, and this Sweetened Condensed Milk Snow Ice Cream is a wonderful canvas for flavor experimentation! Don’t be afraid to try some of these twists to make it uniquely yours.
Berry Swirl
For a fruity twist, try swirling in a homemade berry compote after the initial freezing period, when the mixture is still soft. My sister always asks me to swirl in raspberry jam for a pop of tartness against the sweet, creamy base of the Sweetened Condensed Milk Snow Ice Cream.
Chocolate Dream
A friend of mine loves when I melt a quarter cup of good quality dark chocolate and drizzle it into the mixture just before the final freeze. It creates delicate chocolate ribbons that add a rich depth to every spoonful. You could also sprinkle in mini chocolate chips!
Spiced Autumn Treat
During the cooler months, a pinch of cinnamon or a tiny dash of nutmeg can transform this into a cozy, spiced delight. It pairs beautifully with the creamy sweetness, making your Sweetened Condensed Milk Snow Ice Cream feel like a warm hug on a cold day.
What to Serve With Sweetened Condensed Milk Snow Ice Cream
This delightful Sweetened Condensed Milk Snow Ice Cream is truly a star on its own, but sometimes, a little accompaniment can make a good thing even better. Here are a few ways I love to serve it to make it a complete treat!
For a simple yet elegant pairing, I adore serving this with a sprinkling of fresh berries – think vibrant raspberries, blueberries, or sliced strawberries. Their slight tartness is a wonderful contrast to the rich sweetness of the snow ice cream, and it adds a beautiful pop of color.
My mom always says a dessert isn’t complete without a warm drink, and she loves pairing this Sweetened Condensed Milk Snow Ice Cream with a steaming mug of her homemade hot cocoa in winter. The warm and cold contrast is simply divine.
You could also drizzle a little caramel sauce or a sprinkle of toasted coconut flakes over the top just before serving. These additions provide an extra layer of texture and flavor that complements the creamy base beautifully. Sometimes, I even add a delicate sprig of fresh mint for a touch of freshness.
How to Store Sweetened Condensed Milk Snow Ice Cream
Once you’ve whipped up a batch of this delightful Sweetened Condensed Milk Snow Ice Cream, it’s important to store it correctly to maintain its wonderful texture and flavor for future enjoyment.
Freezing for Freshness
To keep your Sweetened Condensed Milk Snow Ice Cream at its best, transfer it to an airtight container immediately after preparing. Press a piece of parchment paper directly onto the surface before sealing the container. This helps prevent ice crystals from forming and keeps the ice cream fresh for up to 1-2 weeks in the freezer.
Serving Leftovers
When you’re ready to enjoy leftovers, simply remove the container from the freezer and let it sit on the counter for 5-10 minutes to soften slightly. This will make it easier to scoop and ensure that lovely, melt-in-your-mouth texture. My personal tip is to give it a quick whisk with a fork before scooping if it feels too solid; this can help bring back some of that fluffy consistency.
Nutritional Benefits
While we mostly bake for joy and flavor, it’s lovely to know that some of our simple dessert ingredients offer a little something extra. This Sweetened Condensed Milk Snow Ice Cream, with its dairy base, provides a source of calcium and protein. It’s a treat that embodies my philosophy of combining indulgence with wholesome ingredients, creating a dessert that’s both satisfying and offers a touch of nourishment.
FAQs
Faq 1
Can I make Sweetened Condensed Milk Snow Ice Cream without an ice cream maker?
Absolutely! This recipe is designed to be made without one. You’ll just need a freezer-safe dish and a fork or whisk to stir the mixture periodically as it freezes, ensuring that lovely, light texture.
Faq 2
How long does Sweetened Condensed Milk Snow Ice Cream take to freeze?
The total freezing time is about 6 hours, but this includes the crucial stirring intervals every 30-45 minutes. These stirrings are key to developing the “snow” texture, so don’t skip them!
Faq 3
Can I use a dairy-free alternative for this recipe?
While the original recipe relies on dairy for its rich texture, you could experiment with full-fat coconut milk and a dairy-free sweetened condensed milk alternative. Results may vary slightly in consistency for the Sweetened Condensed Milk Snow Ice Cream.
Faq 4
What are some common issues when making Sweetened Condensed Milk Snow Ice Cream?
The most common issue is it becoming too icy. This usually happens if the mixture isn’t stirred enough during the freezing process. Regular stirring breaks up ice crystals, yielding a smooth, fluffy Sweetened Condensed Milk Snow Ice Cream.
Conclusion
And there you have it, my sweet friends – a recipe for Creamy Sweetened Condensed Milk Snow Ice Cream that promises to bring a touch of winter wonder and pure, unadulterated joy to your kitchen. It’s a testament to how simple ingredients, combined with a little love and patience, can create truly magical treats. I hope this Sweetened Condensed Milk Snow Ice Cream inspires you to embrace the joy of homemade desserts, creating beautiful memories, one sweet spoonful at a time. Happy baking!